A car battery usually lasts around four years. If the car mostly does short town journeys, the battery never gets fully charged and wears out sooner, while long trips help it last longer. Winter is when a weak battery most often lets you down: its capacity drops in the cold just when the engine needs more energy to start.
If the car will not start, first try a jump starter or jump leads from another car with the same system voltage, strictly observing polarity. If the battery no longer holds a charge, it is time to replace it. This is a perfectly manageable job, as long as you follow the right order.
What you will need
Important: A battery contains acid: wear gloves and glasses, keep the battery upright and never rest tools across the terminals. Disconnect the negative terminal first and connect the positive terminal first.
Step 1
Choose the right replacement
The easiest option is the same model you already have. If that is not possible, check the owner's manual: voltage, capacity, cranking current, case size and terminal positions must all match. The wrong battery may not fit the tray or may cause electrical problems.
Step 2
Disconnect and remove the old battery
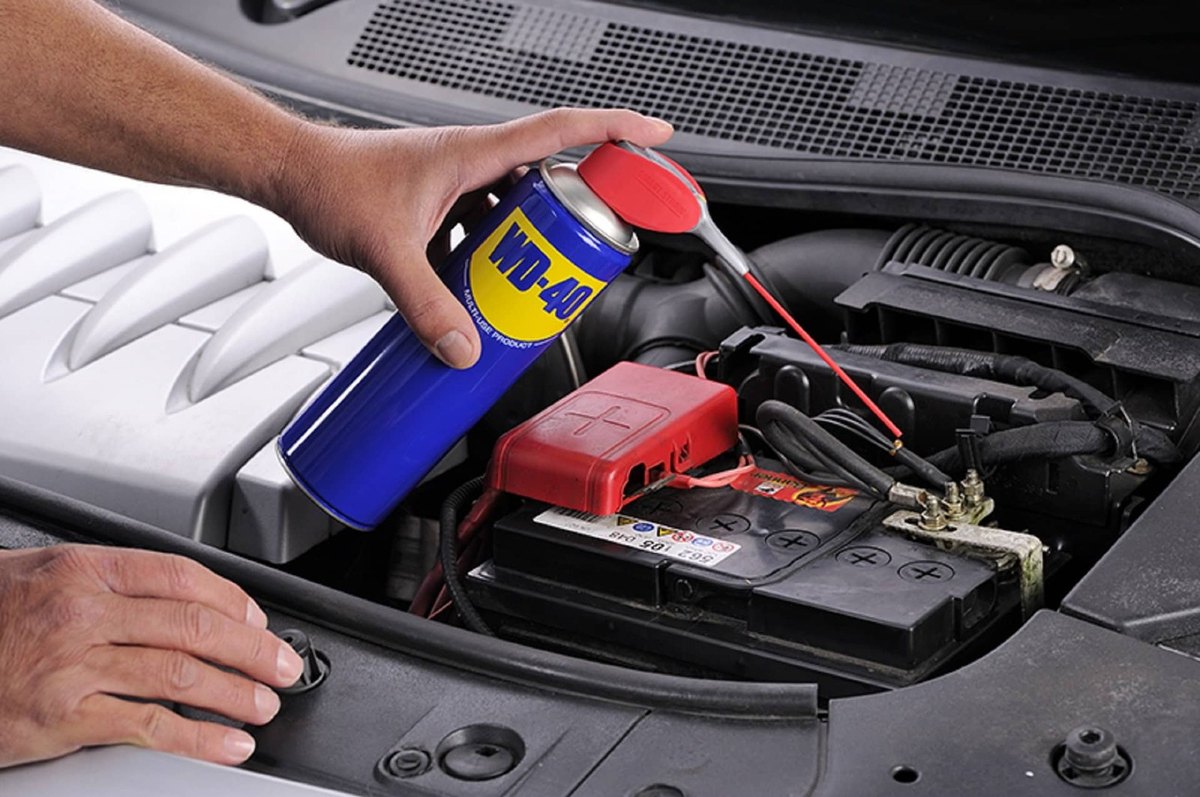
Switch off the engine, remove the key and wait about ten minutes, or longer on cars with a lot of electronics if the manufacturer advises it. Undo the negative terminal (minus sign) first, then the positive. If the nuts are seized, apply WD-40 Specialist Penetrant and give it a few minutes.
Remove the hold-down clamp or bracket and lift the battery out carefully, keeping it level. It is heavy, so lift with your legs, not your back.
Step 3
Clean the tray and terminals
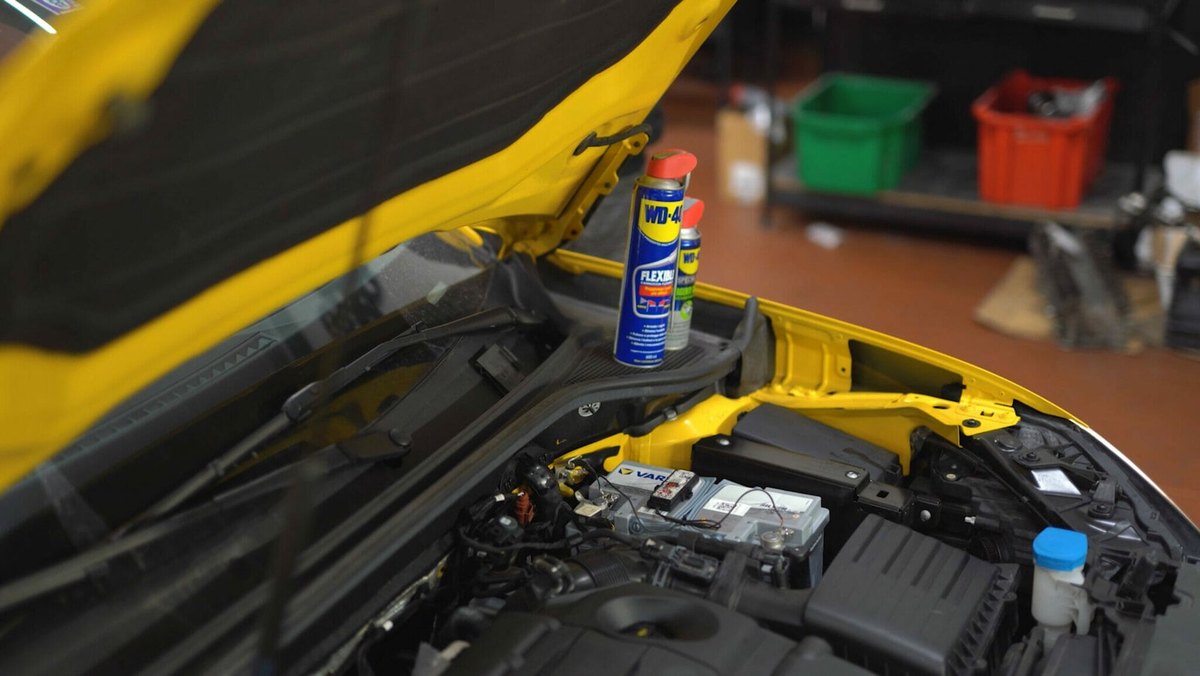
While the space is empty, clear dirt, sand and corrosion from the battery tray. Treat rusty areas of the bracket and metal tray with WD-40 Multi-Use and wipe them down. Clean the inside of the cable clamps with a brush and WD-40 Specialist Contact Cleaner: white or greenish deposits impair the contact and the new battery will charge less well.
Step 4
Fit the new battery
Place the battery in the tray with the terminals the right way round and secure it firmly with the clamp: it must not move while driving. Connect the positive terminal first, then the negative, and tighten the nuts firmly but without excessive force so as not to damage the lead posts.
Step 5
Protect the terminals from corrosion
Once connected, apply a thin coat of WD-40 Multi-Use to the clamps and posts. It displaces moisture and slows down new corrosion, which matters most in damp weather and in winter, when salt and snow get under the bonnet. Wipe off any excess so dust does not collect on the battery case.
Step 6
Test and recycle the old battery
Start the engine and check the lights, radio, electric windows and air conditioning. If the car does not start, recheck the polarity and how tight the terminals are. On some cars the clock, radio or window settings need resetting after the power has been disconnected.
Never put the old battery in household waste, as it contains acid and heavy metals. Take it to a collection point or a shop that accepts batteries for recycling.
Tip: Check the terminals once a season, especially before winter: at the first sign of deposits clean them with Contact Cleaner and protect them again with
WD-40 Multi-Use. A clean connection often cures hard starting without a new battery.
What next
Check the voltage in autumn and early spring: a healthy battery reads about 12.6 V at rest. If the voltage with the engine running is consistently low, check the alternator using our separate guide.
These uses come from the experience of WD-40 users in many countries. Always follow the instructions and warnings on the product label.
More guides in «How to use».