If your chainsaw is hard to start, stalls at idle, bogs down when you open the throttle or will not hold revs, a dirty carburettor is often to blame. It happens most in spring, when old fuel mix left in the tank since autumn has laid sticky deposits in the passages.
What you will need
- WD-40 Multi-Use or WD-40 Smart Straw for the passages
- Flat and cross-head screwdrivers to suit your model
- Clean lint-free rags and an old toothbrush
- Warm water with detergent for the filter
- A diaphragm and gasket kit for your carburettor
- Fresh fuel mix as specified in the saw's manual
Important: Only work on a cold saw, pull the spark plug cap off and drain the fuel into a can. No naked flames or smoking nearby, and keep the area ventilated. Never poke jets with wire or a needle: it changes their size. Photograph every stage of disassembly so you can put it back together correctly.
Step 1
Clean the air filter
Remove the filter cover (a clip or screw on most models) and take out the filter. A clogged filter alone causes a rich mixture and rough running.
Wash a mesh or felt filter in warm soapy water with a toothbrush and let it dry completely. Replace a paper filter with a new one. Only refit a dry filter.
Step 2
Remove the carburettor
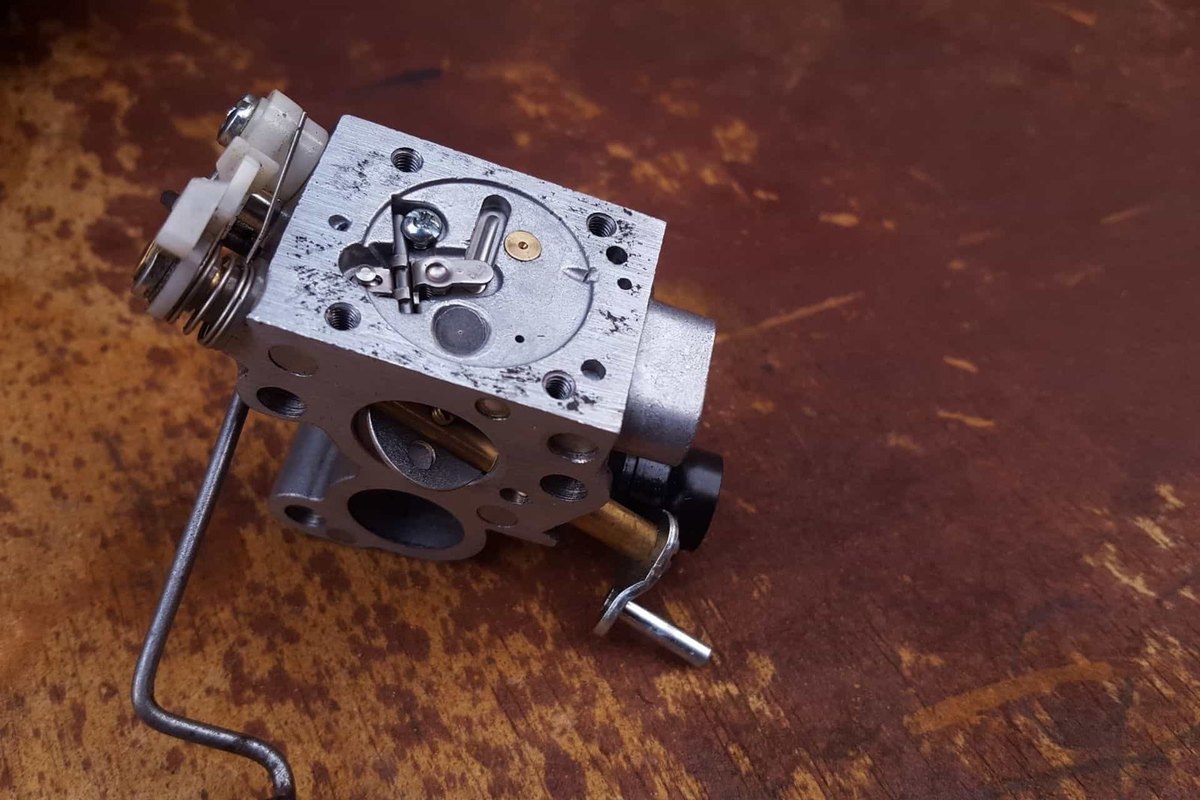
The carburettor sits directly behind the filter. Undo the mounting nuts or screws and remove the retaining plate if there is one.
Disconnect the fuel line and throttle linkage, noting how they were fitted. Hold a rag underneath to catch any fuel. The carburettor can now be lifted off the saw.
Step 3
Strip the carburettor
Note the make and number on the carburettor body so you can order the right kit. Undo the central screw on the pump cover, lift the cover carefully and remove the diaphragm and gasket.
Then remove the cover on the other side, marking the position of the vent hole first, and take out the metering diaphragm and gasket. Best leave the adjustment screws alone; if you do remove them, count the turns to the stop.

Step 4
Clean the body and passages
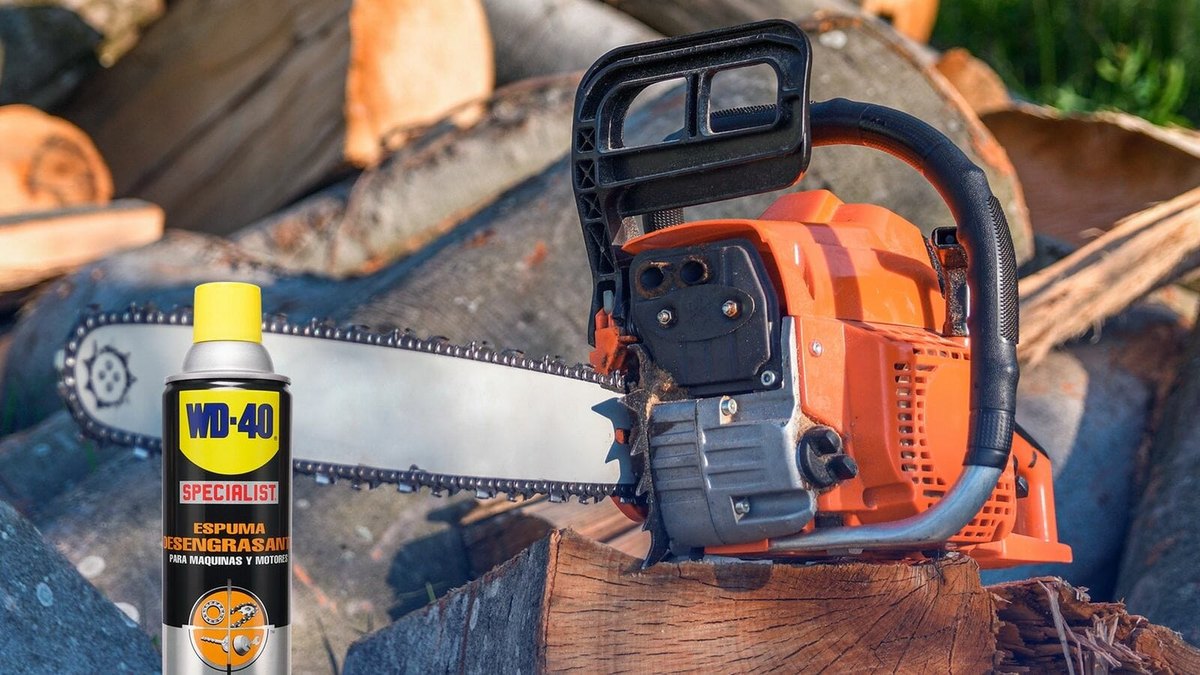
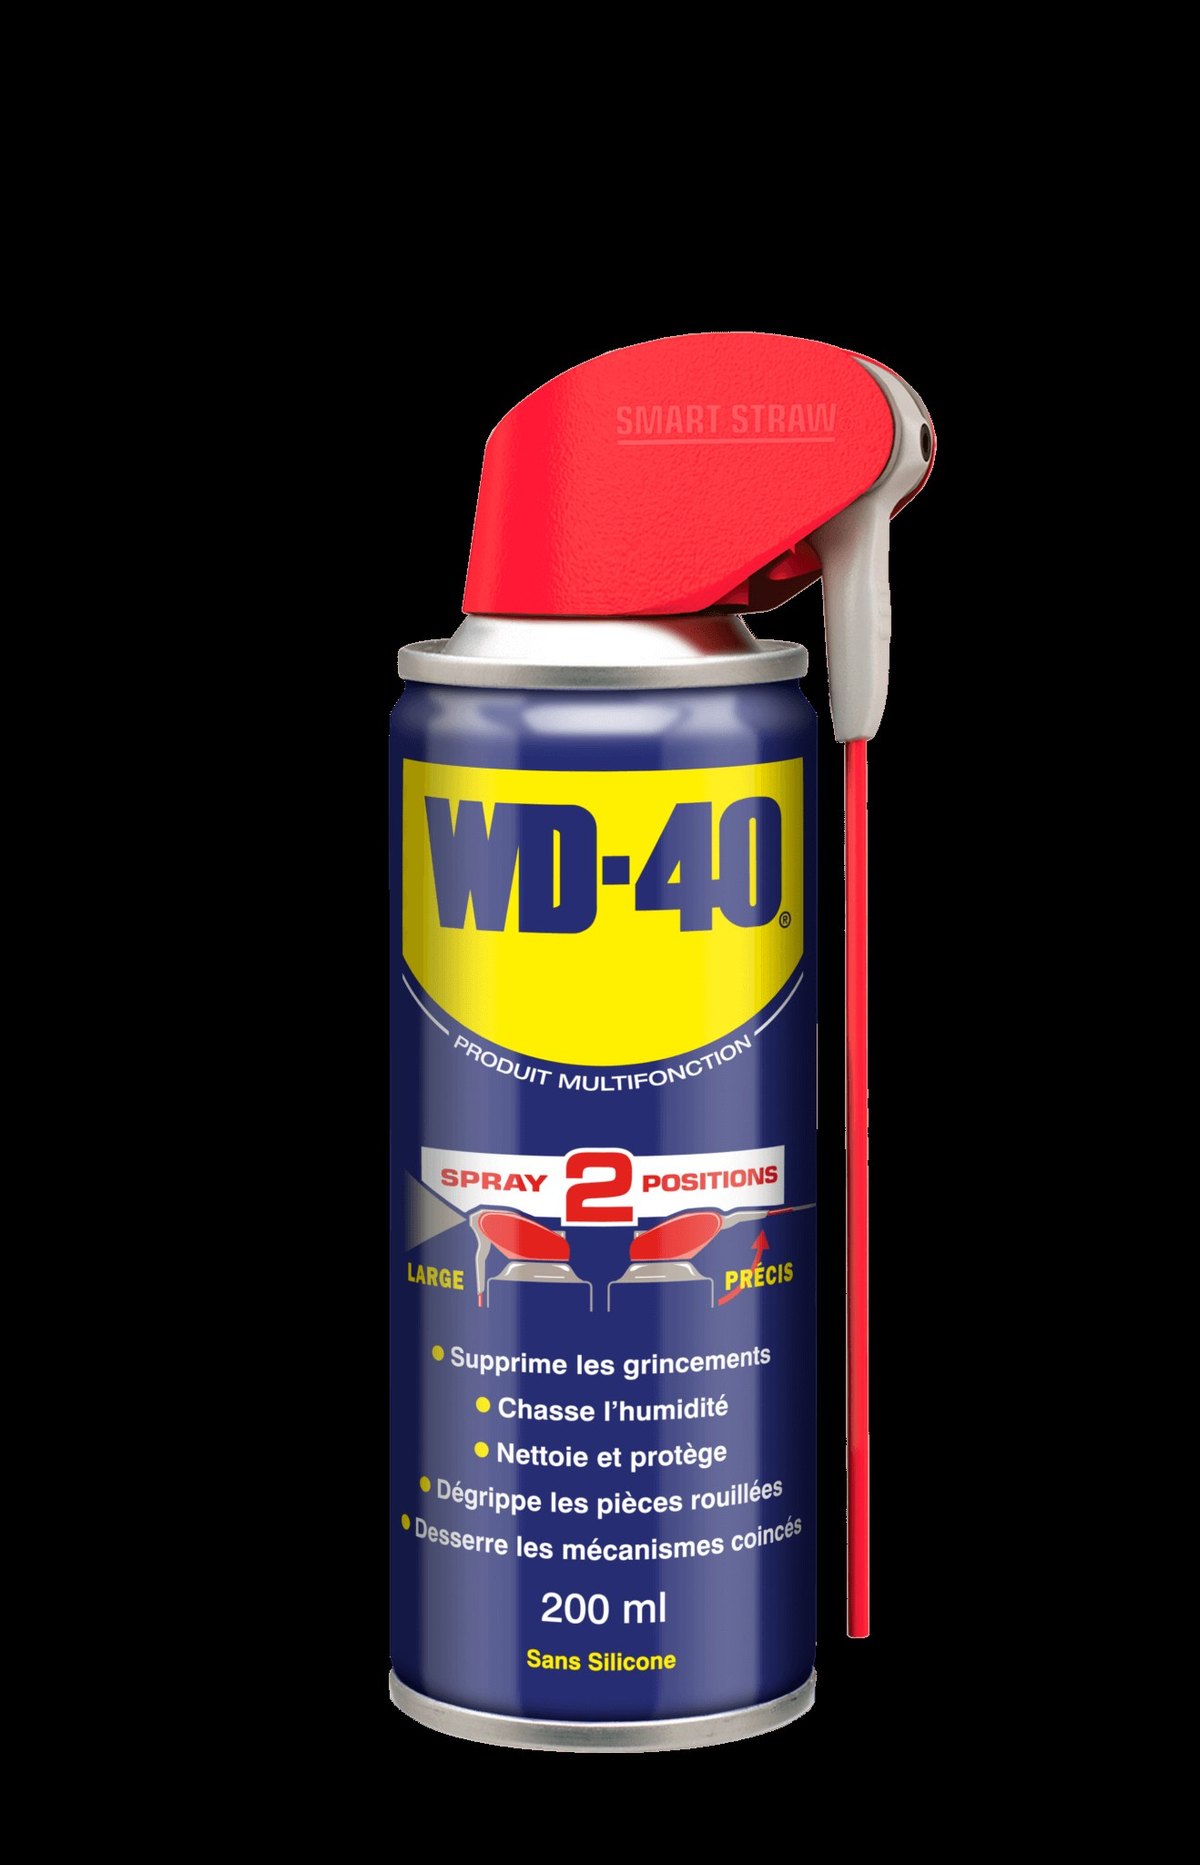
Spray WD-40 Smart Straw over the body, covers and the inlet screen. Use the thin straw to flush the fuel passages and jets, let it work for a few minutes and wipe with a rag. Scrub off varnish and deposits with the toothbrush.
For heavily varnished passages, the dedicated WD-40 Specialist Carb/Throttle Body Cleaner is better and can be ordered. Do not treat the diaphragms with any product; just wipe them with a dry rag.
Step 5
Check and replace diaphragms and gaskets
Hold the diaphragms up to the light: they should be supple and flat, with no stiffness, creases or pinholes. Gaskets must not be torn or flattened.

Step 6
Reassemble and add fresh fuel
Reassemble the carburettor in reverse order: gaskets, diaphragms and covers, with the vent hole in the right position. Refit it to the saw, reconnect the linkage and fuel line, secure the plate and refit the filter and cover.
Fill up with fresh fuel mix at the correct ratio, without mixing it with old fuel. Press the primer bulb a few times if fitted and start the saw. Let it idle and check the throttle response.

What next
Check the air filter every few hours of use and clean the carburettor each season or at the first sign of starting trouble. Use a dedicated chain oil for the chain and bar, and keep WD-40 Multi-Use to hand for cleaning resin off the housing.
These uses come from the experience of WD-40 users in many countries. Always follow the instructions and warnings on the product label.
More guides in «How to use».