The carburettor is the heart of a petrol lawn mower: it mixes fuel from the tank with air in the right ratio and feeds the mixture to the engine. Most mower faults trace back to it, especially after winter storage, when stale petrol leaves sticky deposits in the passages.
Typical signs: the engine will not rev up when you open the throttle, runs unevenly, splutters and stalls under load, or in the worst case will not start at all. Before stripping the carburettor, remove the spark plug, clean or replace it and check for a spark. If that does not help, move on to the carburettor. Designs vary between manufacturers, so check your model's manual.
What you will need
- Screwdrivers, pliers and a set of spanners
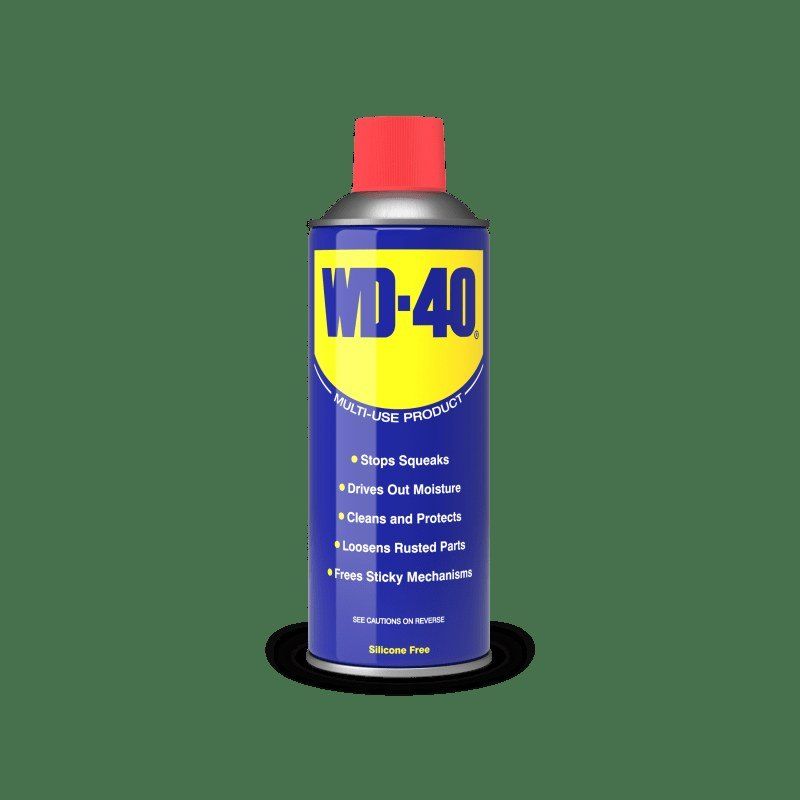
- WD-40 Multi-Use for cleaning parts
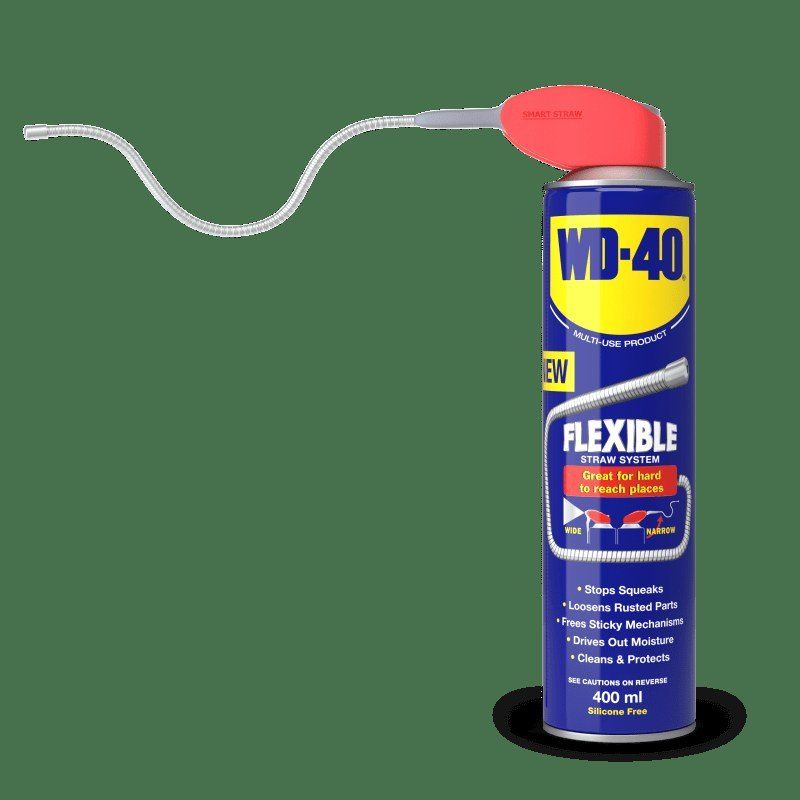
- WD-40 Smart Straw for precise application to linkages and studs
- WD-40 Specialist Penetrant for seized nuts
- A compressor or can of compressed air
- Containers for parts and drained fuel
- Clean engine oil, plus new gaskets and an air filter if needed
Important: Work on a cold engine, outdoors or in a ventilated space, away from flames, and do not smoke. Pull the cap off the spark plug so the engine cannot start accidentally, and drain or shut off the fuel. Wear glasses when using compressed air.
Step 1
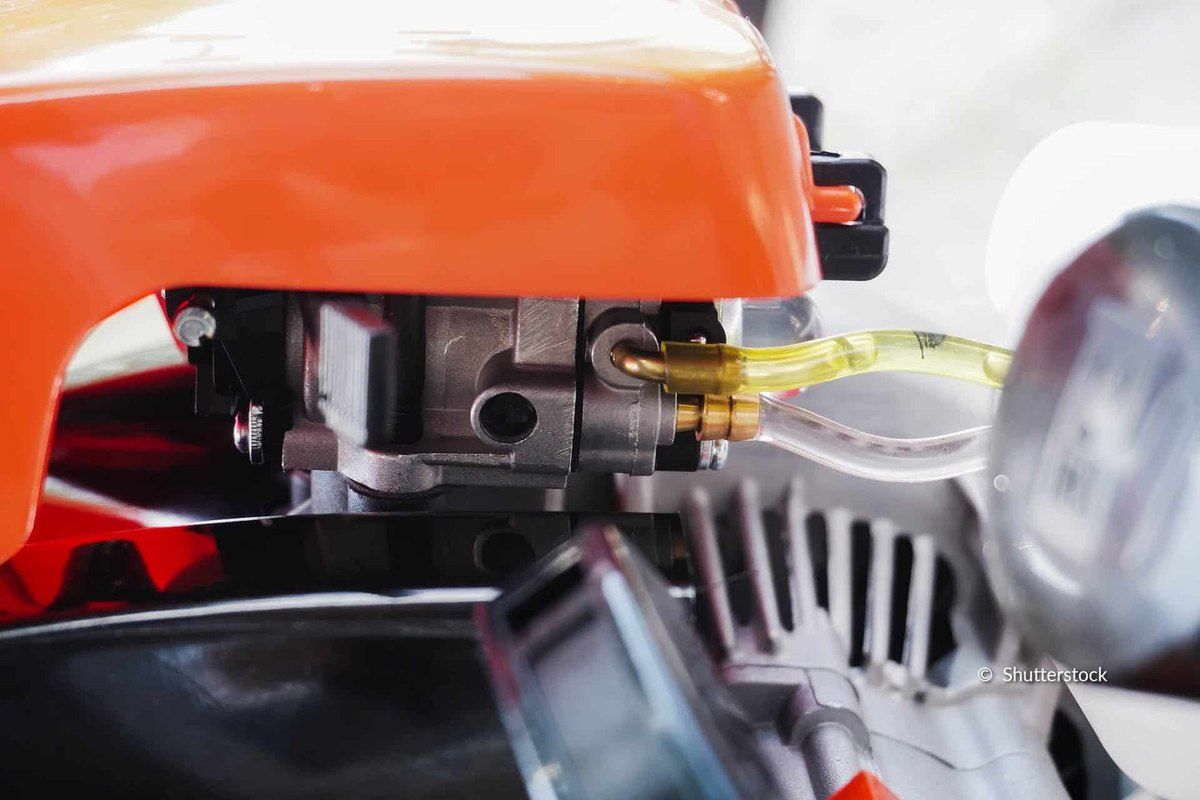
Clean the mower and remove the covers
Start by clearing grass and soil off the mower: once the carburettor is off, no dirt must get into the intake. Then remove the plastic covers that hide the carburettor so you can work comfortably.
Step 2
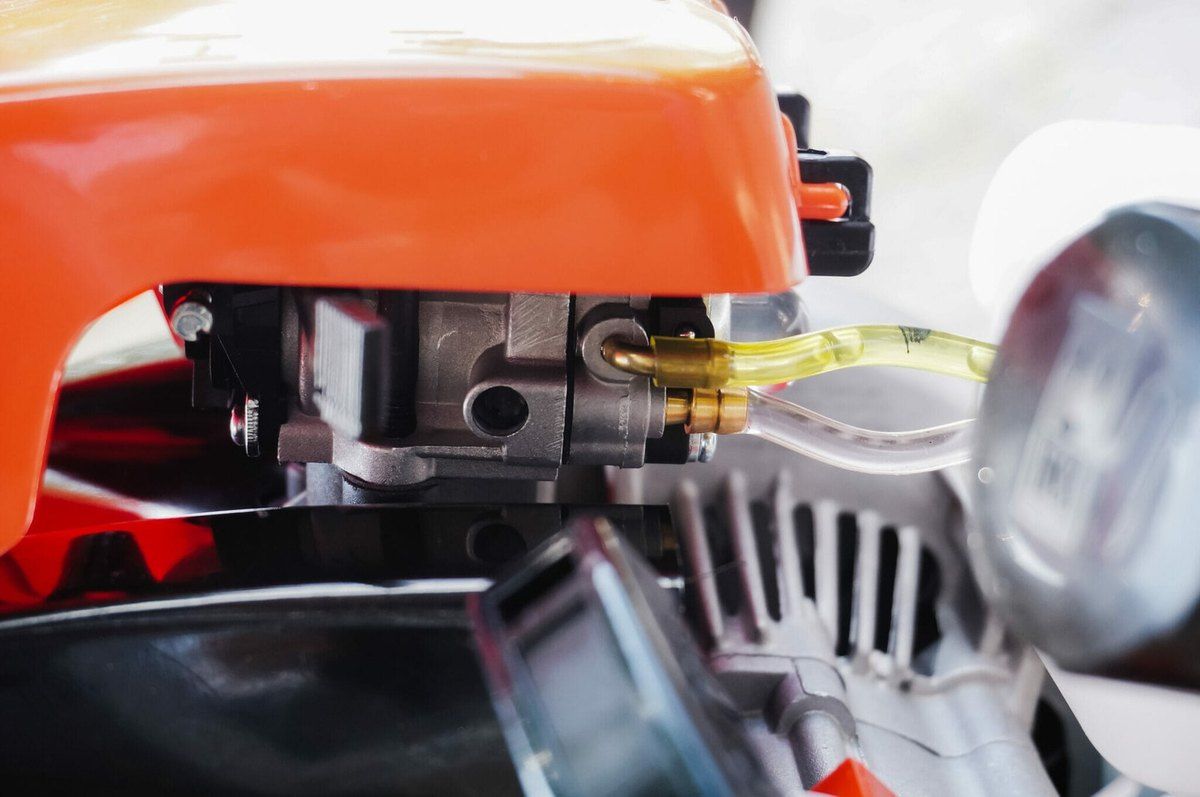
Disconnect the air filter
Undo the screws holding the filter cover and lift it off, then remove the filter and its base attached to the carburettor. Inspect the filter: a foam one can often be washed, while a dirty paper element is best replaced.
Step 3
Disconnect the fuel line and linkages
The fuel line is usually held by a spring clip: squeeze it with pliers and pull the line off, with a container ready for leftover petrol. Disconnect the throttle and automatic choke cables. Photograph the assembly first so you can put everything back correctly.
Step 4
Remove the carburettor
The carburettor usually sits on two long studs in the cylinder head. On some models it simply slides off towards you; on others you need to undo nuts. If they are seized, treat the threads with WD-40 Specialist Penetrant and wait a few minutes.

Step 5
Check the gaskets and open the float bowl
Inspect the gasket between carburettor and cylinder and between carburettor and filter. Tears, swelling or cracks cause air leaks and serious running problems, so replace any damaged ones.
Working over a container, undo the central screw underneath and remove the float bowl. Its bottom is usually coated with sediment and varnish: clean it with WD-40 Multi-Use and a cloth.

Step 6
Clean the float and jets
Slide out the small steel float pin and remove the float and needle. Check the bowl gasket, which often needs replacing. Place the parts in a container and spray them liberally with WD-40 Multi-Use: it penetrates and loosens the deposits.
Blow compressed air through the jets and passages. Experienced users unscrew the jets and carefully clear the holes with fine soft wire, taking care not to enlarge the calibrated opening.

Step 7
Reassemble in reverse order
Rebuild the carburettor and refit it, checking against your photos. Smear the gaskets with a drop of clean engine oil so they do not stick. Treat the linkage and cable pivots with WD-40 Smart Straw so the throttle moves freely. Fit the air filter last, then the covers and the spark plug cap.
Tip: Most carburettor blockages come from petrol left in the tank all winter. At the end of the season, drain the fuel or run the engine until it stops, and protect the mower's exposed metal parts from moisture with WD-40.
What next
A clean carburettor gives smooth running and lower fuel use. Check the air filter every few weeks in season and clean the carburettor whenever the mower starts running rough. Do not forget to look after the blade and wheels too.
These uses come from the experience of WD-40 users in many countries. Always follow the instructions and warnings on the product label.
More guides in «How to use».