A robot vacuum tours your home every day but cannot look after itself. It works like a normal vacuum: brushes gather dirt, a filter traps it and everything ends up in a bin. It also navigates by sensors and drives on wheels.
Dusty sensors throw off its route, hair on brushes and wheels overloads the motors, and friction in the axles causes squeaks and even floor marks. A regular clean takes 15-20 minutes.
What you will need
Important: Before cleaning, switch the robot off at its main switch, take it off the dock and unplug the dock. Keep products away from the sensors, the laser rangefinder, the rubber wheel treads and the floor: treads would become slippery and wooden floors could be marked. Do not dismantle the robot further than the manual allows.
Step 1
Wipe the sensors
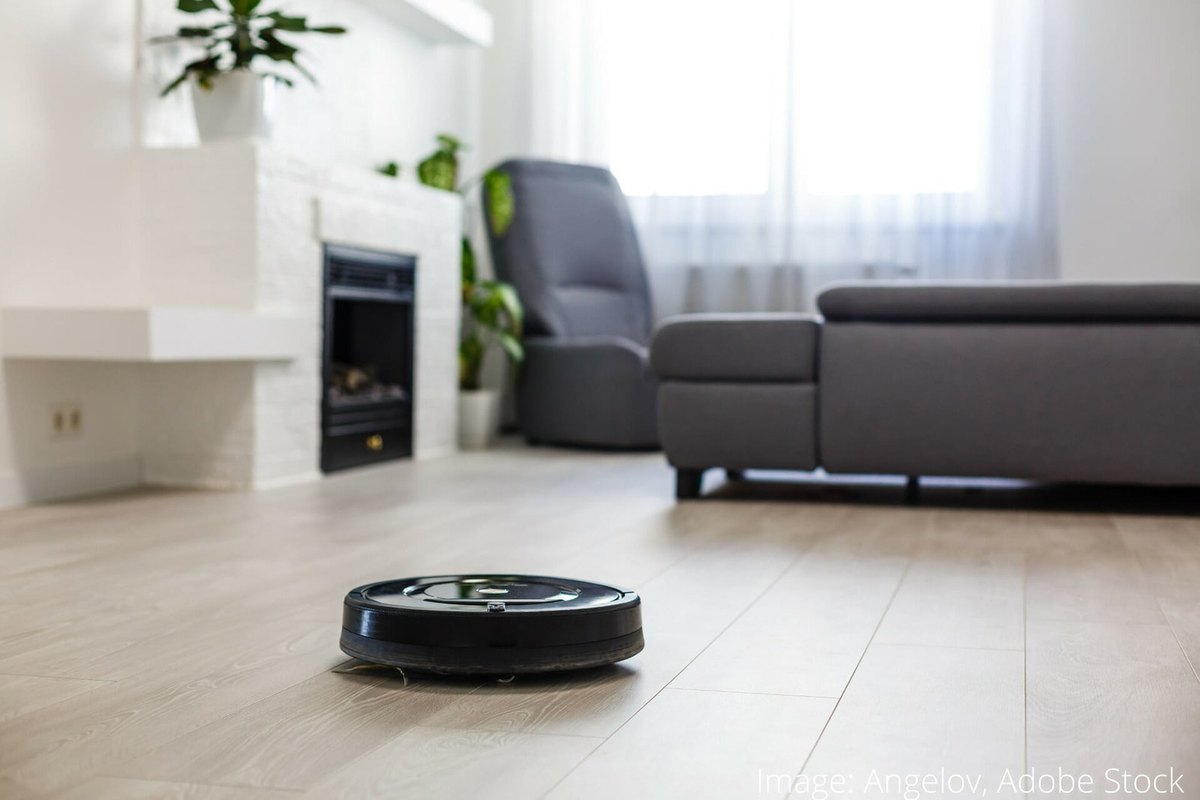
The robot has obstacle and cliff sensors at the front, underneath and on the sides, and often a laser rangefinder on top. Dusty sensors make it bump into furniture and stop at steps for no reason.
Wipe them with a soft cloth lightly dampened with warm soapy water, then a dry one. Do not use alcohol wipes or aerosols.
Step 2
Clean the filter
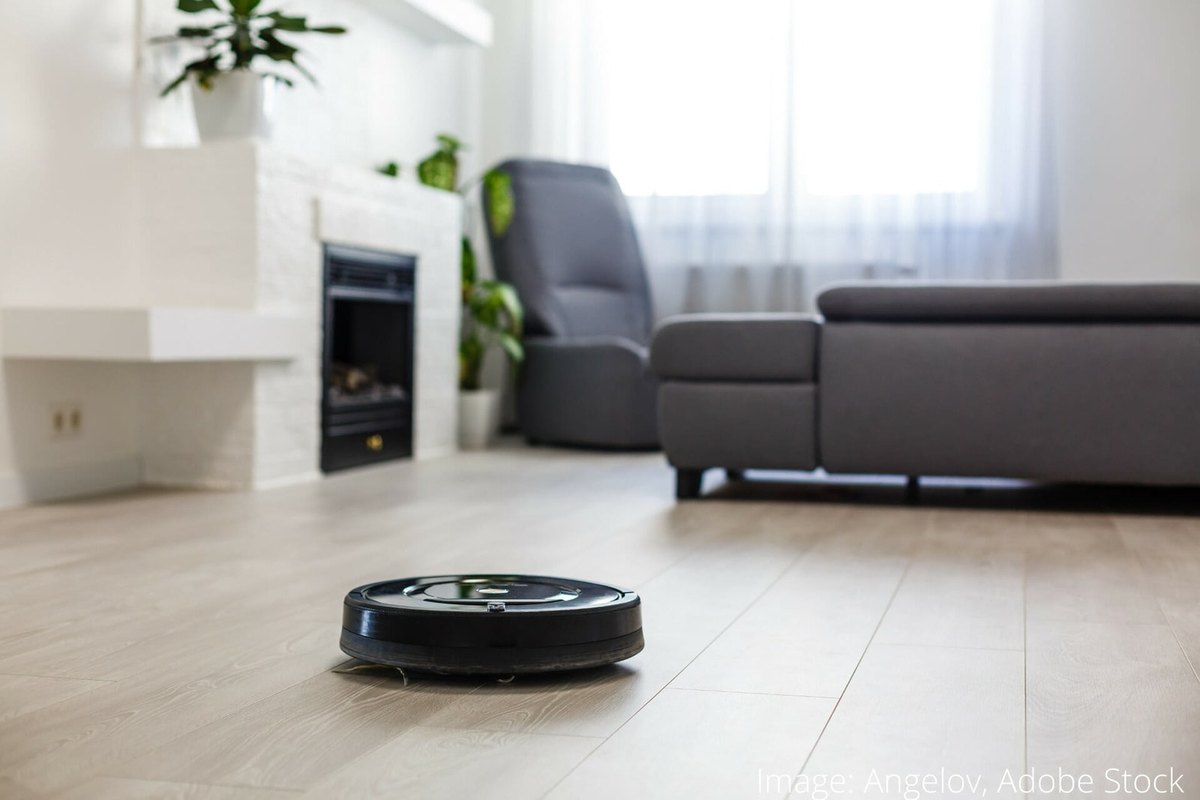
Follow the manufacturer's instructions. Usually you tap the filter out and clean it with a soft brush, collecting the fine dust with an ordinary vacuum. If the model allows, rinse the filter under running water and dry it completely. Replace a damaged or heavily clogged filter.
Step 3
Empty the bin and clean the brushes
Empty the bin after every run, and wash it monthly under running water, refitting it only when dry.
The brushes wind up hair, thread and pet fur. Remove them as the manual describes and cut away the tangles with scissors and tweezers before they jam and overload the brush motor.
Step 4
Clean the wheels
The robot has two drive wheels and a swivelling front castor. Go over the drive wheels with a small brush and pull hair from around the axles with tweezers.
The front castor usually pops out: remove it, clear hair from the axle and wipe it with a barely damp cloth.
Step 5
Lubricate the axles and moving parts
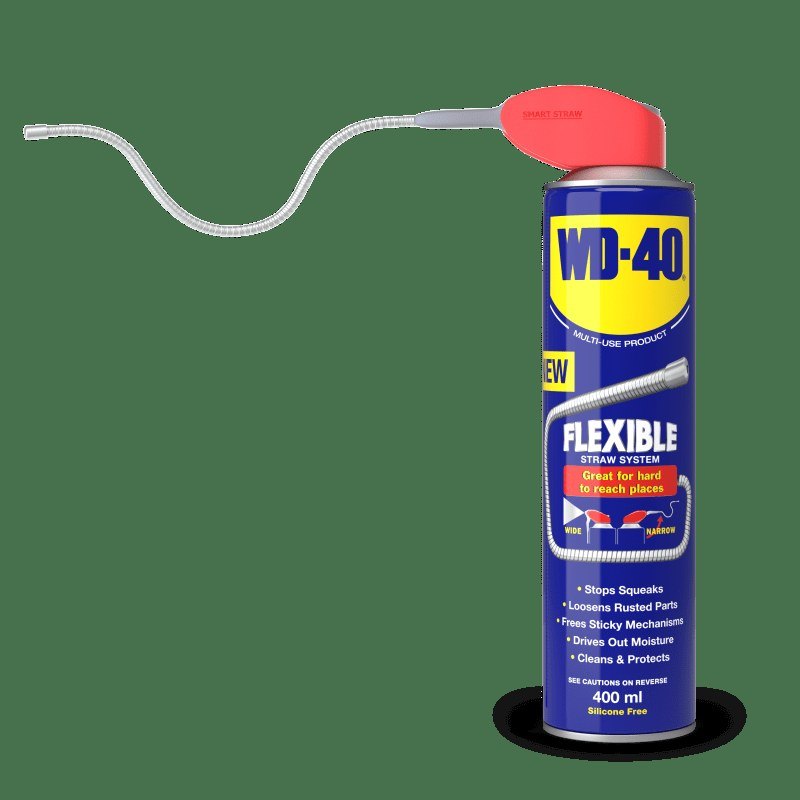
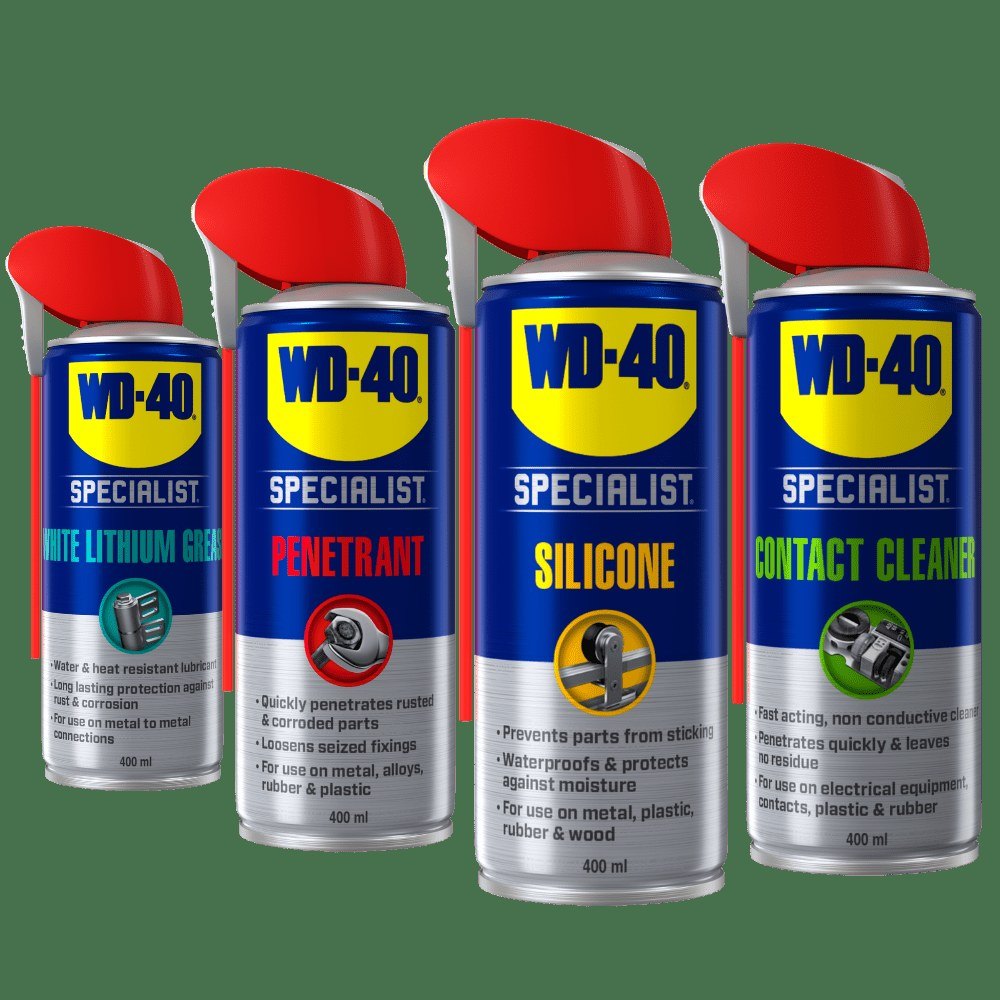
Friction wears parts, causes squeaks, and a sticking wheel can leave marks on the floor. Flip up the straw on WD-40 Specialist Silicone and apply a little precisely to the front castor axle, the side brush bearings and the points where the brushes turn in the housing.
Silicone is compatible with metal and plastic, dries quickly and does not attract dust. Give it a few minutes, turn the parts by hand and wipe off the excess thoroughly with a cloth.
Step 6
Clean the charging contacts
If the robot struggles to dock or charging keeps cutting out, dirty contacts are usually to blame. With the dock unplugged and the robot off, spray WD-40 Specialist Contact Cleaner onto a cloth or cotton bud and wipe the metal plates on the robot's underside and on the dock. It is non-conductive, evaporates within a minute and leaves no residue.
Tip: With a cat or dog at home, check the brushes after every run: a couple of minutes with scissors protects the brush motors from overheating.
What next
Empty the bin daily, clean the brushes and sensors weekly and the filter monthly, and lubricate the axles and clean the contacts every 2-3 months. A conventional vacuum needs similar care, just less often.
These uses come from the experience of WD-40 users in many countries. Always follow the instructions and warnings on the product label.
More guides in «How to use».