Motorcycle brakes work in tough conditions: road dust, spray, mud and, in winter and spring, de-icing salt. Over time brake dust, dirt and traces of grease or brake fluid build up on the discs, in the callipers and around the pistons. You can barely see it, but you can feel it: the brakes bite less, squeal, and the pistons move stiffly.
Pay particular attention after winter storage in a garage: moisture and condensation leave a rusty film on the discs and seize the fasteners. Regular cleaning restores braking performance and helps you spot pad wear or leaks early.
What you will need
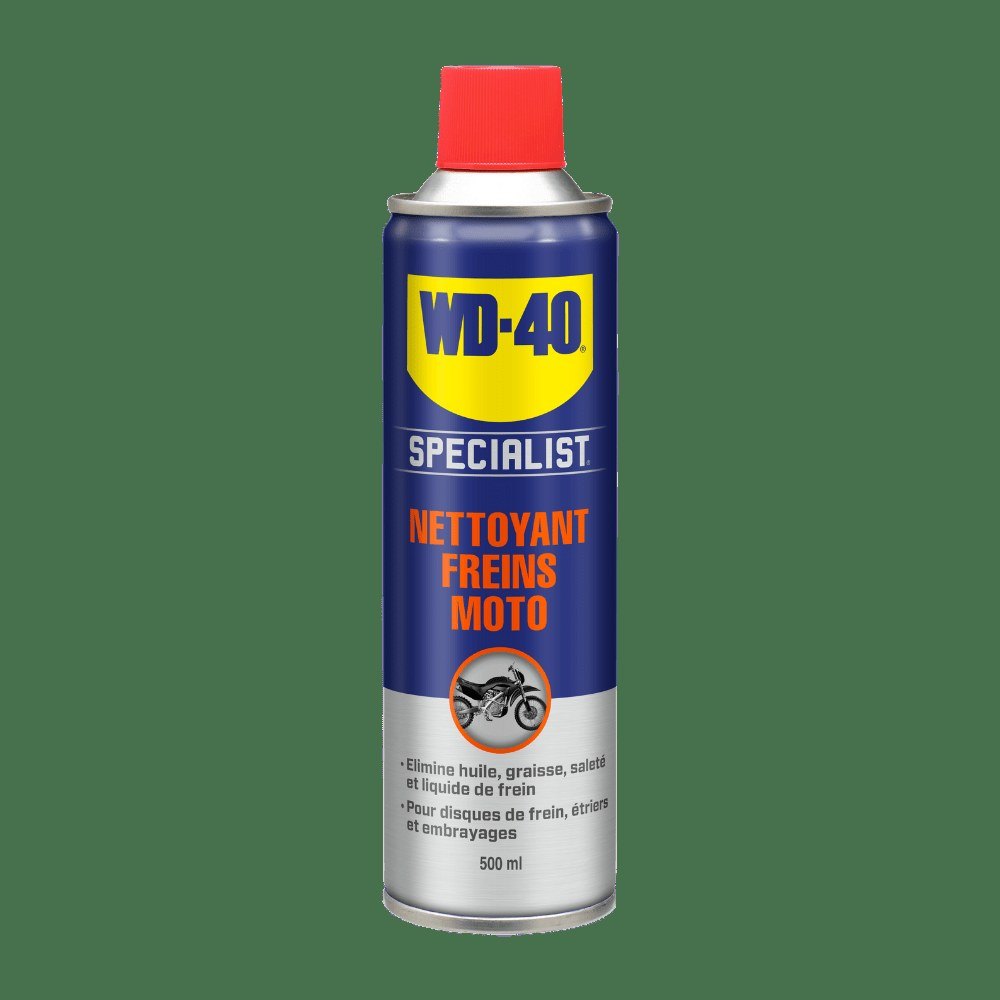
- dedicated brake cleaner (fast evaporating, residue free)
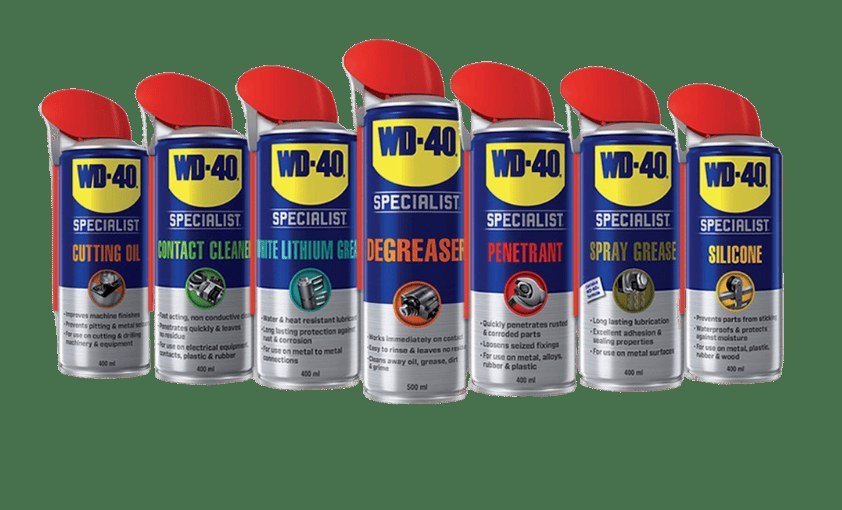
- WD-40 Specialist Penetrant for seized calliper bolts
- WD-40 Multi-Use to protect other metal parts
- clean lint-free cloths, soft toothbrush
- drip tray or bowl under the disc
- paddock stand or centre stand, gloves and safety glasses
Important: Clean only cold brakes in a well-ventilated place. Keep the cleaner off plastics, rubber, painted and decorative parts. No lubricant, including WD-40, may reach the discs or pads: apply it only to fasteners with the brakes covered.
Step 1
Prepare the bike and the workspace
Put the motorcycle on a paddock stand or centre stand in the garage or outdoors so the wheel spins freely. Cover the floor and place a drip tray under the disc. Wait until the brakes have cooled completely after riding.
Step 2
Clean the brake discs
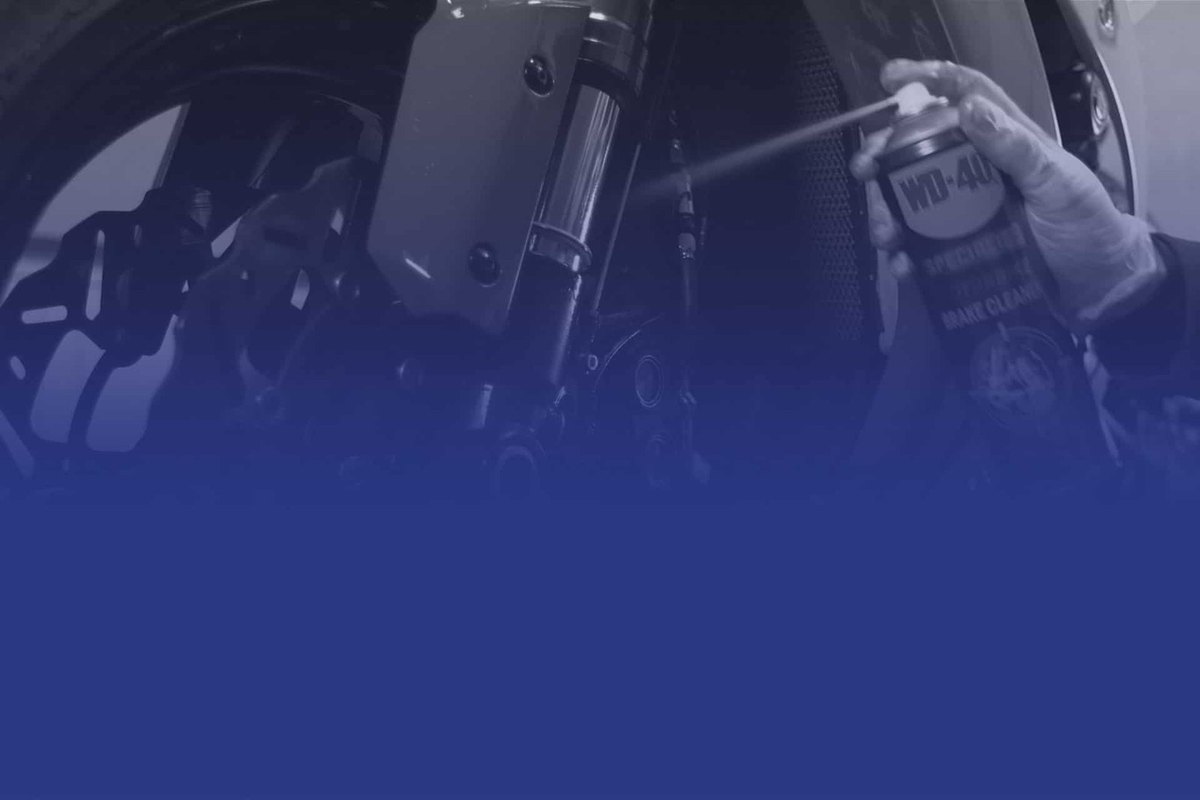
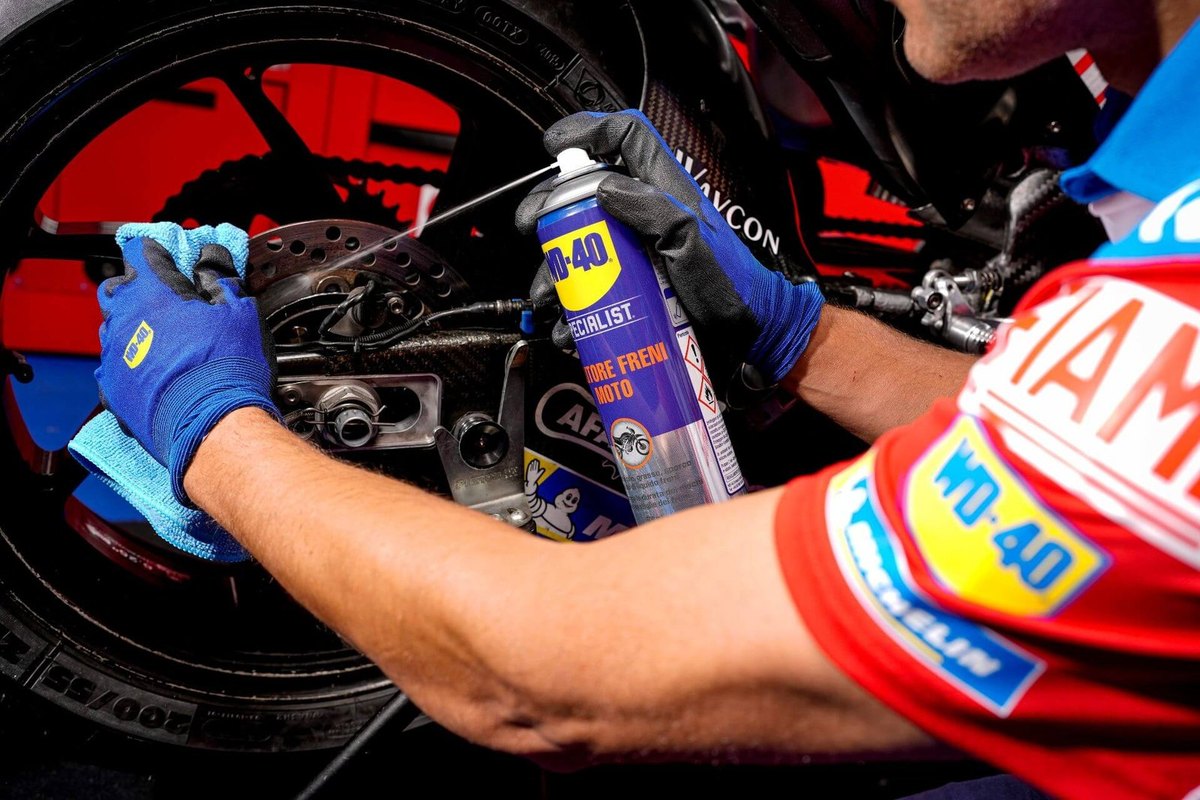
Shake the can and spray the cleaner evenly over the whole friction surface on both sides, turning the wheel as you go. It dissolves brake dust, grease and dirt, and the excess drips into the tray.
Wipe the disc with a clean dry cloth. If dirt remains, repeat and work it with a soft brush. Do not touch the friction surface with your fingers.
Step 3
Remove and clean the callipers
For a thorough clean, take the calliper off the disc. If the bolts have seized from salt and moisture, apply a drop of WD-40 Specialist Penetrant to the threads with the disc covered by a cloth, wait a few minutes and undo them. Wipe the bolts dry afterwards.
Spray cleaner on the calliper body and around the pistons, scrub hard-to-reach areas with the toothbrush and wipe with a dry cloth. Inspect the pads: replace them if they are contaminated or thinner than 2 mm. Refit the calliper and tighten the bolts to the manufacturer's torque.
Step 4
Test the brakes
Pump the lever and pedal several times to seat the pistons. First test the front and rear brakes while pushing the bike with the engine off, then at low speed in a safe area. Only ride on the road once you are sure everything works.
Step 5
Dispose of waste and protect other parts
Do not pour the liquid from the tray down the drain or onto the ground: take it to a garage or collection point along with used engine oil.
Wash the whole bike and check other components. Once dry, treat bolts, levers, cables and metal fittings with WD-40 Multi-Use, which displaces moisture and protects against corrosion. Spray it well away from the brakes and tyres.
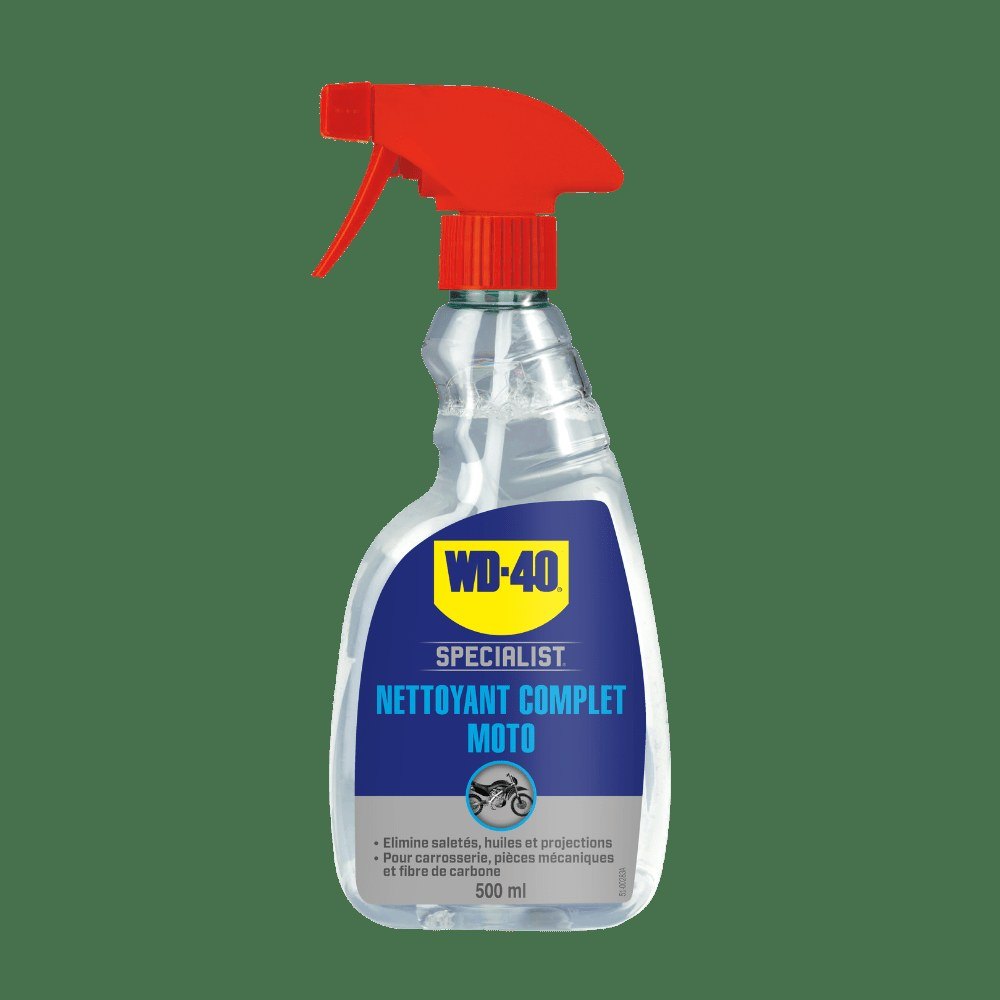
Tip: After rides on salted or wet roads, rinse the brakes with clean water and let them dry, and do a full clean once a month during the season. This keeps the discs free of rust and makes the pads last longer.
What next
Clean the brakes at least before the season, after winter storage and after off-road rides. If they still squeal or judder after cleaning, have the disc thickness and pad condition checked at a workshop.
These uses come from the experience of WD-40 users in many countries. Always follow the instructions and warnings on the product label.
More guides in «How to use».