A motorcycle constantly meets dust, rain, mud and road salt, and the braking system collects all of it first. Dirt in the caliper and on the disc causes squealing, uneven pad wear and weaker braking.
A regular clean takes less than an hour. The key rule: only a dedicated brake cleaner that evaporates quickly goes on the disc and pads, while WD-40 products work on the fasteners, levers and connectors where they genuinely help.
What you will need
Important: Only work on cold brakes. Do not apply brake cleaner to plastic, rubber or decorative parts. Keep
WD-40 Multi-Use off the disc and pads. After the job, make sure the brakes work before you ride on the road.
Step 1
Prepare your workspace
Stand the bike on level ground in the garage or outdoors and secure it on a paddock stand. Put a drip tray under the brake disc to catch the liquid that runs off during cleaning.
Good lighting helps you spot worn pads, cracked hoses and leaks.
Step 2
Remove the caliper
For a thorough clean it is best to take the caliper off the disc. If there is an ABS sensor, undo its mounting first and move it aside. Then undo the caliper bolts; if they are seized, apply WD-40 Specialist Penetrant and wait a few minutes.
Remove the caliper carefully so as not to scratch the wheel rim. Do not disconnect the hose or leave the caliper hanging from it.
Step 3
Clean the disc and caliper
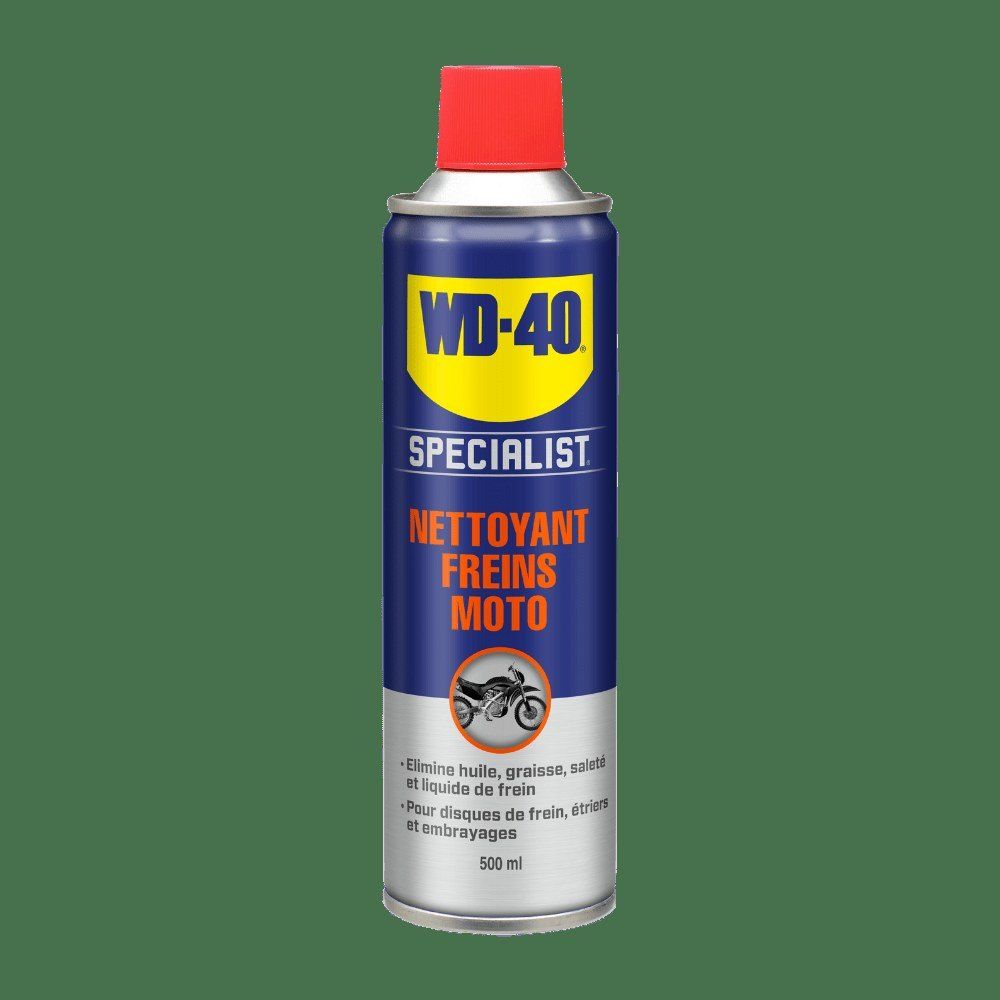
Spray brake cleaner generously onto the disc so it runs into the tray. Work over it with a soft brush, using a toothbrush in tight spots. Wipe off the residue with a clean rag. Treat the caliper the same way over the tray.
In winter and spring this clean is especially important, as it washes off the salt that corrodes brake parts.
Step 4
Look after the ABS connector and fasteners
If moisture gets into the ABS sensor connector, treat it with WD-40 Specialist Contact Cleaner and let it dry before reconnecting. Brush the bolt threads clean.
Refit the caliper and sensor and tighten the bolts to the torque in the service manual.
Step 5
Lubricate the levers and check the brakes
Apply a little WD-40 Multi-Use to the brake and clutch lever pivots and the pedal pivot, operate them a few times so it works in, and wipe off the excess.
Pump the brake several times, spin the wheel and check that the pads do not drag on the disc.
Step 6
Dispose of waste properly
Never pour the dirty liquid from the tray down the drain or onto the ground. Collect it in a sealed container together with empty aerosols and take it to a hazardous waste collection point.
Tip: After a winter ride on salted roads, rinse the brakes with clean water, dry them and then use brake cleaner. Protect nearby metal parts, but not the disc, with a thin coat of
WD-40 Multi-Use.
What next
Clean your brakes once a month during the season and after every ride on salty or muddy roads. Check pad thickness and brake fluid level at the same time.
These uses come from the experience of WD-40 users in many countries. Always follow the instructions and warnings on the product label.
More guides in «How to use».