Fairings do three jobs at once: they cut air resistance, shield the bike's components and the rider from the wind, and define the motorcycle's looks. At the same time, bodywork plastics take the worst of exhaust film, dust, insects, road grime and sun, and fine scratches from careless washing stay for good.
Good bodywork care starts with a quick inspection of the bike and ends with a protective layer that repels water. The routine below suits full and half fairings, tanks and side panels alike.
What you will need
Important: Do not use a pressure washer at close range: the jet damages decals, connectors and bearings and can lift paint. Wash only with the engine cold and out of direct sun. Keep products off brake discs, pads, tyres, the seat, grips and footpegs.
Step 1
Inspect the motorcycle
Before washing, check the tyres, headlight and tail light, chain or belt, brake pads and hoses. Look for rust, damaged wiring or heavy oily dirt. This shows you straight away what needs repair and what just needs routine care.
Step 2
Free seized screws
Fairing fasteners often seize, especially where steel screws sit in aluminium parts. If a screw needs to come out or be replaced, apply WD-40 Specialist Penetrant, wait a few minutes and undo it steadily without jerking, so you do not strip the head or crack the plastic.
Step 3
Set up and wet the bodywork
Wash the bike on level ground outdoors in the shade, or in a garage with access to water. If you have a paddock stand, put the bike on it for safety and easier access. Wet the fairings with a gentle hose or a sponge to soften the dirt and rinse off grit.
Step 4
Wash the fairings
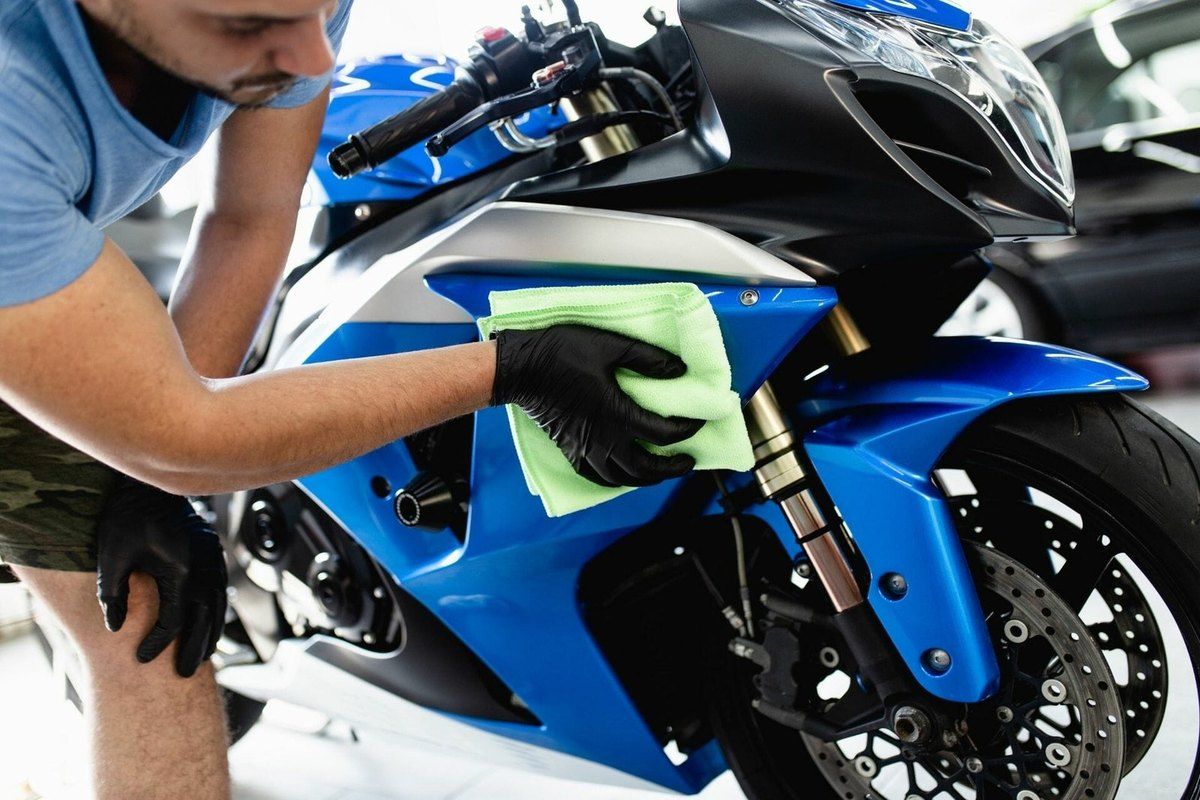
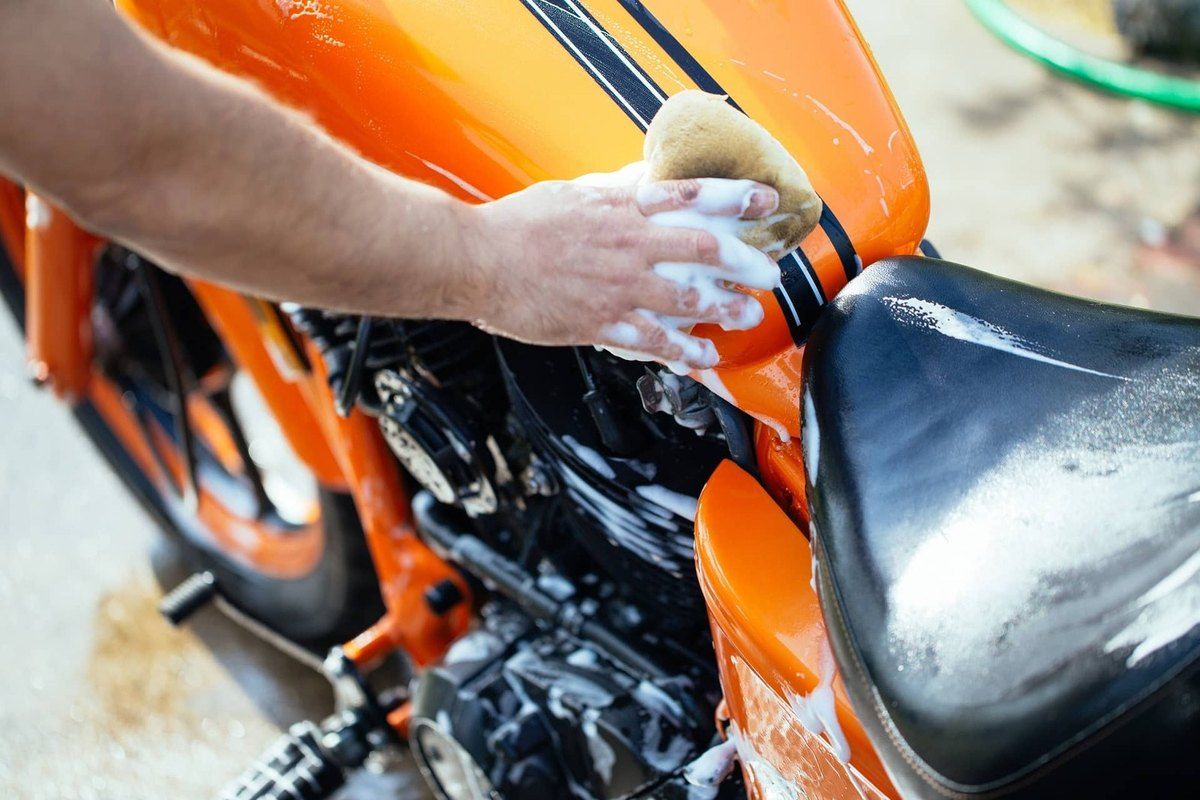
Apply a mild motorcycle shampoo to the wet bodywork and let it work briefly, but never let it dry on the surface or white marks will appear. Wash the plastic from top to bottom with a sponge or soft brush, rinsing the sponge often so you do not drag grit across the paint. Soften insects on the front fairing with a wet cloth first.
Rinse off the shampoo with clean water and dry the bodywork with a clean microfibre cloth.
Step 5
Bring back the shine
Spray WD-40 Specialist Silicone onto a clean, dry microfibre cloth and spread a thin, even layer over the fairings, mudguards and side panels. Buff to an even gloss. The film makes water bead and run off, and dirt sticks less. Near the seat, footpegs and brakes, apply it only via the cloth.
Step 6
Protect rubber, cables and metal
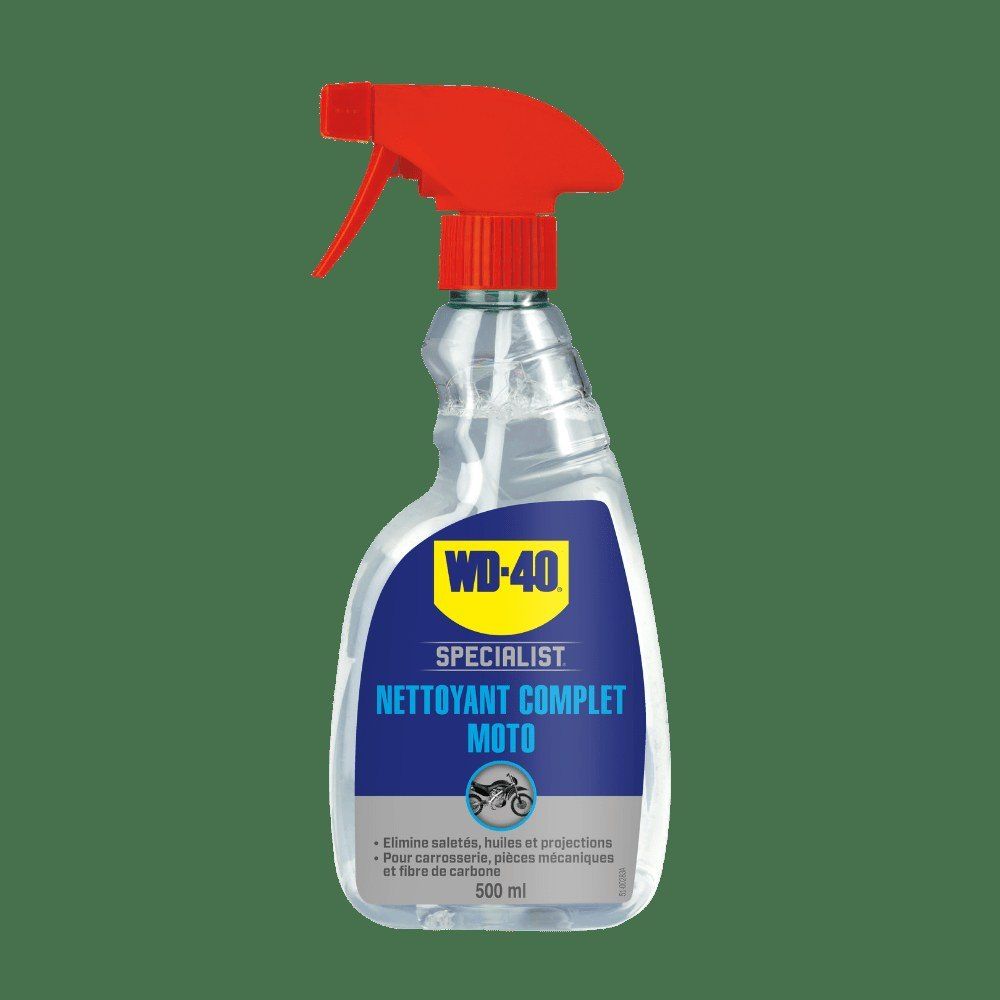
Use the same silicone cloth on rubber seals, hoses and cable outers so they do not dry out and crack. Treat metal fixings, bolts, number plate brackets and bare frame parts with WD-40 Multi-Use: it displaces any moisture left after washing and protects against corrosion.
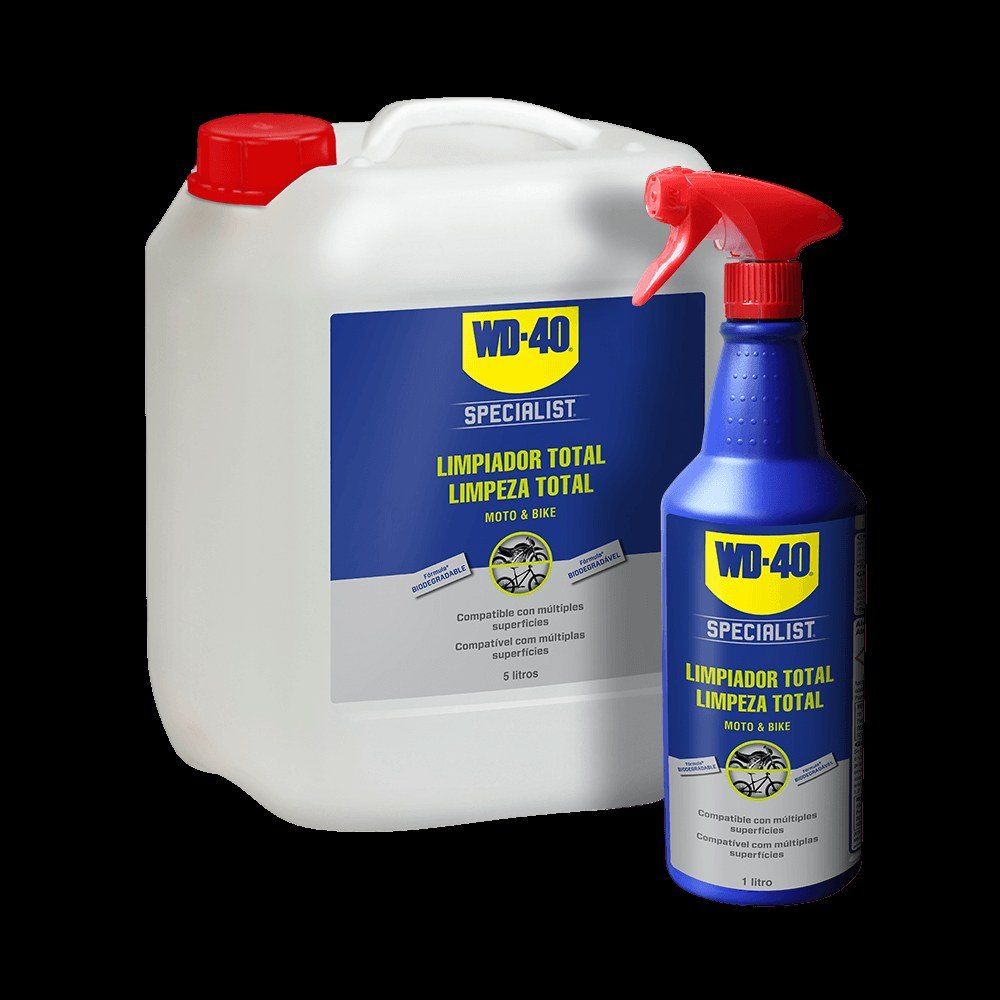
Tip: After washing, do not forget the chain: wipe it and lubricate it with a dedicated product such as
WD-40 Specialist Motorcycle Chain Lube (available to order), turning the wheel so it reaches every link.
What next
Wash the bodywork every 2-3 weeks during the season or after wet rides, and renew the silicone layer after every wash. Before winter storage, carry out the full care routine so moisture and condensation in the garage do not harm the plastics and metal.
These uses come from the experience of WD-40 users in many countries. Always follow the instructions and warnings on the product label.
More guides in «How to use».