Fairings, mudguards, covers, the dash and protective panels on a motorcycle suffer more than the metal parts: sunlight bleaches black plastic, road dust and stiff car-wash brushes leave fine scratches, and a spill can leave deep gouges.
Plastic often turns dull not from dirt but from the wrong washing method. Below we explain how to wash the bike properly, restore scratched unpainted parts, refresh the screen and bring back shine and protection with WD-40 Specialist Silicone and WD-40 Multi-Use.
What you will need
- Motorcycle or car shampoo, water, a soft sponge and a wash mitt
- WD-40 Specialist Silicone 250 ml for smooth plastic and rubber
- WD-40 Multi-Use for matte black trim
- Microfibre cloths and a chamois
- A craft knife blade, a sanding block and P280, P500, P800 and P1000 abrasive paper
- Whitening toothpaste or whiting powder (for the screen)
Important: Keep silicone and WD-40 off the tyres, brake discs and pads, seat, grips and footpegs: they will become slippery. Do not use silicone on matte surfaces or on parts you intend to paint. Only wash the bike when it has cooled down and is in the shade.
Step 1
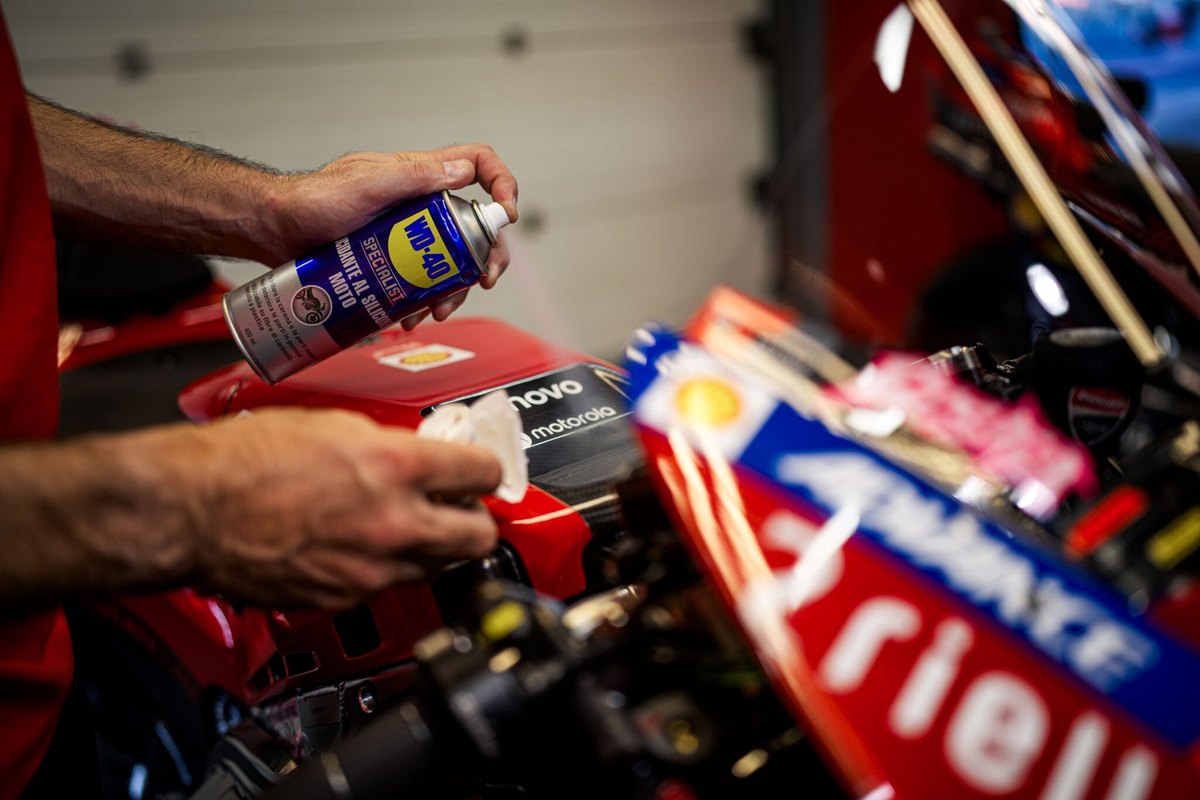
Wash the motorcycle
Park the bike in the shade and let the engine and exhaust cool. Wet the whole surface, apply the shampoo and leave it for 3-5 minutes to soften dirt and insect remains.
Wipe with a soft sponge or mitt, rinse thoroughly with clean water and dry with microfibre or a chamois. Abrasive sponges and stiff brushes are no good for plastic: they cause most of the scratches.
Step 2
Restore scratched unpainted fairings
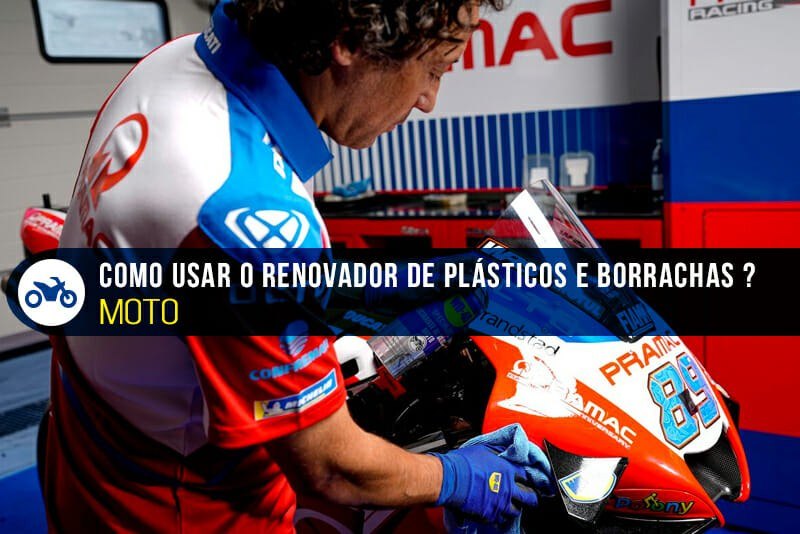
After a spill, scratches in unpainted plastic can be repaired at home. Remove the part for easier access and make sure it is perfectly clean. Trim any raised edges along the scratches with a fine blade.
Wet-sand with P280 on a block using circular movements, then move through P500, P800 and P1000. The finer the final grit, the smoother the surface.
Step 3
Refresh the screen
Fine scratches on a clear screen can be reduced after washing: put a little whitening toothpaste or whiting paste on a clean soft cloth and polish in small circles.
Rinse with clean water and dry with microfibre. Do not apply silicone or WD-40 to clear plastic: it leaves a film that impairs visibility.
Step 4
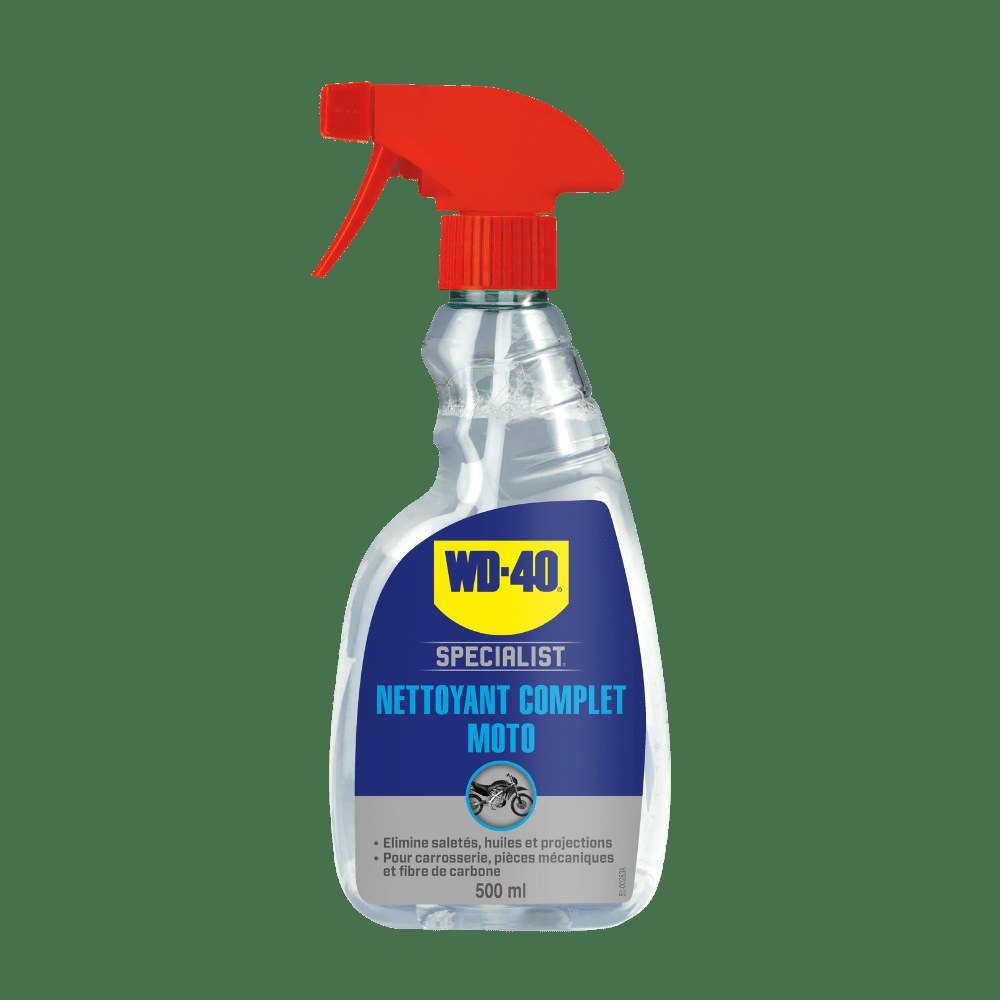
Revive matte black trim
Unpainted matte plastic often looks grey after washing or sanding. Spray a little WD-40 Multi-Use onto a cloth and wipe these parts: the colour deepens and the film protects against moisture.
Apply thinly and wipe off any excess so dust does not collect on the surface.
Step 5
Bring back the shine on smooth plastic
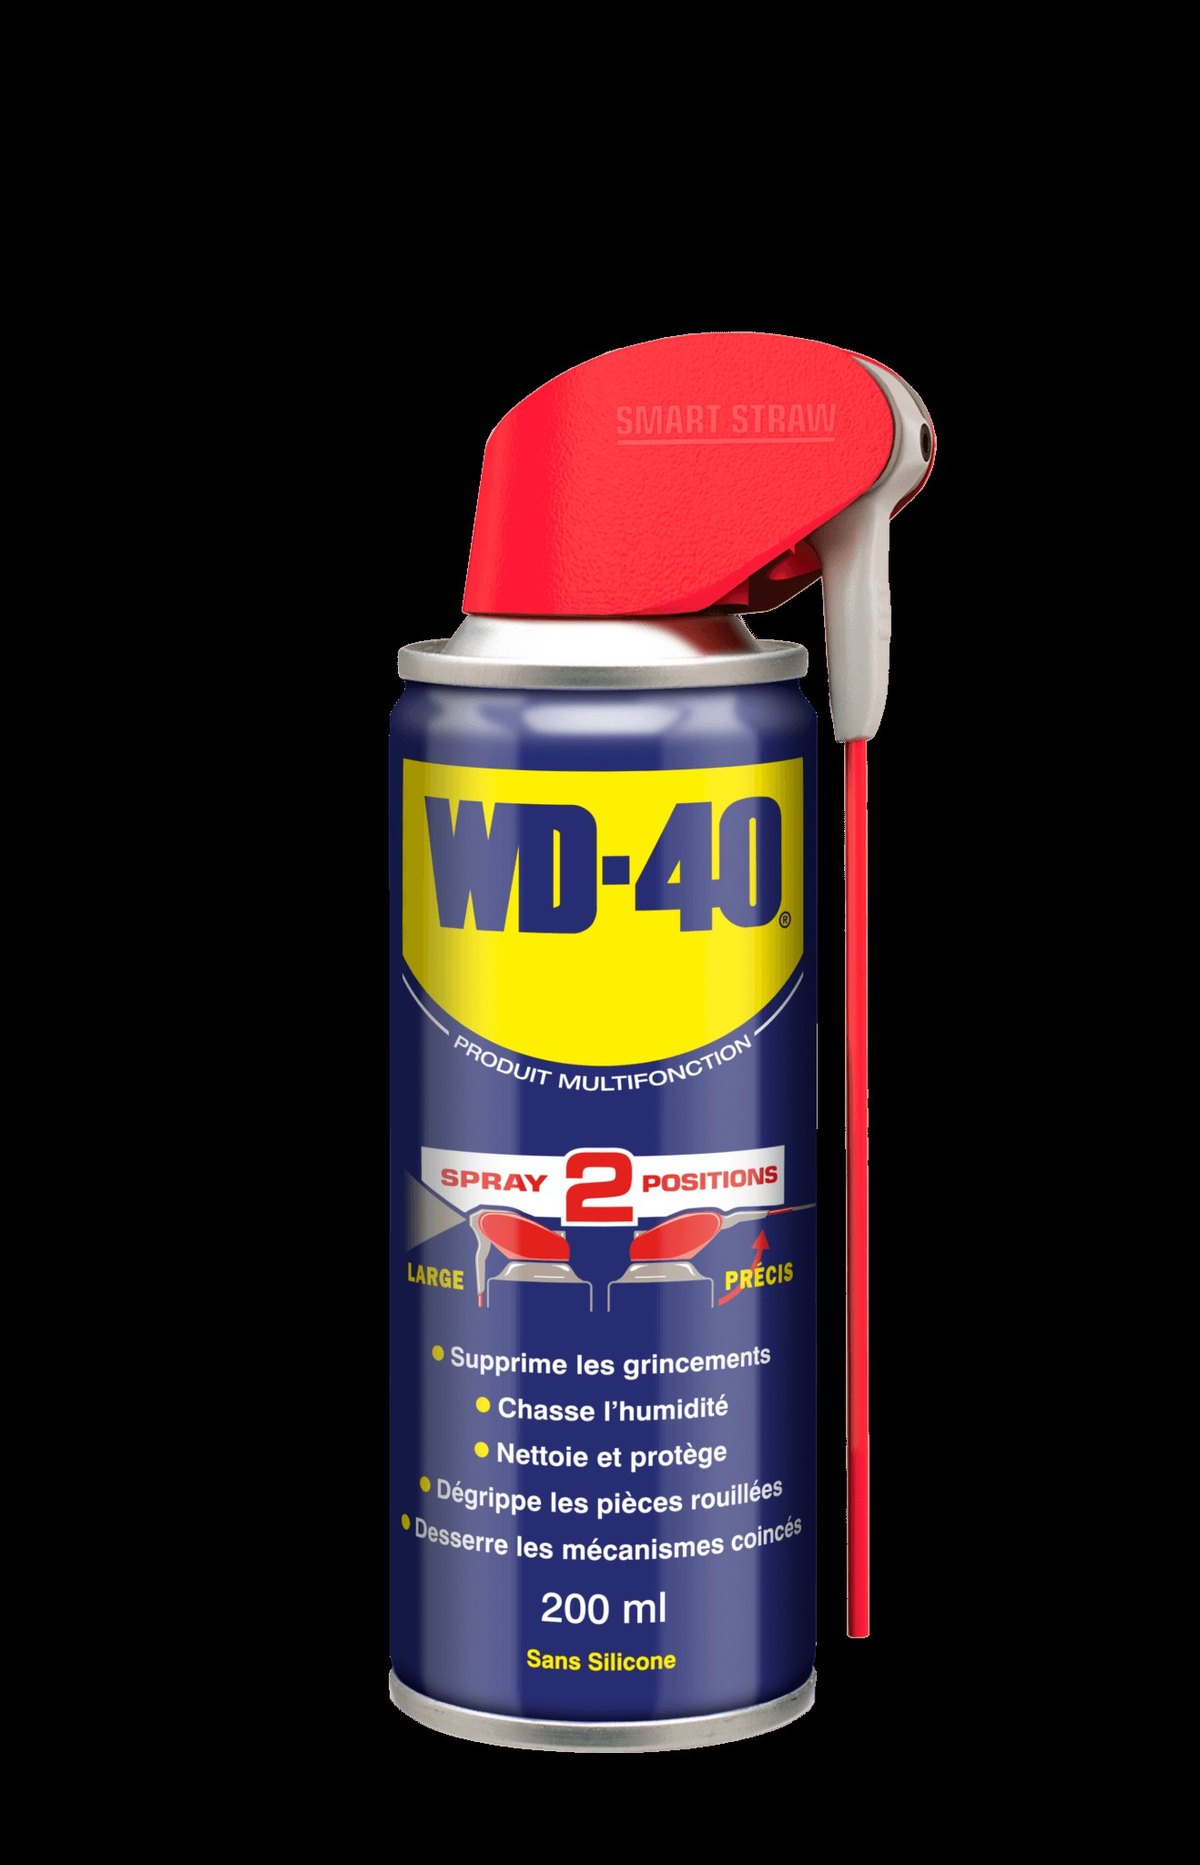
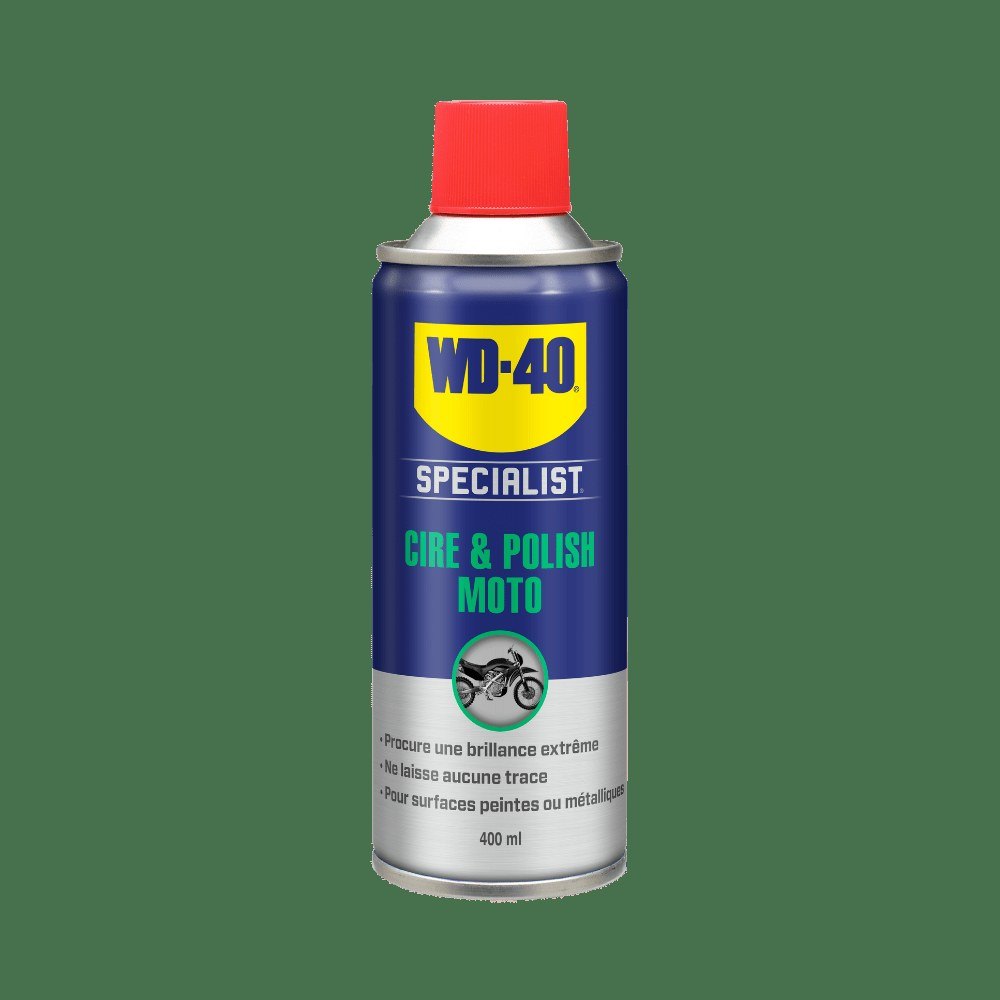
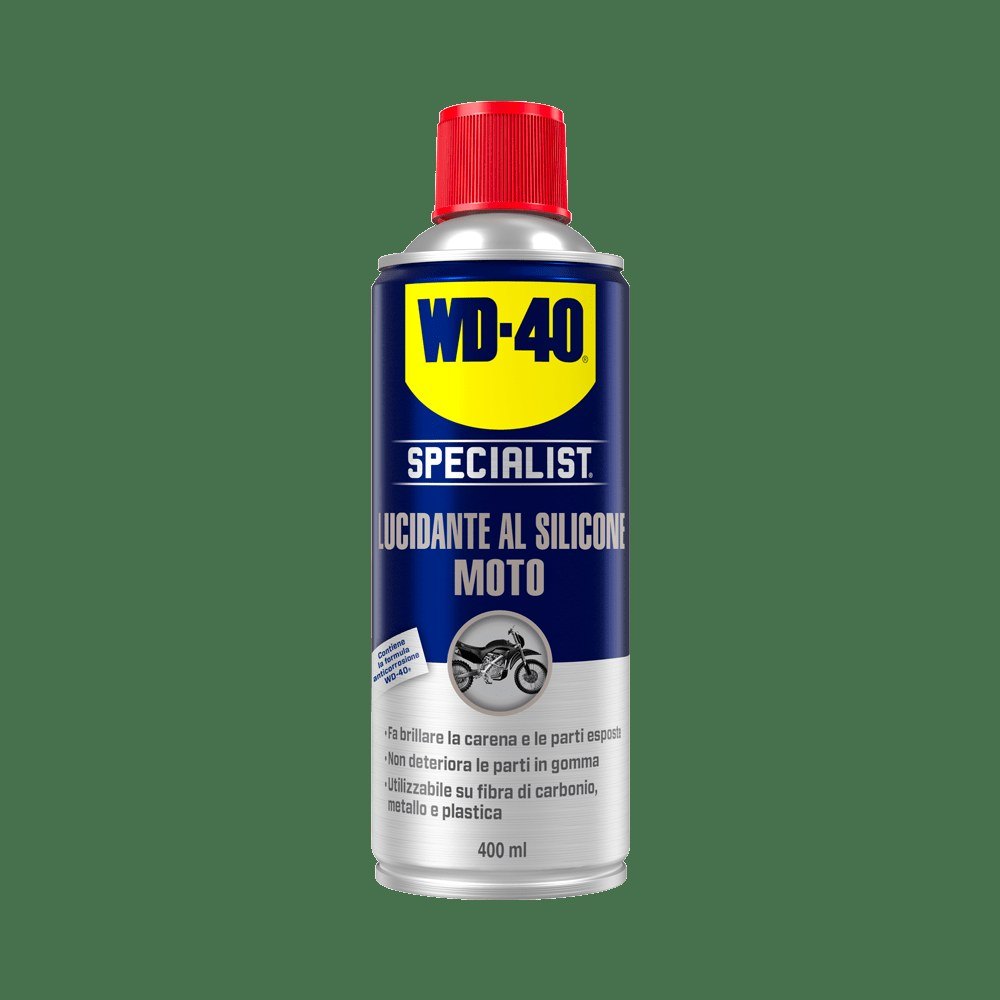
For painted and smooth fairings, mudguards and covers, shake WD-40 Specialist Silicone and spray an even coat from 15-20 cm. Buff with a soft microfibre cloth to a uniform gloss.
Near the seat, brakes and tyres, spray onto the cloth first and then wipe the part. Silicone leaves a water-repellent layer, so dirt and water cling less afterwards.
Step 6
Protect rubber seals
Wipe rubber seals, gaiters and dust boots with silicone applied to a cloth. The rubber stays supple and is less likely to crack in sun and frost.
Tip: Use the two-bucket method: one bucket with shampoo and one with clean water to rinse the mitt. That way grit does not go back onto the plastic and you get far fewer fine scratches.
What next
Wash the bike at least once a month during the season and after every ride in the rain, renewing the silicone every few washes. WD-40 Multi-Use is also handy for protecting chrome from moisture and for cables and locks.
These uses come from the experience of WD-40 users in many countries. Always follow the instructions and warnings on the product label.
More guides in «How to use».