Iron gates are constantly exposed to rain, snow, frost and road dust. Over time rust and grit get into the hinges, the leaves become harder and harder to swing, the drop bolt at the bottom no longer fits its socket and the lock will not catch.
On top of that, large leaves gradually sag under their own weight and go out of square: they rub against each other or no longer meet closely enough for the latch to engage. Most of this can be fixed in an hour without welding.
What you will need
Important: A gate leaf is heavy: support it securely with wedges while adjusting and work with a helper. If the gate has an electric operator, switch off its power before you start. Wear gloves and safety glasses when spraying overhead.
Step 1
Free the hinges
Hinges suffer from two things: rust and dirt that has got into the pivot. Paint cannot protect them because metal rubs on metal, so only lubrication does the job.
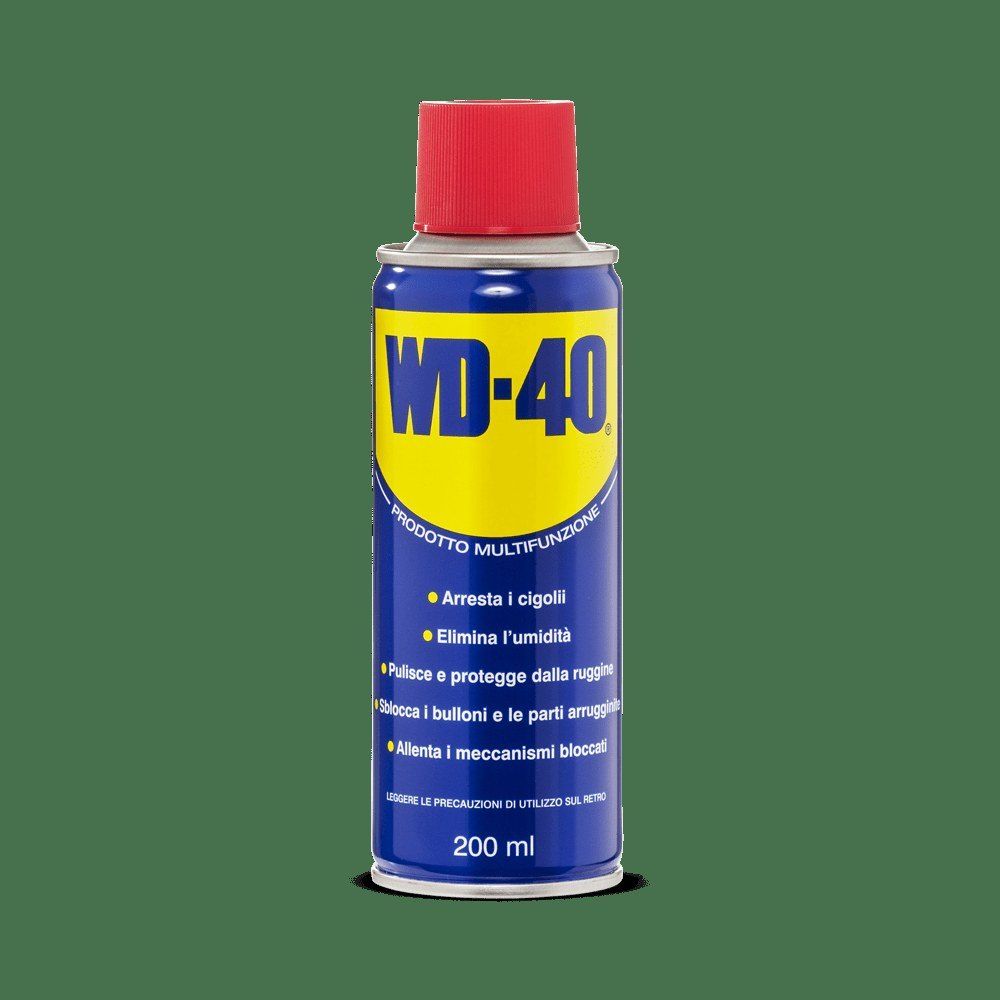
If a leaf is stiff to swing, spray WD-40 Multi-Use onto the bottom hinge seat and the top hinge, wait a few minutes and slowly swing the leaf back and forth several times. For badly seized hinges, use WD-40 Specialist Penetrant.
Step 2
Clean and grease the hinges
Once movement is back, clean the hinges thoroughly with a brass brush to remove rust, grit and old dirt.
Apply WD-40 Specialist White Lithium Grease to every pivot. It clings, does not run, resists rain and protects against corrosion, so the hinges stay smooth even in winter.
Step 3
Free the drop bolt
The vertical drop bolt at the bottom of the leaf holds it shut. If it is stiff, use the straw to apply WD-40 Multi-Use where the bolt meets the leaf and its brackets. A few light hammer taps up and down will restore movement.
Then apply a little of the same grease you used on the hinges to these spots so the bolt slides smoothly. Clean out the ground socket too, as sand and ice pack into it.
Step 4
Loosen the adjusting bolts
If the drop bolt misses its socket and the leaves rub, the gate is out of square. Adjustment is usually made at the top hinges, where a large bolt and nut pass through a slotted lug on the leaf and the bracket on the post.
These bolts often seize under layers of paint and rust, so first soak them with WD-40 Specialist Penetrant and give it time to get into the thread.
Step 5
Set the leaf and lock it in place
Using two spanners, loosen the nut until the bolt is free. Supporting the leaf with wooden wedges, raise or lower it and set it exactly vertical with a spirit level.
You know it is right when the lock closes easily and precisely and the drop bolt slides freely into its socket. Then tighten the bolt firmly and grease the whole assembly just like the hinges.
Step 6
Check the lock
Use the straw on WD-40 Smart Straw to spray into the keyway and onto the latch, turn the key a few times and open and close the gate. Wipe off any excess so it does not attract dust.
Tip: Before the first frosts, lubricate the hinges, drop bolt and lock and clean out the drop bolt socket: water frozen in a pivot or socket can lock the gate just when you need to drive out.
What next
Service the gate twice a year, in autumn and spring, and check the drop bolt after heavy rain or a thaw. The same can of multi-use spray also helps with garden gates, garage doors, padlocks and garden tools.
These uses come from the experience of WD-40 users in many countries. Always follow the instructions and warnings on the product label.
More guides in «How to use».