A dripping tap is irritating and wastes water: even occasional drips from a faulty mixer can add up to around 13 litres a day. Water under the sink also ruins the cabinet.
Most minor faults can be fixed yourself: replace a worn washer, headgear or cartridge and clean the aerator. The key is to find the right cause and avoid snapping seized parts while dismantling.
What you will need
Important: Before dismantling, shut off the water at the isolation valves or main stopcock and open the tap to release the pressure. Take the old parts to the shop so you can match them exactly.
Step 1
Find the cause
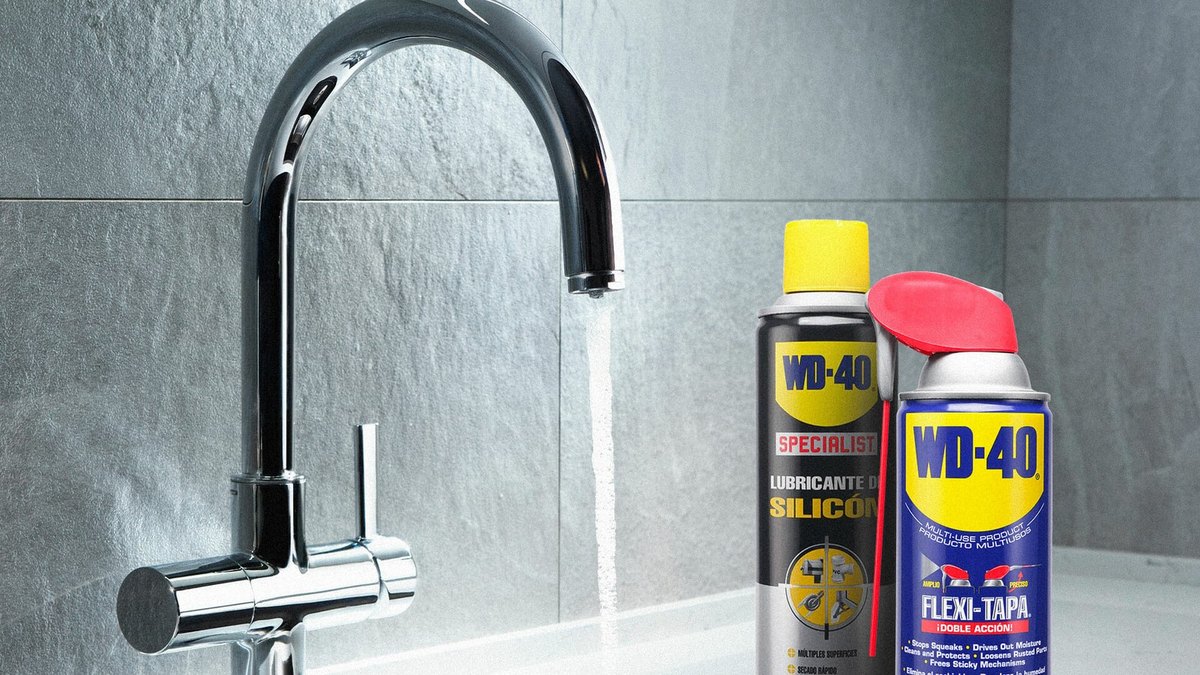
Check your taps regularly: leaks under the handle, stiff movement, an uneven flow and drips from the spout all signal a problem. Water dripping from the spout with the tap closed usually means a worn washer or headgear. Water seeping from under the handle points to the spindle seal. A weak flow at a single tap is usually caused by a blocked aerator.
Step 2
Remove the handle
The handle is usually held by a screw under a decorative cap on the top or side. Prise off the cap and undo the screw. If the screw is seized, apply a drop of penetrating spray and wait a few minutes. Remove the handle and the shroud.
Step 3
Replace the washer
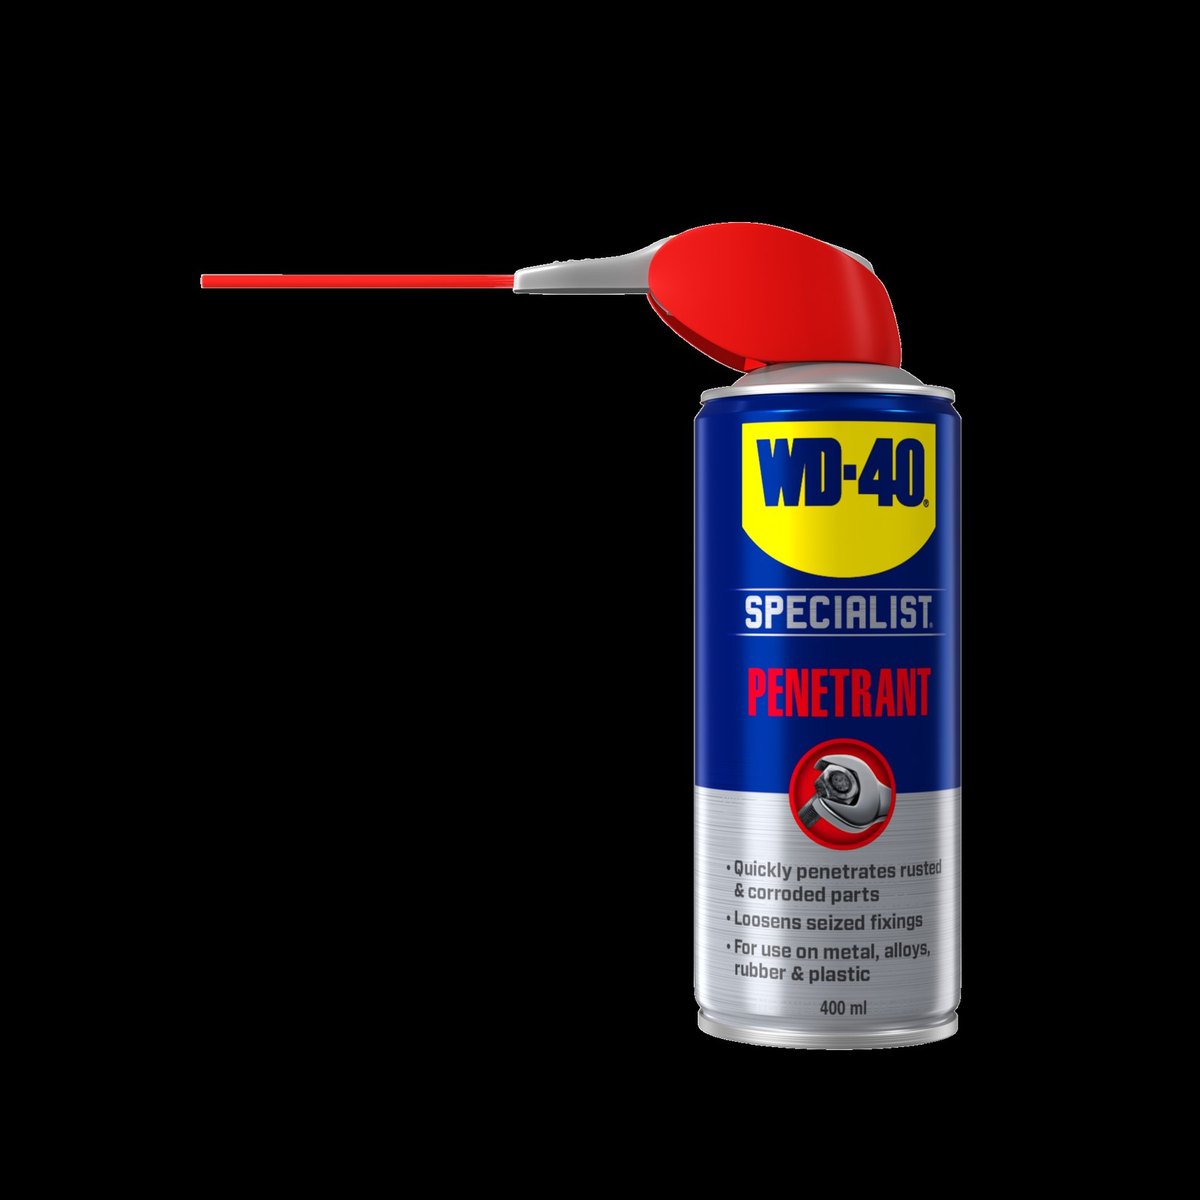
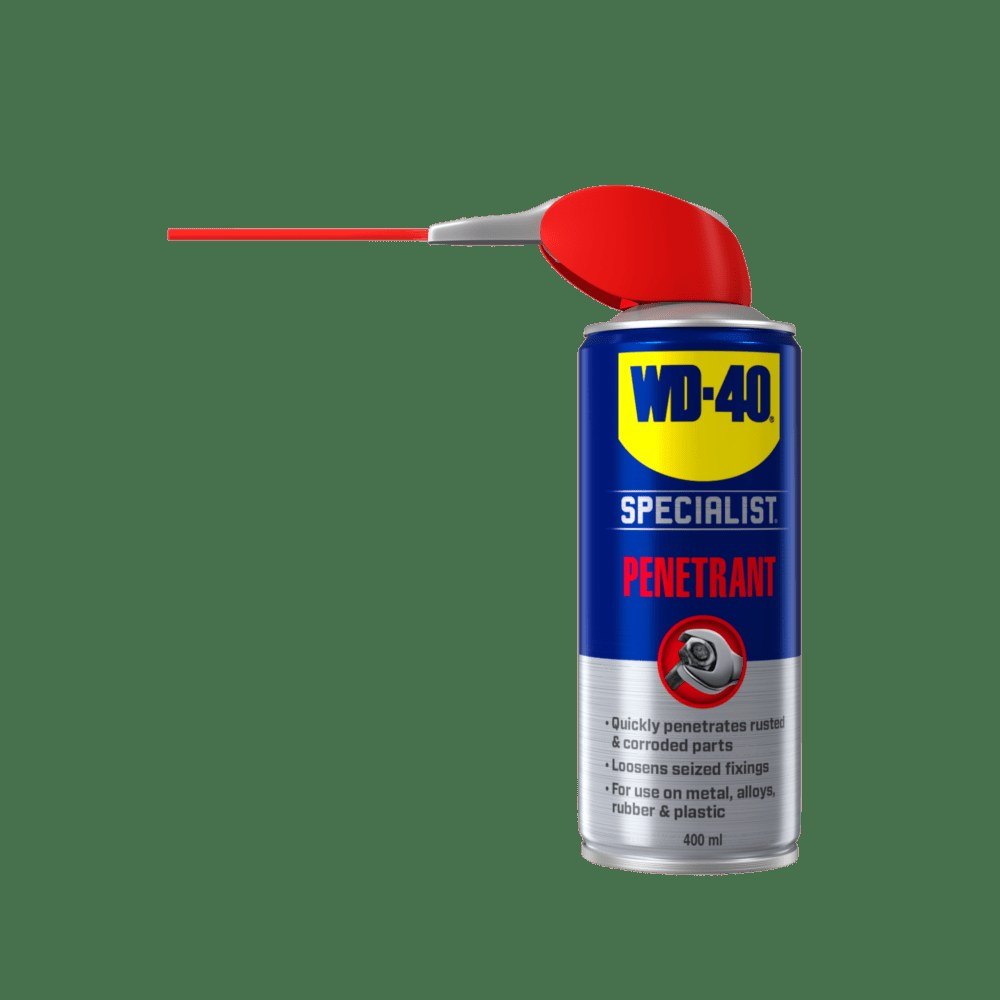
Treat the headgear nut with WD-40 Specialist Penetrant so it undoes more easily, then unscrew the headgear anticlockwise with a spanner. Remove the worn washer, clean deposits from the seat and thread, and fit a new washer of the correct diameter.
Before reassembly, give the washer and O-rings a light coat of WD-40 Specialist Silicone: silicone keeps rubber supple and helps prevent new leaks.
Step 4
Replace the headgear or cartridge
If the tap squeaks, the handle has limited travel or water still runs after a new washer, the headgear is damaged. Unscrew it as in the previous step and fit a new one, making sure it matches your tap in size and number of splines. Refit the shroud and handle.
Step 5
Clean the aerator
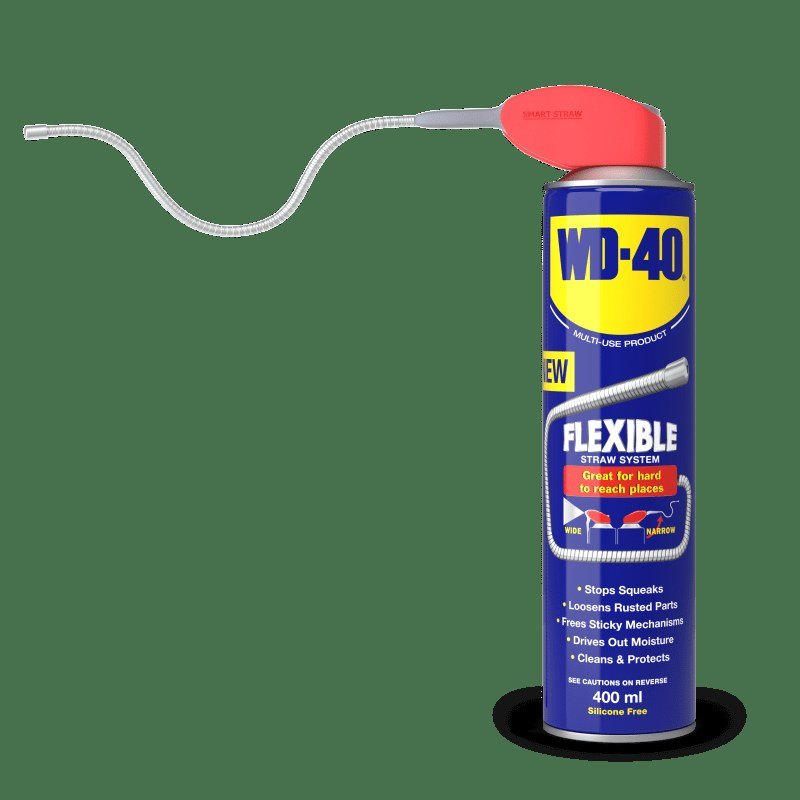
The aerator at the end of the spout saves water but quickly scales up, making the flow uneven. Unscrew it by hand; if it will not move, apply WD-40 Multi-Use, wait, then carefully use a spanner through a cloth.
Take the aerator apart, soak the parts in vinegar solution, scrub with an old toothbrush and rinse. Refit it and run the water briefly to flush out any remaining dirt. A badly damaged aerator is easier to replace.
Step 6
Know when to call a plumber
Modern taps can usually be repaired at home. But if the tap is old, the body is cracked, water leaks from the wall union nuts or you are unsure of the result, call a plumber.
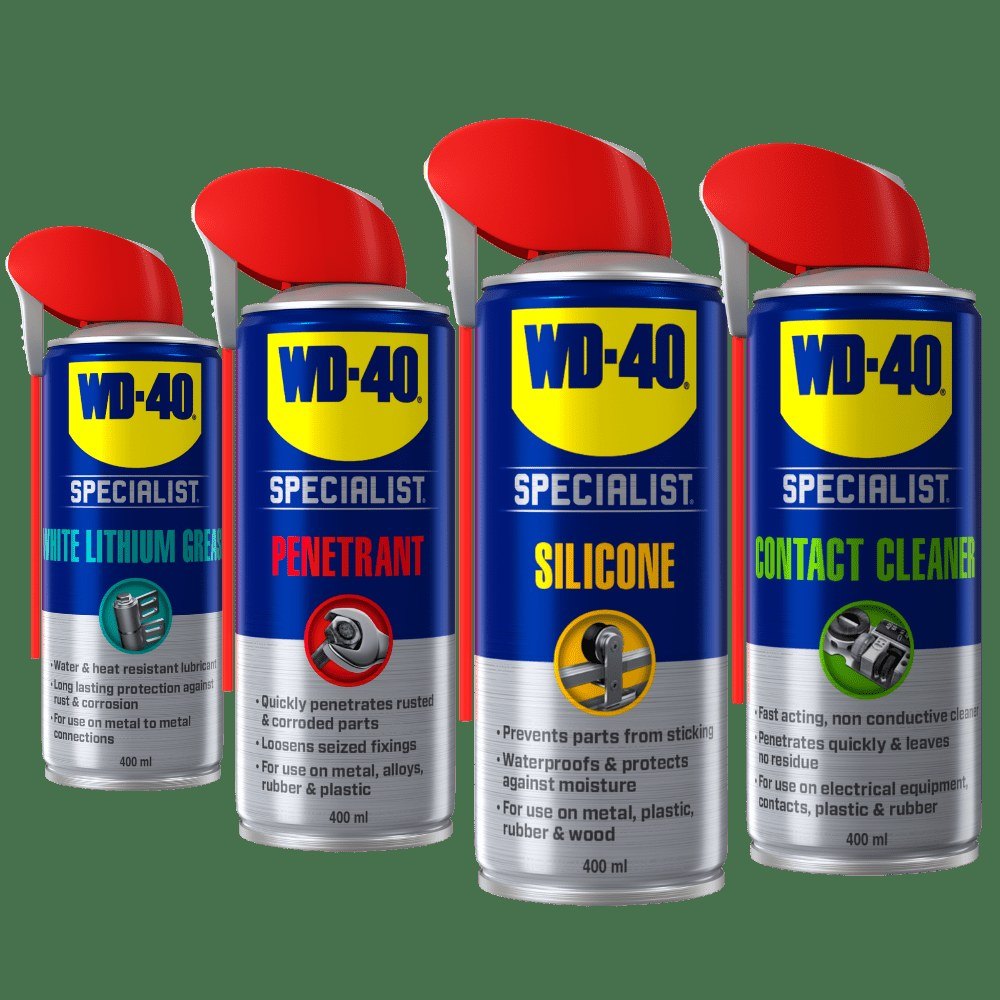
Tip: Once the handle is off, treat the spindle splines and the inside of the handle with silicone lubricant: the handle will move more smoothly and come off easily next time.
What next
After the repair, check your taps every few months and clean the aerators regularly in hard water areas. Replacing a washer in good time costs far less than a water bill or repairing the neighbours' ceiling.
These uses come from the experience of WD-40 users in many countries. Always follow the instructions and warnings on the product label.
More guides in «How to use».