An old mixer that is eaten away by limescale, awkward to use or always dripping can be replaced without a plumber.
Compression taps, ball valve taps and single-lever cartridge mixers are fixed in different ways. We cover three typical cases: a deck-mounted kitchen mixer, a wall-mounted mixer and an outdoor tap, and show how to avoid stripping seized nuts and how to make the new tap's seals last longer.
What you will need
Important: Turn off the hot and cold supply, open the old tap and drain the pipes. Before buying, measure the hole in the sink or the distance between the wall outlets so the new mixer fits.
Step 1
Remove the old sink mixer
Under the sink, find the two flexible hoses running from the mixer to the hot and cold isolation valves. Undo their union nuts with a spanner, holding a bowl underneath for residual water.
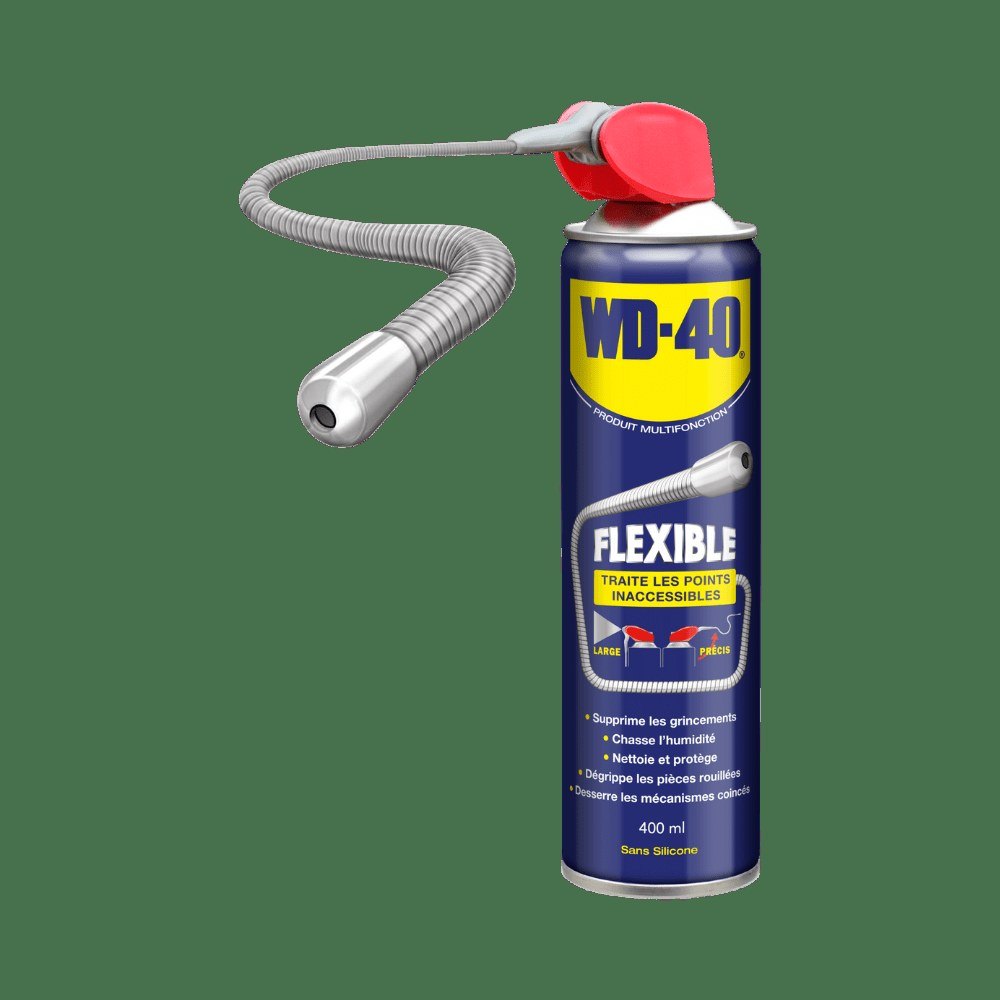
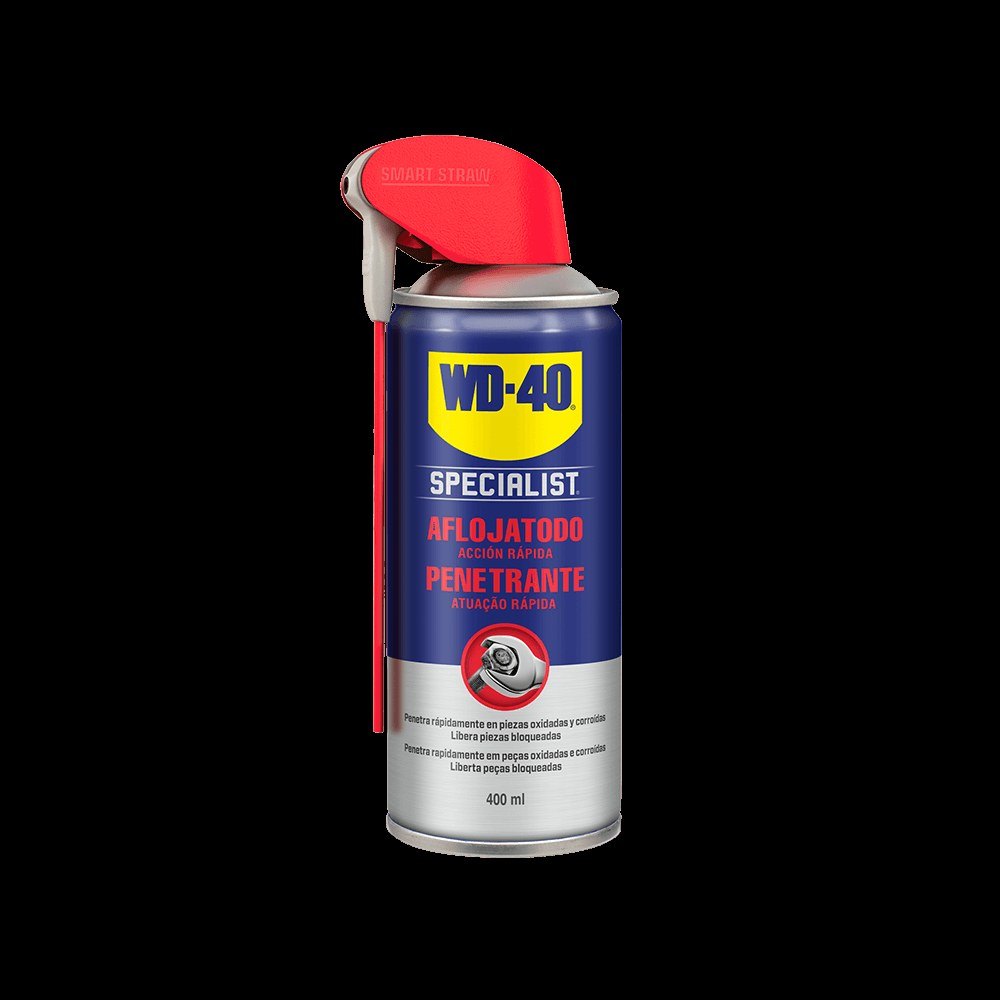
Then undo the large nut or half-moon clamping plate that holds the mixer from below. Treat seized nuts with WD-40 Specialist Penetrant and wait a few minutes: it is water resistant and works even on wet threads. Hold the mixer from above or wrap it in a cloth so it does not scratch the sink.
Step 2
Clean the mounting area
Limescale and dirt usually remain around the hole in the sink. Clean the surface thoroughly so the new seal sits tightly. Check that the hole is the right size; if not, enlarge it carefully with a file.
Step 3
Prepare the new mixer
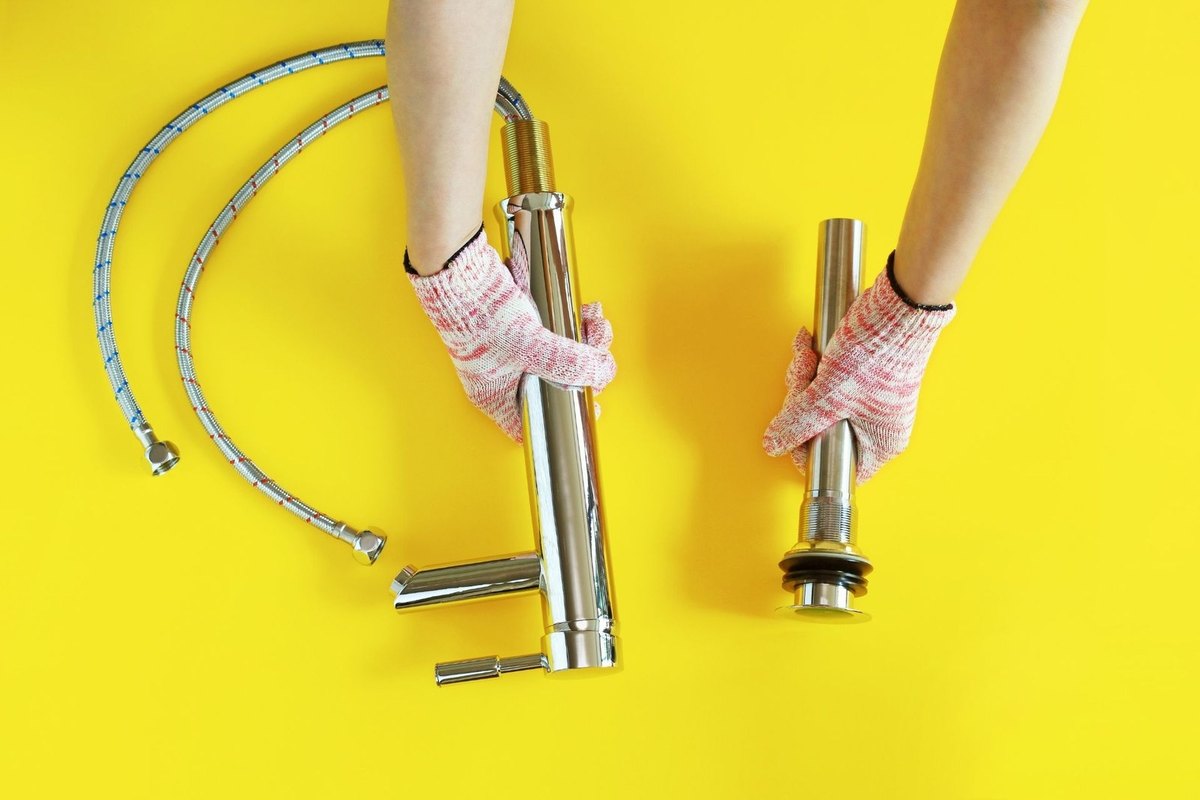
Screw the supplied hoses and the fixing stud into the base of the mixer, if the stud is not already fitted. Place the rubber seal under the base.
Give the seal a light coat of WD-40 Specialist Silicone: it makes fitting easier and protects the rubber from cracking and premature wear, which reduces the risk of leaks later on.
Step 4
Secure the mixer
Feed the hoses through the hole and set the mixer in place, fitting any rings or trim parts in the order given in the manufacturer's instructions. From below, slide the seal and the clamping washer, usually crescent shaped, onto the stud and run on the nut.
Step 5
Connect the hoses and test
Make sure there is a washer in each hose nut. Hot water goes on the left, cold on the right. Start the nuts by hand, then nip them up with a spanner without excessive force.
Turn the water back on, run the mixer in every position and check the joints underneath carefully: they must stay dry.
Step 6
Wall-mounted and outdoor taps
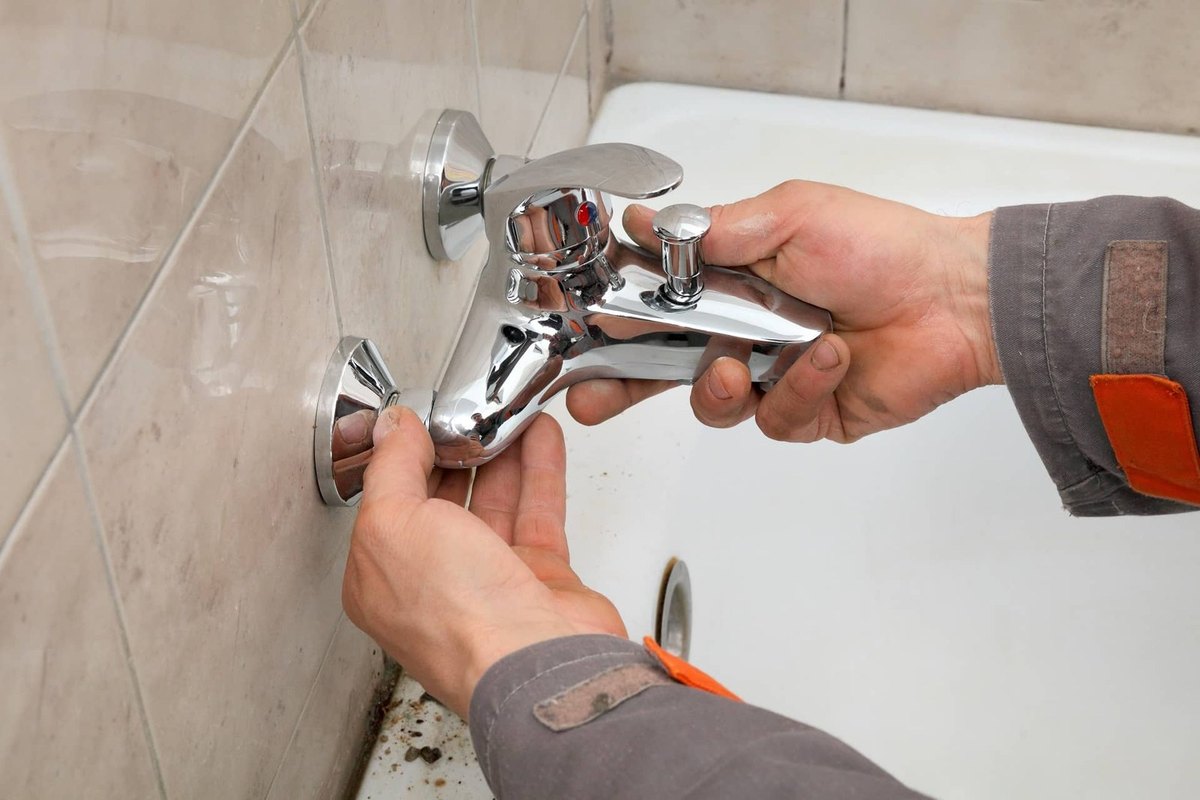
A wall-mounted mixer comes off once you undo the two union nuts on the offset connectors. The offset connectors can stay or be replaced with new ones, but they will need turning to match the centres of the new mixer.
An outdoor tap is unscrewed anticlockwise with a pipe wrench gripped close to the thread. Clean the wall socket thread with a brush, and if you are not fitting the new tap straight away, close it with a cap.
Tip: Before fitting, wipe the threads of the offset connectors and outdoor tap with a cloth and a drop of
WD-40 Multi-Use, so the next replacement will not turn into a battle with rust, especially after winter.
What next
Your new mixer is ready to use. Check the joints under the sink for moisture every six months and keep the seals and moving parts lubricated to prevent leaks and seizing.
These uses come from the experience of WD-40 users in many countries. Always follow the instructions and warnings on the product label.
More guides in «How to use».