On a building site, a tool that jams at the wrong moment can stop the whole job. The drill squeaks, the chuck will not grip the bit, the grinder flange refuses to undo, the switch works only now and then. The cause is almost always one of three things: site dust, moisture and corrosion.
In autumn and winter, condensation in unheated buildings speeds up rust. Here is a quick routine that gets a tool working again right on site in 15-20 minutes.
What you will need
Important: Before doing anything, unplug the tool or remove the battery. Never spray a tool that is switched on, and only run it once the cleaner has fully evaporated.
Step 1
Disconnect the power and remove dust
Unplug the tool or take out the battery so an accidental press of the trigger cannot cause injury. Use a dry cloth or brush to clear dust from the housing, chuck, flanges and ventilation slots.
Do not skip this: cement and plaster dust mixed with lubricant turns into an abrasive paste.
Step 2
Free the seized parts
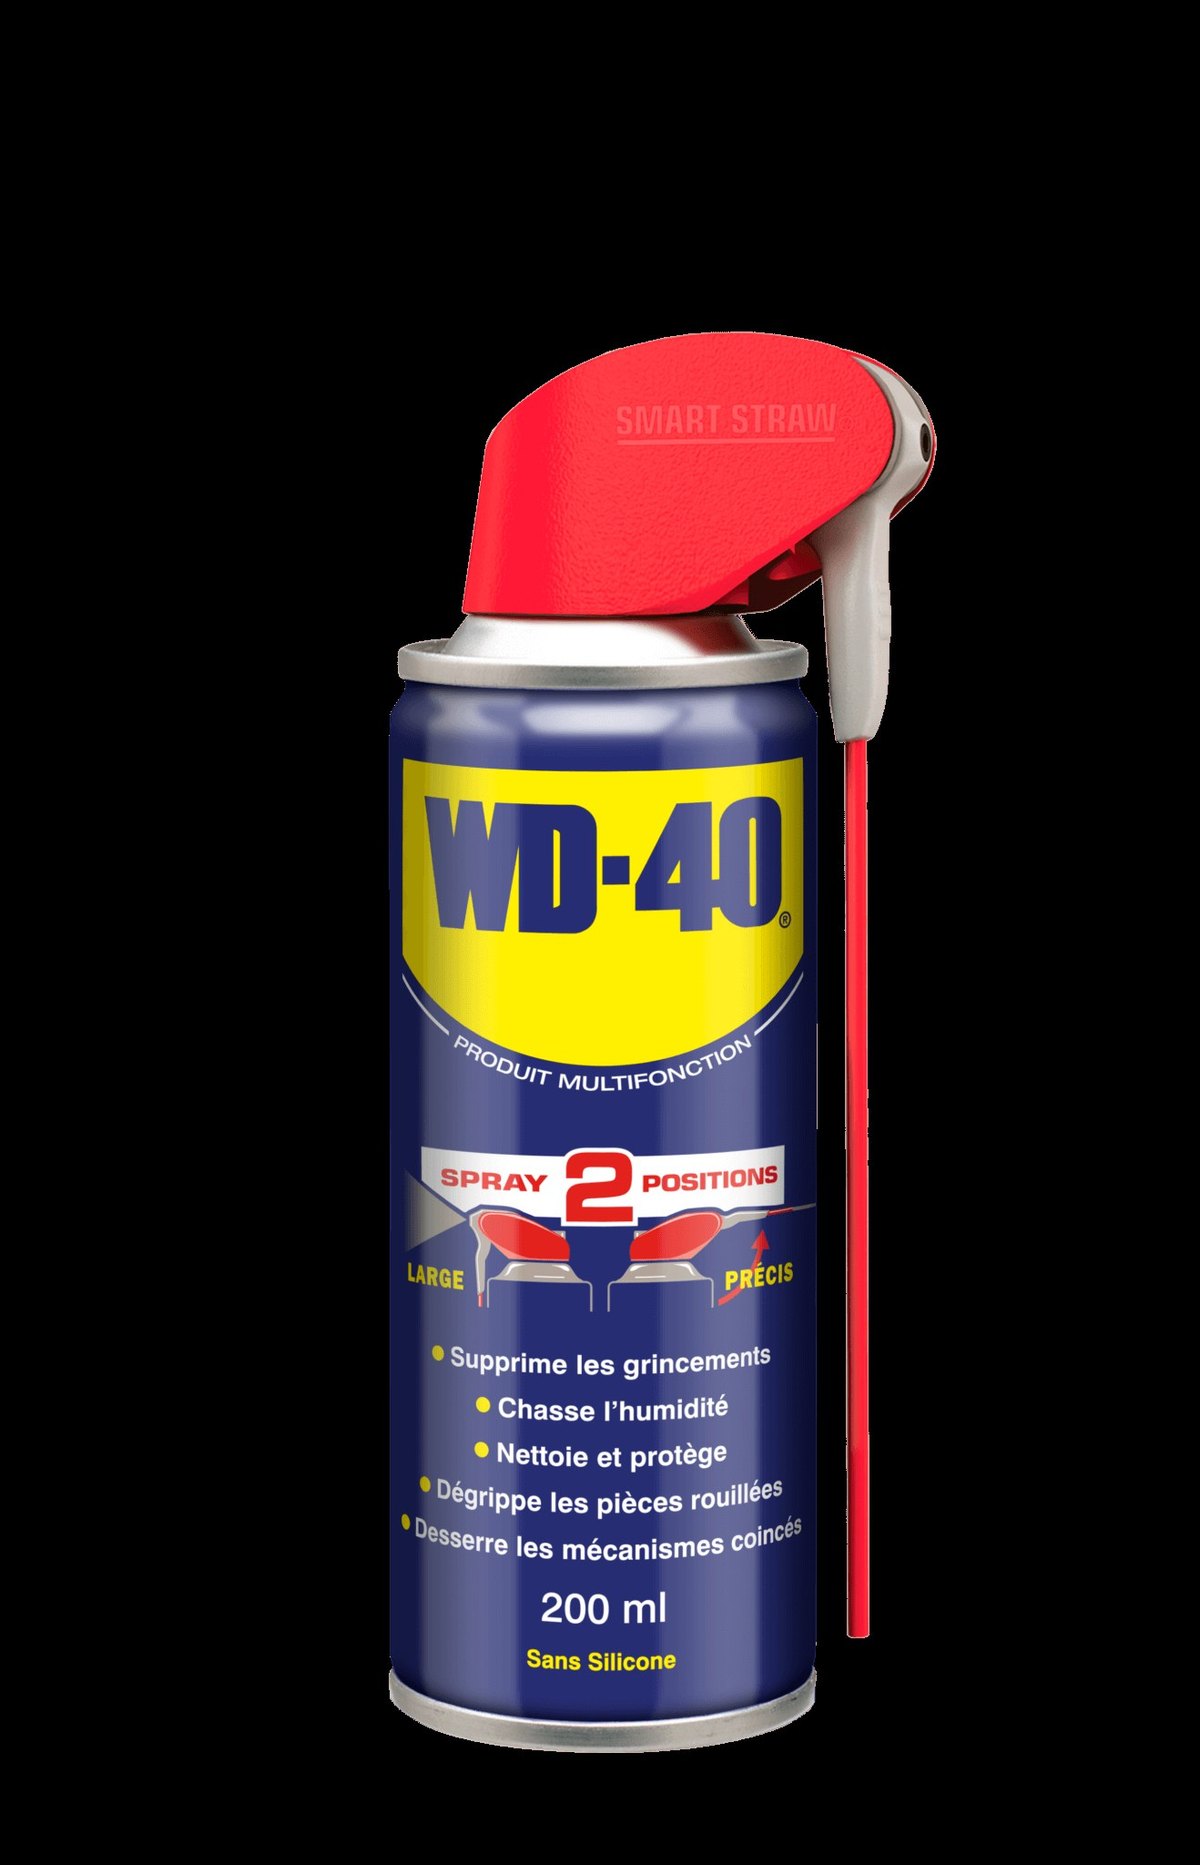
Apply WD-40 Specialist Penetrant to the chuck jaws, the grinder locking nut thread, fixing screws or any rusted mechanism. Use the straw to get the product right into the gaps.
Wait a few minutes for it to work its way under rust and dirt, then carefully turn the part in both directions. If it does not move, apply again. Do not hit the chuck with a hammer: you can damage the bearings.
Step 3
Clean the switch and contacts
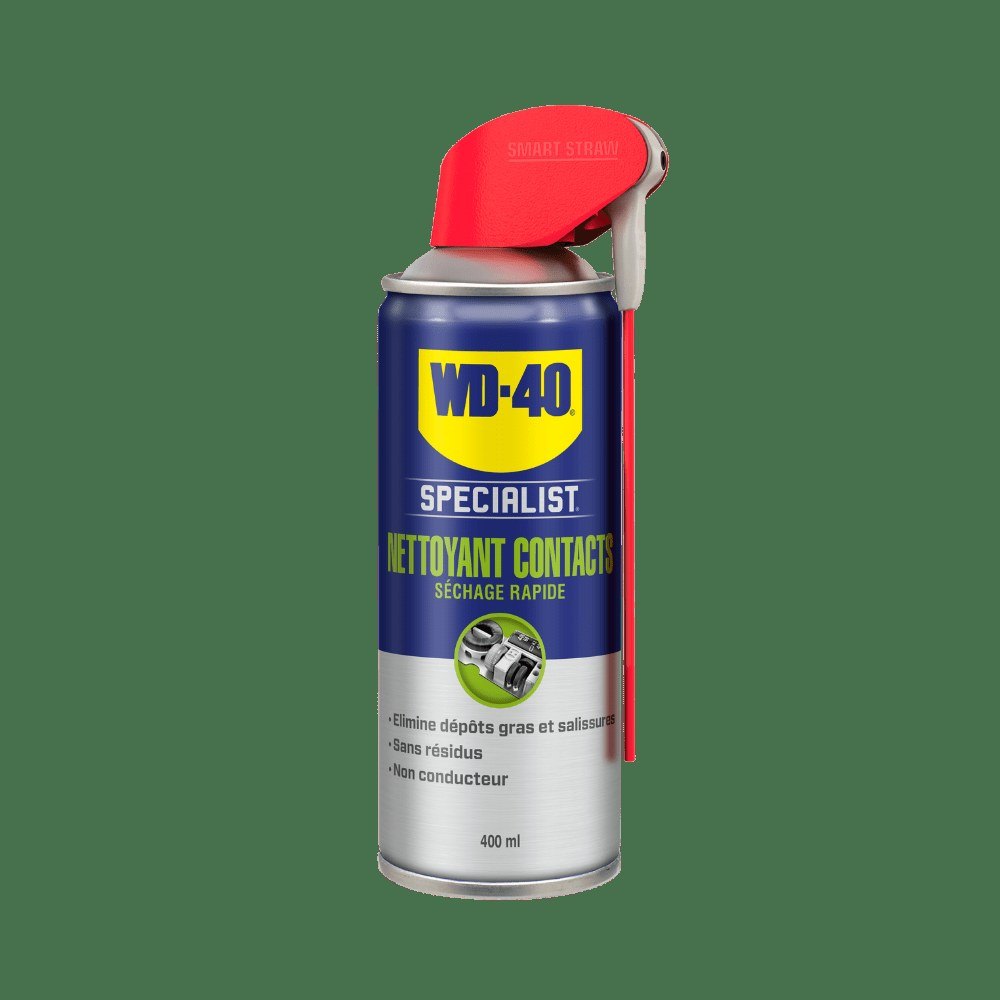
If the tool starts only intermittently or sparks, dust and moisture on the contacts are often to blame. Treat the battery connector, charger terminals and the area around the switch with WD-40 Specialist Contact Cleaner.
It evaporates quickly and leaves no film. Wait until it is completely dry before refitting the battery.
Step 4
Lubricate the moving parts
Apply a thin coat of WD-40 Specialist Silicone to the chuck jaws, mode selectors, guides and catches. Silicone attracts less dust than heavy grease and repels moisture.
Wipe off any excess straight away with microfibre: on site every extra drop collects dust.
Step 5
Test the tool
Refit the battery or plug the tool in and run it with no load for a few seconds. Check that the chuck grips properly and the disc runs true.
If you hear unusual noise, smell burning or the tool heats up without load, stop: it needs a service workshop.
Tip: Keep a
pocket-size WD-40 100 ml in the toolbox. At the end of the day in the damp season, a quick wipe of metal parts protects them from rust overnight in a cold site cabin or garage.
What next
Clear dust from your tools daily and treat the chuck and flanges once a week of heavy use. For crews and workshops it pays to keep WD-40 Specialist Penetrant and WD-40 Specialist Contact Cleaner permanently on site.
These uses come from the experience of WD-40 users in many countries. Always follow the instructions and warnings on the product label.
More guides in «How to use».