You need to remove the trap under a sink when it drains slowly, when a ring has fallen down the plughole, or when you replace the waste outlet. Over the years, though, the nuts get coated in limescale and metal parts corrode, and the trap seems welded to the pipe.
The key is not to force it: thin plastic or brass cracks easily. A penetrating product softens the deposits and corrosion in the thread, so the nut gives way without damage.
What you will need
Important: Do not use excessive force on plastic nuts or thin-walled chrome tubes: they crack. The contents of a trap are dirty, so wear gloves and keep the bucket directly underneath.
Step 1
Remove the trap
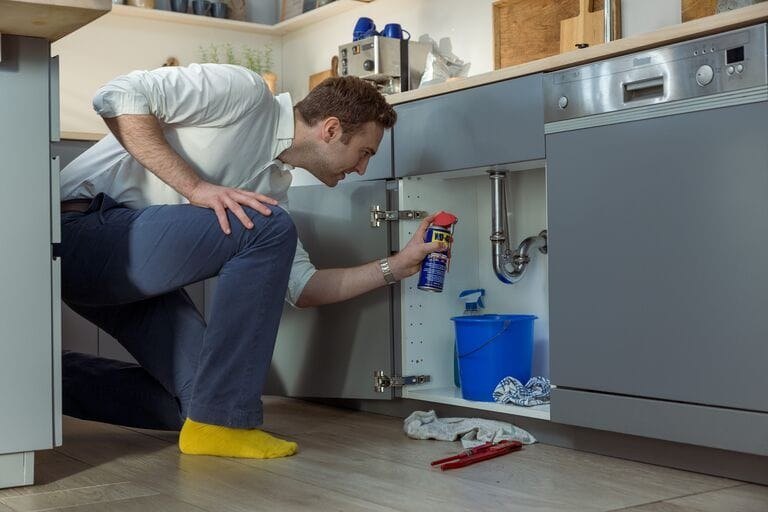
Turn off the water and put a bucket under the sink. Use pliers to undo the slip nut joining the trap to the sink outlet and the nut on the waste pipe.
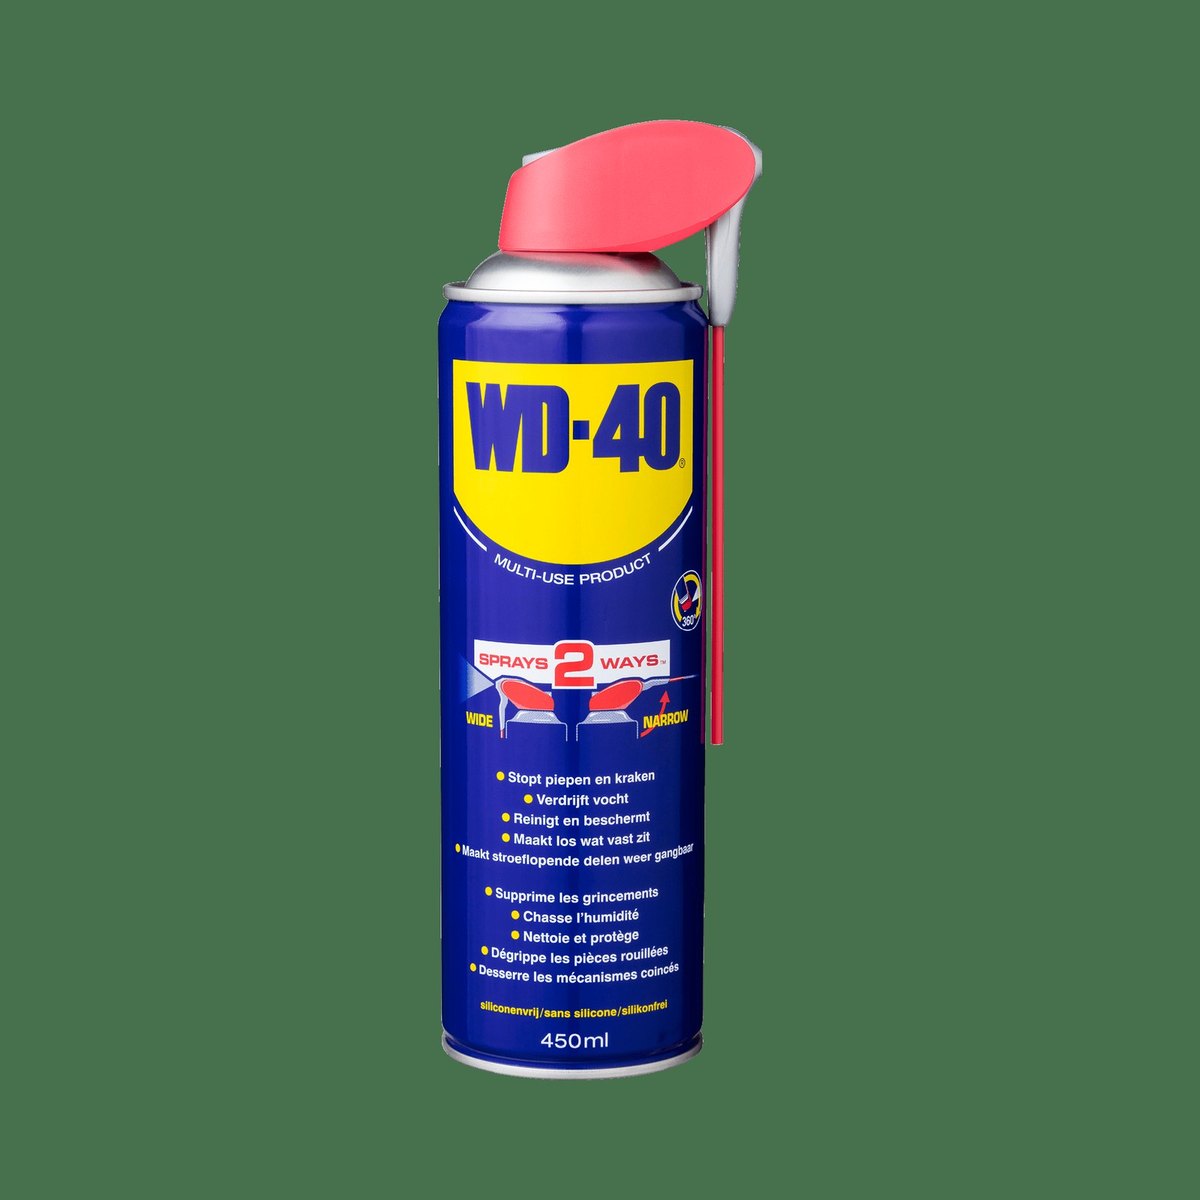
If the nut will not move because of limescale or corrosion, apply WD-40 Smart Straw through the thin straw right into the thread, wait a few minutes and try again. The product works into the deposits and frees the metal. For badly corroded brass nuts, WD-40 Specialist Penetrant is more effective.
Step 2
Clean the trap
Empty the water from the trap into the bucket and look inside. Remove any hair, grease and dirt you can reach and rinse the bottle with hot water and washing-up liquid.
Inspect the washers: if they have hardened or cracked, replace them, or the joint will leak after reassembly.
Step 3
Disconnect the outlet and pop-up rod
If you are replacing the outlet and the basin has a pop-up waste with a rod, first undo the rod connection. Then unscrew the old outlet from below and above.
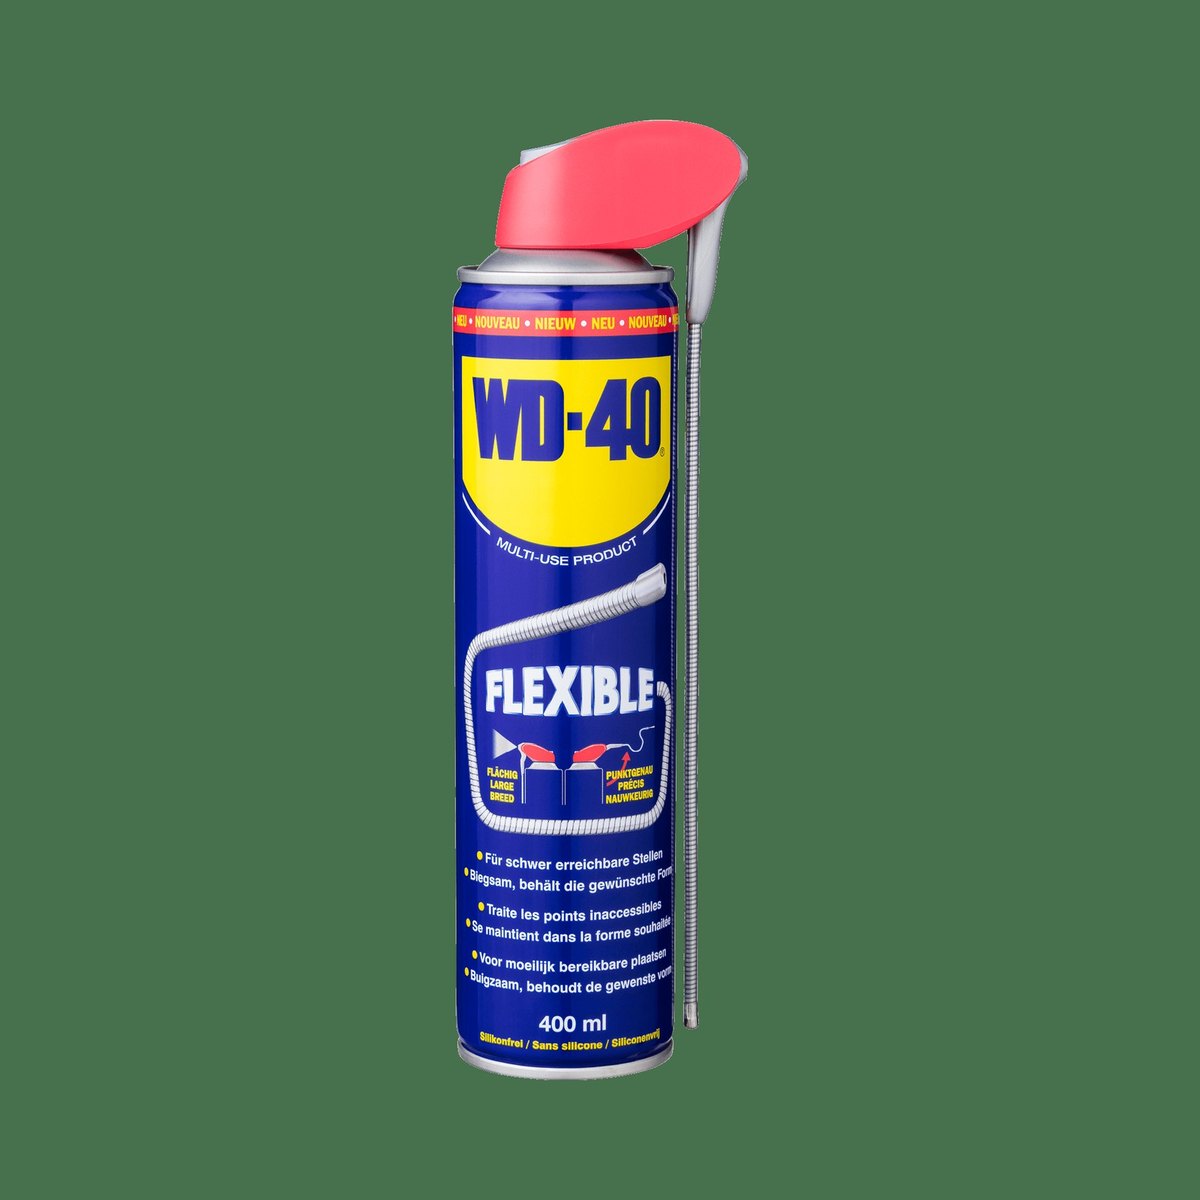
If the top part is stuck, treat the thread with multi-use spray and gently lever it with a screwdriver, taking care not to scratch the ceramic.
Step 4
Prepare the opening
Wipe away old sealant, limescale and dirt from around the plughole. The surface must be clean and dry so the new washer sits flat and does not let water through.
Step 5
Fit the outlet and reassemble the trap
Insert the new outlet with its washers, tighten it and reconnect the pop-up rod if there is one. Refit the trap, tighten the nuts by hand, then nip them up gently with the wrench.
Turn on the water, fill the basin and let it drain while checking every joint with a dry tissue. If anything drips, tighten the nut another quarter turn.
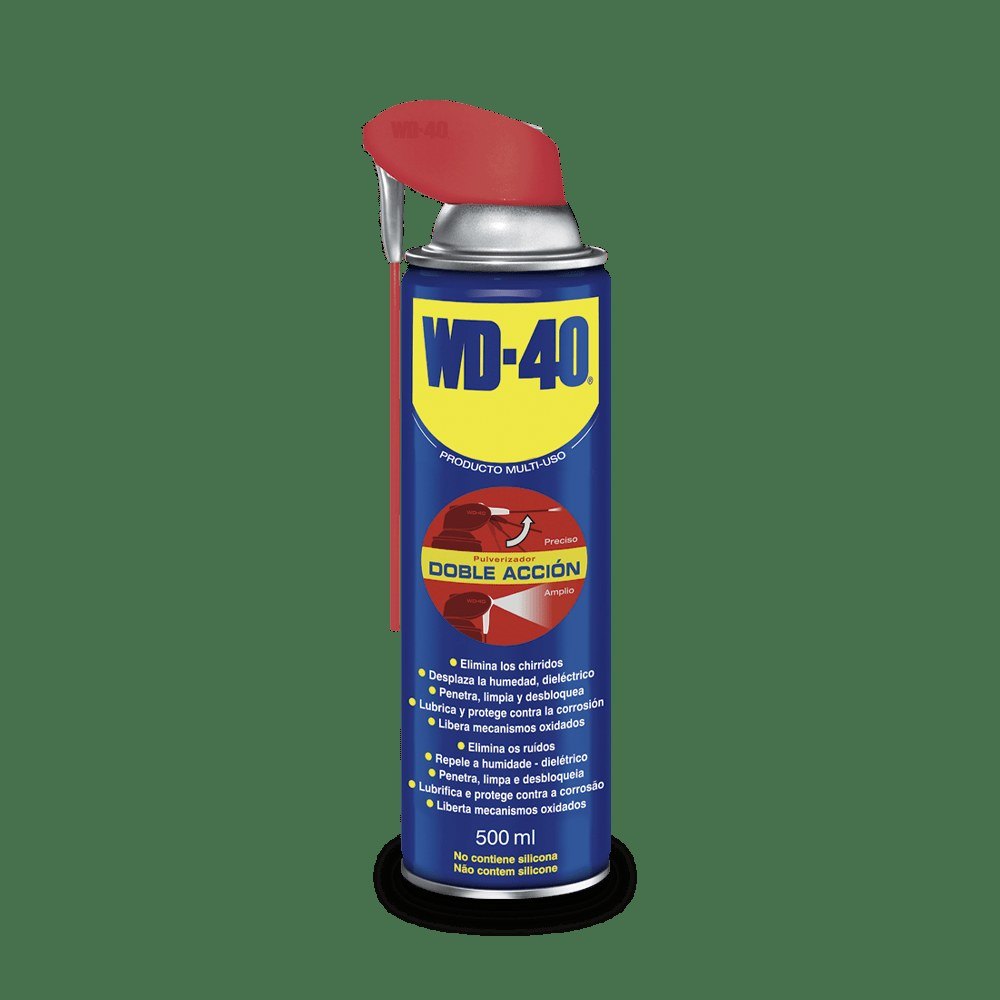
Tip: Before reassembly, coat the threads of metal nuts with a thin layer of
WD-40 Multi-Use. Next time the trap will come off by hand, even after years in a damp cupboard.
What next
Clean the trap every few months as routine, especially in the kitchen where grease builds up. If the sink keeps blocking, see our guide on how to unclog a sink.
These uses come from the experience of WD-40 users in many countries. Always follow the instructions and warnings on the product label.
More guides in «How to use».