The chain carries drive from the engine to the rear wheel, so smooth acceleration, quiet running and safety all depend on it. A dry, dirty or badly adjusted chain snatches when you change gear, stretches faster and wears the sprockets with it.
Check the chain at least every 500-1000 km, and clean and lubricate it straight away after riding in rain, on dirt tracks or on salted winter roads. The whole job takes 30-40 minutes.
What you will need
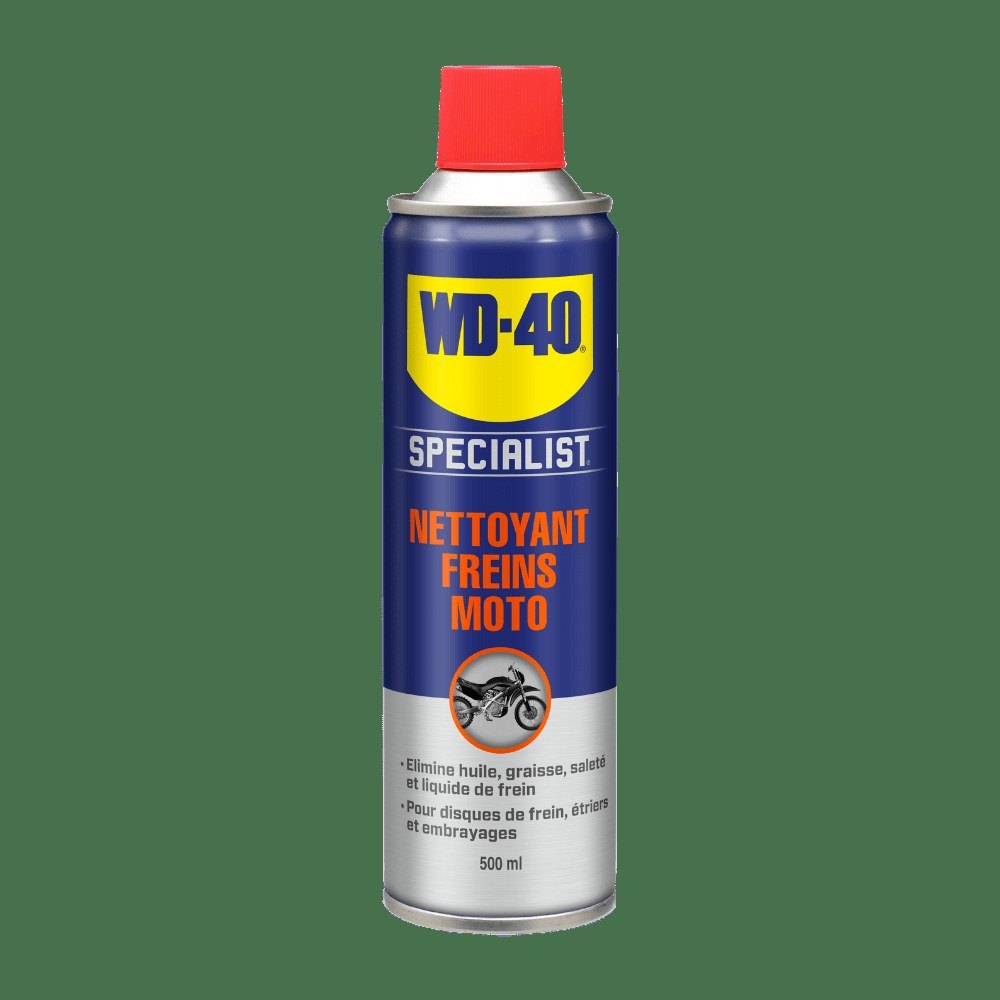
Important: Work only with the engine off and in neutral, turning the wheel by hand. Keep products off the brake disc, pads and tyre; if any gets there, degrease the disc thoroughly and test the brakes before riding.
Step 1
Prepare the bike
Work in a ventilated garage or outdoors. Put the bike on a centre or paddock stand so the rear wheel turns freely, and make sure it is stable.
Lay sheeting on the floor, place a drip tray under the chain and have all your tools ready so you are not interrupted mid-job.
Step 2
Check the chain tension
At the middle of the lower run, measure the distance to a reference point, then push the chain up with a finger and measure again. The difference is the slack.
Compare it with the manufacturer's figure, usually on a sticker on the swingarm or in the owner's manual. Check at several wheel positions, as chains can stretch unevenly.
Step 3
Adjust the tension
Loosen the rear axle nut without removing it. If it is seized, apply a little WD-40 Multi-Use to the thread and wait a few minutes.
Turn the adjuster bolts by the same amount on both sides, checking the marks on the swingarm so the wheel stays aligned. Check the slack again and tighten the axle nut to the torque in the manual.
Step 4
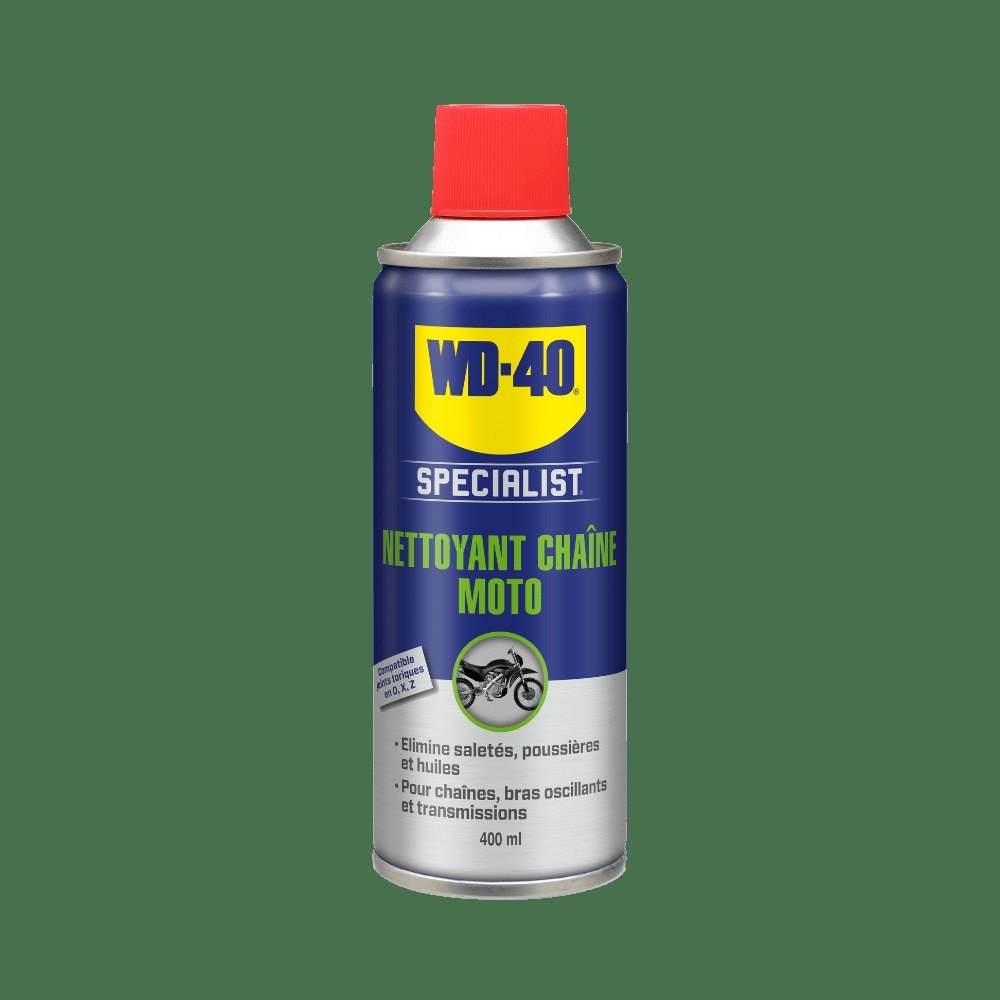
Clean the chain
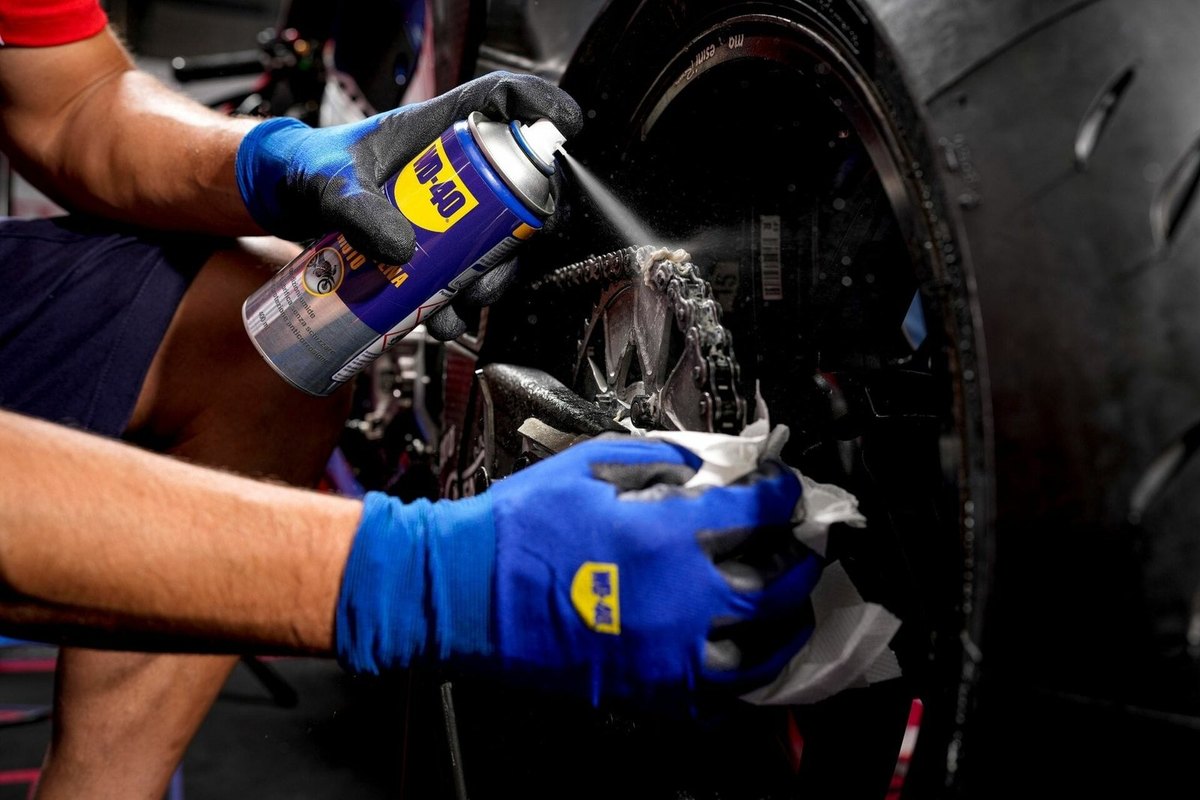
There is no point lubricating a dirty chain: old lubricant mixed with sand and dust becomes an abrasive paste. Turning the wheel slowly, spray WD-40 Multi-Use evenly over the whole chain. The straw of WD-40 Smart Straw reaches between the links and side plates.
Give it a few minutes to dissolve dirt and old lubricant. It does not harm chain seals, so it is suitable for O-ring and X-ring chains too.
Step 5
Brush and dry
Wrap the chain brush round the chain and turn the wheel so the bristles work between the links on all sides. Treat heavily soiled sections again.
Wipe the chain and sprockets dry with a clean cloth. Lubricant only holds well on a clean, dry chain.
Step 6
Lubricate the chain
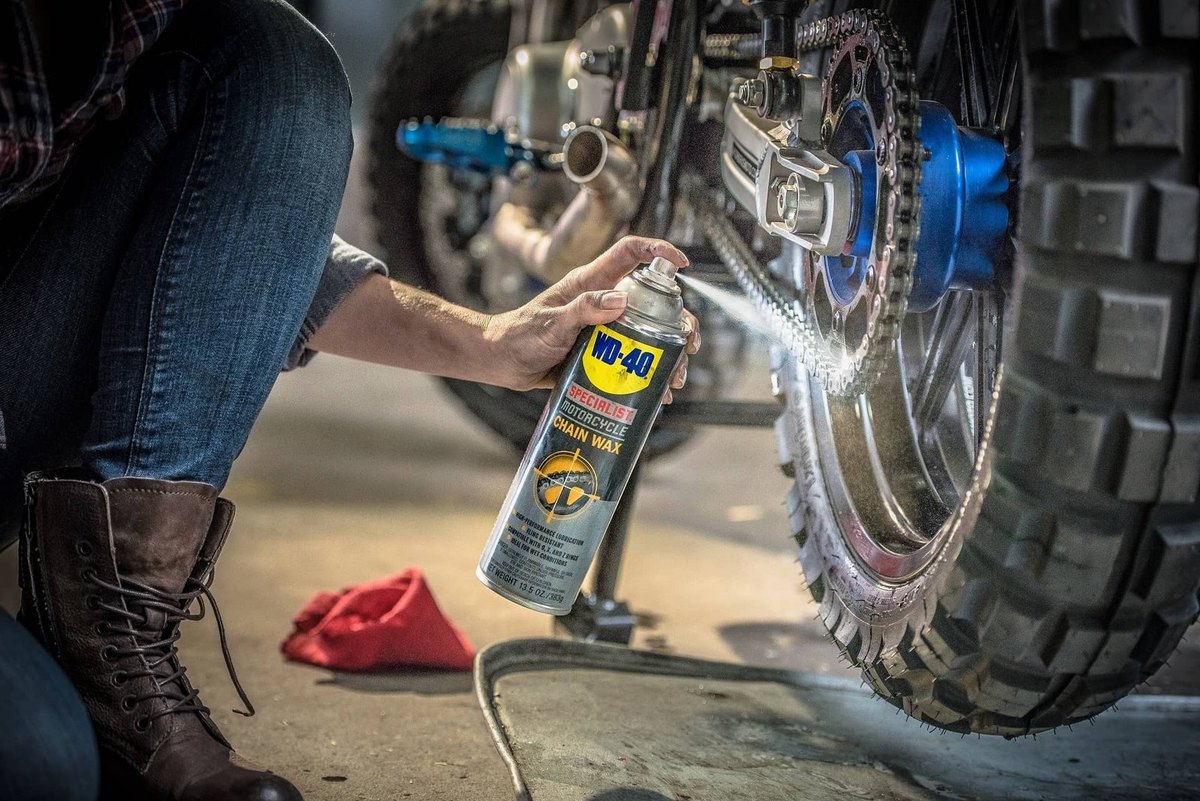
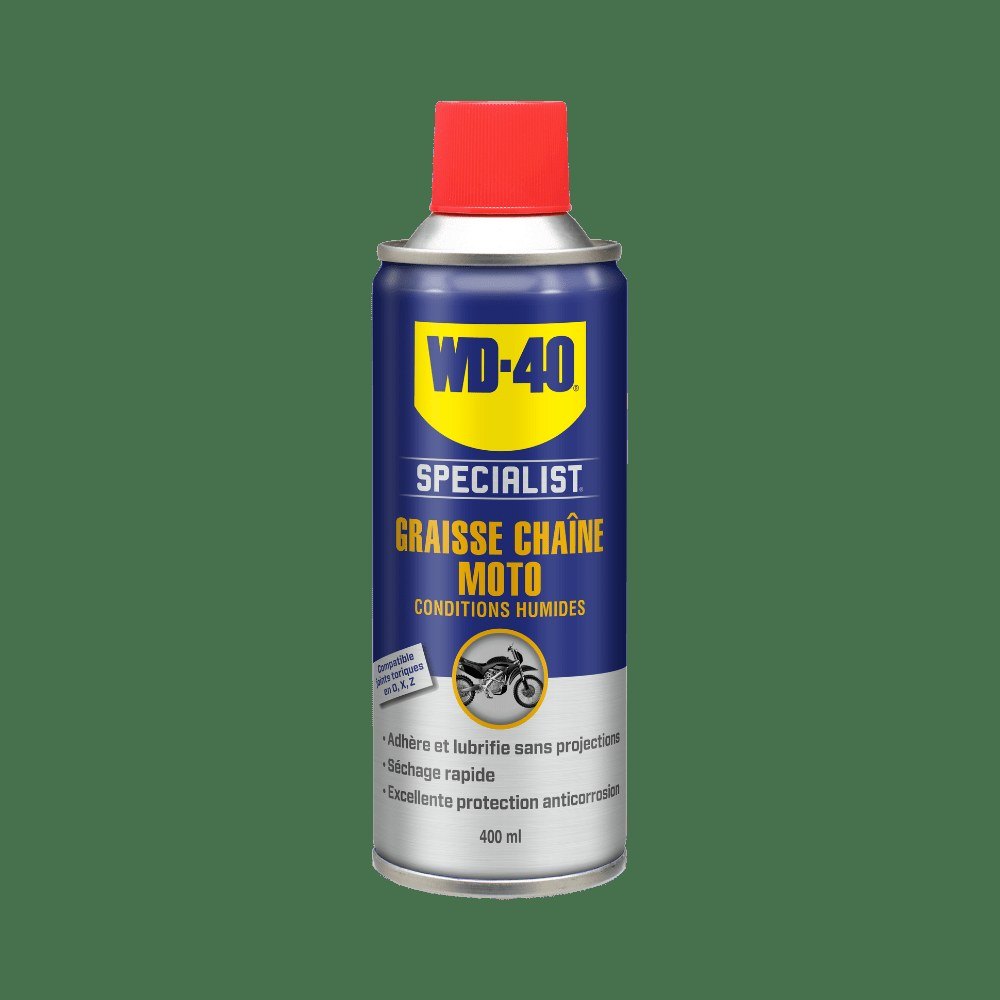
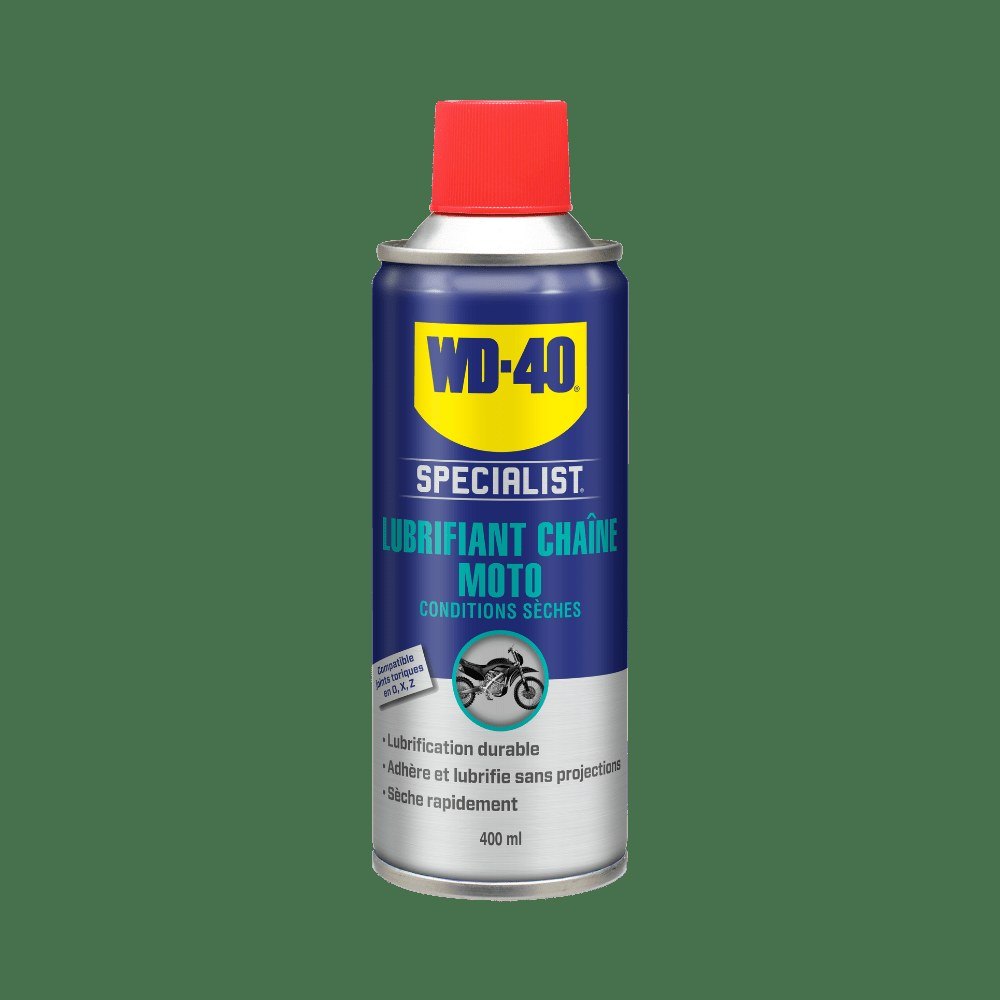
Shake the can of WD-40 Specialist Motorcycle Chain Lube and spray it onto the inside of the lower run, where the rollers meet the sprockets, turning the wheel slowly so every link is covered.
Give it about 10 minutes to penetrate between the links, then wipe off the excess so it does not fling onto the wheel and your kit. Allow it to set as directed on the label before riding.
Tip: The best time to lubricate is straight after a ride while the chain is warm: the lubricant gets into the links more easily. In rain and off-road, service the chain more often, and always clean and lubricate it before winter storage so it is not rusty by spring.
What next
Check tension and lubrication every 500-1000 km and after every wet ride. If the chain has stretched unevenly and the sprocket teeth have become pointed, replace the whole set. Keep WD-40 Smart Straw in the garage to protect footrests, cables and metal fixings from moisture.
These uses come from the experience of WD-40 users in many countries. Always follow the instructions and warnings on the product label.
More guides in «How to use».