A combine cuts, threshes and cleans grain all at once, so it has hundreds of moving parts: the header, threshing drum and concave, straw walkers, sieves, augers, belts and chains. Each must work properly, because downtime at harvest costs more than any repair, and a large share of farm machinery accidents stem from breakdowns caused by poor maintenance.
Regular servicing to the manufacturer's schedule plus a few simple habits greatly reduce the risk of stopping mid-field. Below are the main jobs a farm can do in-house.
What you will need
Important: Carry out any work only on level ground, with the engine off, key removed, all drives disengaged and the brakes applied. Always secure a raised feeder house or header with the proper safety stops, and lock rotating parts against turning.
Step 1
Clean the machine thoroughly
Start by blowing out all accessible areas with compressed air: engine bay, radiator, sieves, platforms. Dust and crop residue not only hide problems but are a fire risk near the hot engine and exhaust.
Use the pressure washer with care and keep the jet away from bearings, connectors, the alternator and control units. After washing, treat exposed metal and threaded joints with WD-40 Multi-Use with sprayer: it displaces moisture and protects against rust.
Step 2
Check the threshing and cleaning systems
Inspect the area under the concave, especially behind closed deawning plates, and remove any wrapped material. Check augers, the grain pan, sieves and chaffer frames for blockages, as well as their remote adjustment mechanisms.
Inspect the straw walkers and return pan and clear areas clogged with straw. Any blockage here means grain losses.
Step 3
Inspect the hydraulics
Visually check hoses and fittings for leaks, chafing, cracks or bulges. A damaged hose under pressure is dangerous and must be replaced, not patched.
Keep exposed cylinder rods clean. Soak seized clamp and bracket nuts with WD-40 Specialist Penetrant before undoing them.
Step 4
Engine, belts and transmission
Check coolant, engine oil and hydraulic fluid levels and change fluids and filters at the hours given in the service book. Drain water from the fuel filter separator.
Inspect drive belts and their tensioners, brake and control lever travel, and joint boots. Tighten bolted joints: vibration in operation keeps loosening them.
Step 5
Look after the electrics
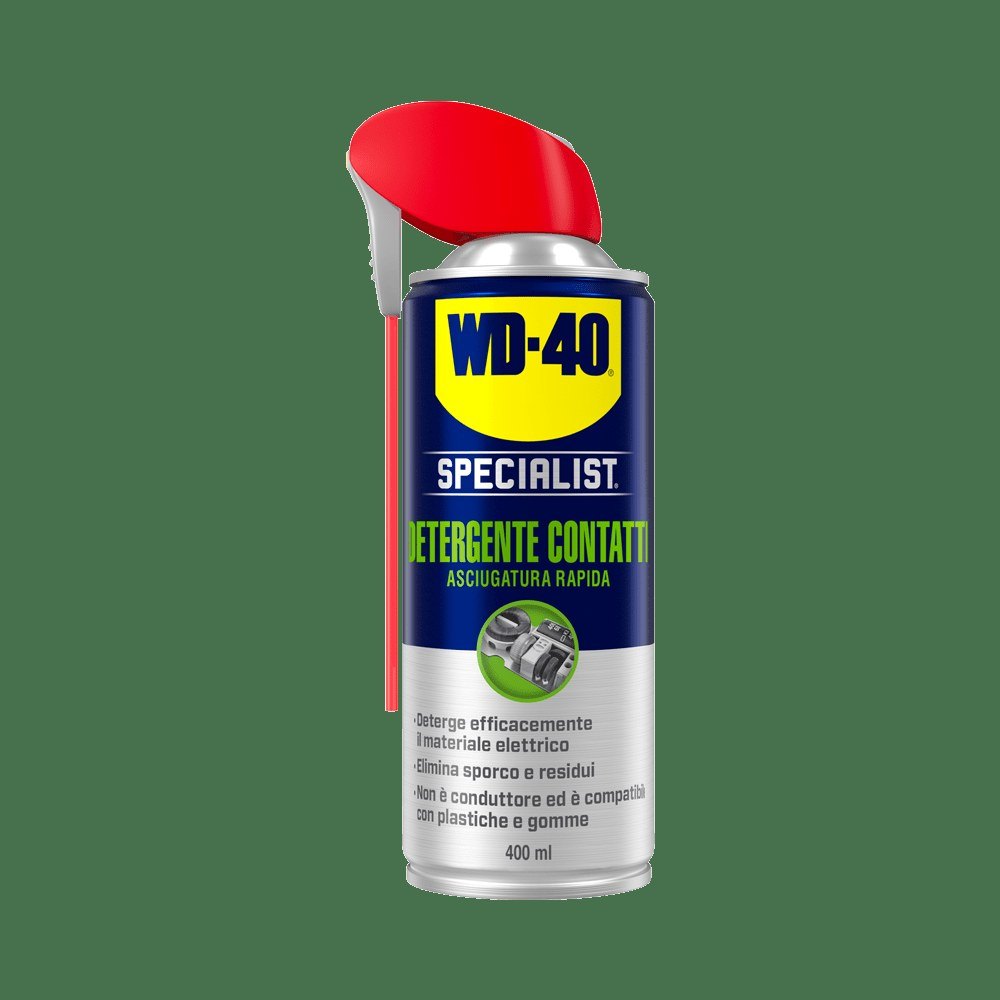
Inspect the battery, cables and connectors. Clean corrosion off the terminals and check the charge. Treat sensor and lighting connectors that work in dust and damp with WD-40 Specialist Contact Cleaner: it dissolves grime and greasy films and evaporates quickly without residue.
Only switch on once the cleaner has fully evaporated.
Step 6
Lubricate the joints
Grease every nipple according to the lubrication chart in the manual. Treat open pivots, linkages, cover hinges, rollers and guides with WD-40 Specialist White Lithium Grease: it holds under load and resists rain wash-off.
Large metal areas are quickly covered before parking with WD-40 Trigger Pro.
Tip: Keep a simple log: date, hours, work done. When something starts behaving oddly during harvest, the log quickly tells you where to look.
What next
Do a walk-round check and blow-out before every shift and full servicing per the service book. After the season, clear out all grain and straw residue, which attracts rodents and moisture, and protect metal parts with a protective lubricant before winter storage.
These uses come from the experience of WD-40 users in many countries. Always follow the instructions and warnings on the product label.
More guides in «How to use».