A snowboard works under serious stress: the base gets scratched by rocks and twigs, edges rust after damp storage and binding screws work loose. Regular maintenance restores glide, control and safety.
Do it at the start of the season and every 3-5 days on the snow, or after every session if you ride off-piste. The key areas are the base, wax, edges and bindings. Bindings are usually set at angles of roughly -15° to +15° and a stance width of about 54-57 cm, so check your set-up at the same time.
What you will need
- mild base cleaner and microfibre cloths
- base repair candles and a lighter
- waxing iron or an old household iron, wax block
- plastic scraper, horsehair and nylon brushes
- fine diamond file for the edges
- WD-40 Multi-Use
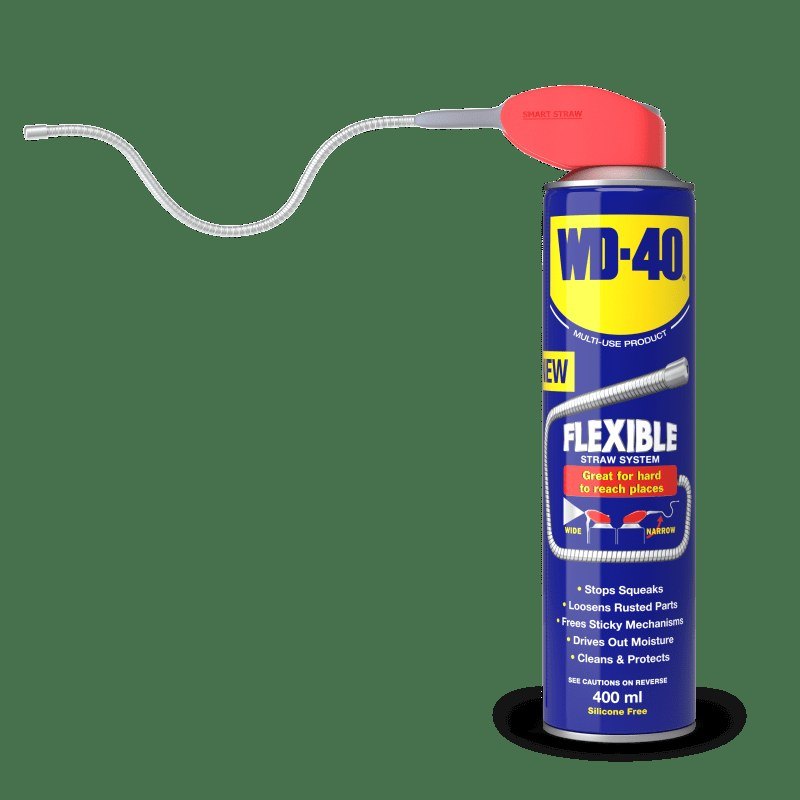
- WD-40 Smart Straw for binding screws
- binding screwdriver
Important: Apply WD-40 only to the metal edges and binding screws, never to the base: on the base it prevents the wax from bonding and spoils the glide. When using an iron or a flame, ventilate the room, do not overheat the base and keep a non-flammable surface nearby.
Step 1
Clean the base
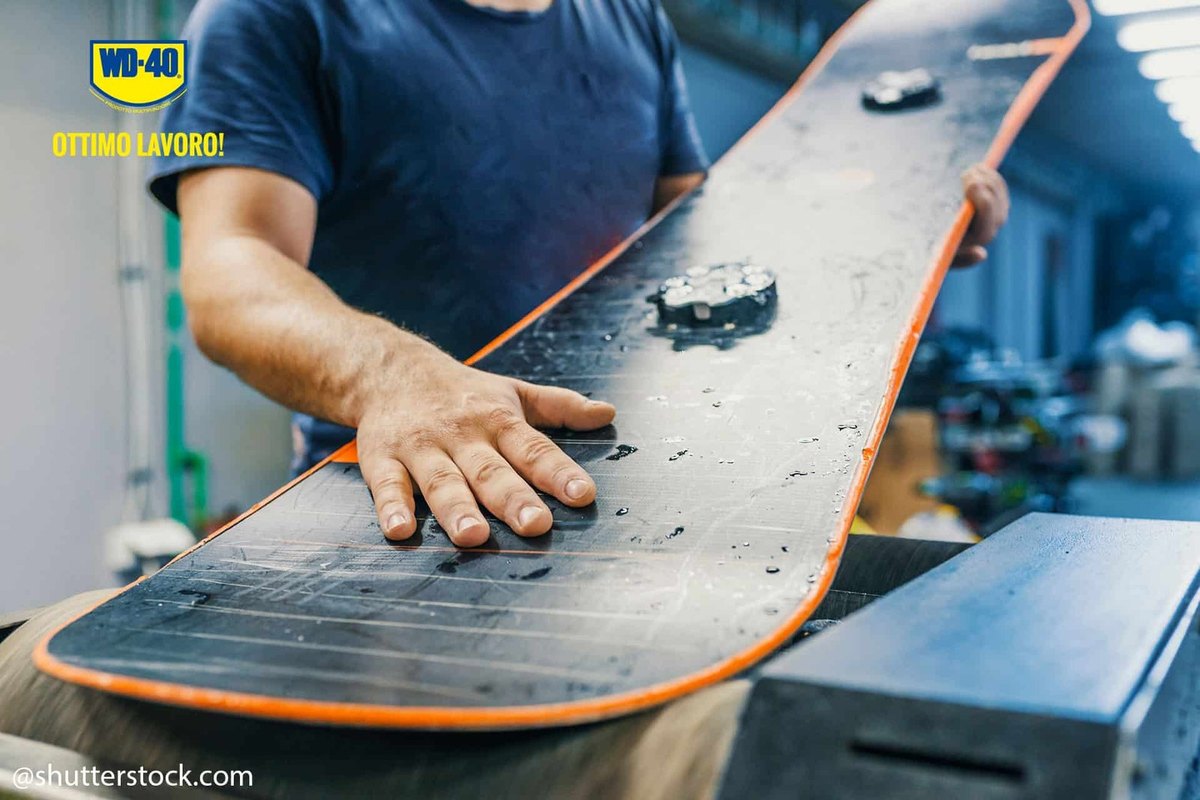
Secure the board on a stable surface with the base facing up. Apply a mild cleaner to a microfibre cloth and wipe away dried dirt, old wax and grime from the lifts. This reveals all the scratches and prepares the surface for repair.
Let the base dry completely.
Step 2
Repair scratches in the base
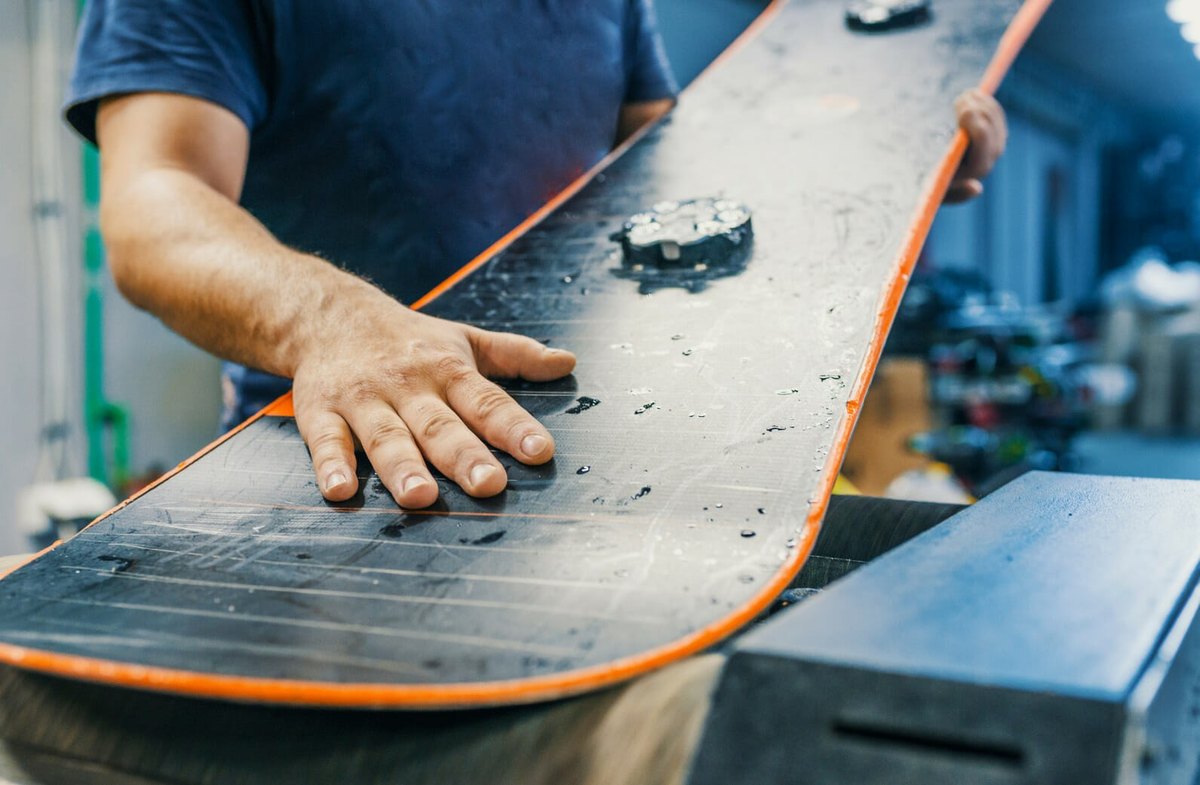
Synthetic repair candles restore an even surface. Light the tip with a lighter and slowly drip the melted material into the scratch without spreading it too widely.
Once it has cooled and hardened, shave off the excess with a stiff plastic scraper. Brush with a horsehair brush to remove the shavings. Deep gouges down to the core are best left to a workshop.
Step 3
Wax the board
You can wax with a household iron, but a dedicated waxing iron holds the temperature more accurately. Press the wax block against the hot plate so it drips onto the base, spreading drops across the whole surface without overdoing it.
Run the hot iron along the board from nose to tail to melt the wax into an even layer. When it has cooled and hardened, remove the excess with the plastic scraper. The notch in its corner is for the edges, so clear wax off them too. Finish by polishing the base with a nylon brush.
Step 4
Look after the edges
Major edge sharpening is best done by a workshop. At home you can regularly run a fine diamond file along the edges from nose to tail, lightly and without pressure so as not to deform the edge. This smooths small burrs and removes rust formed during storage.
Then put a little WD-40 Multi-Use on a microfibre cloth and wipe a thin film along the edges, keeping off the base. The film protects the metal from rust.
Step 5
Check the bindings
Make sure the bindings are firmly attached and no screw is loose. Tighten the screws holding the adjustable discs and check your angles and stance width.
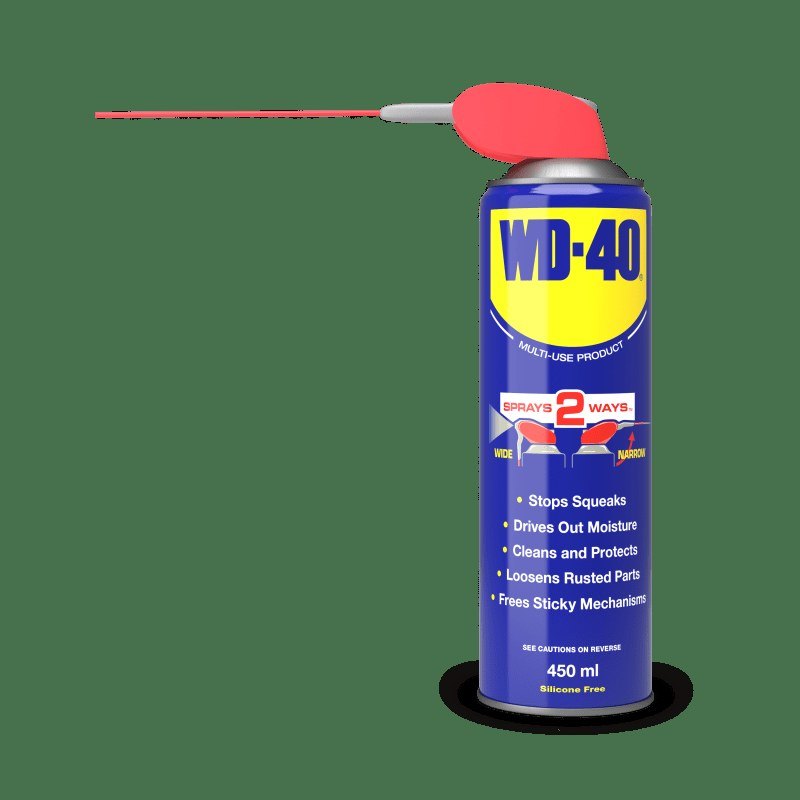
Treat screws, buckles and ratchets with WD-40 Smart Straw via the thin straw: it cleans, lubricates, displaces moisture and protects metal from corrosion without attracting dust. Wipe off any excess.
Step 6
Prepare the board for storage
At the end of the season apply a thicker storage coat of wax and leave it on until next winter: it stops the base drying out and oxidising. Treat the edges with WD-40 Multi-Use.
Store the snowboard somewhere dry, away from radiators, with nothing heavy on top. A small WD-40 100 ml can is handy to take on trips for bindings and locks.
Tip: After a day on the slopes, do not leave a wet board in its bag or in the car overnight. Wipe the edges dry and let it dry somewhere warm: moving from frost into a warm room causes condensation that can rust the edges overnight.
What next
Re-wax every 3-5 days on the snow, wipe the edges after every session and check the bindings before every trip. Your board will stay fast and responsive for a long time.
These uses come from the experience of WD-40 users in many countries. Always follow the instructions and warnings on the product label.
More guides in «How to use».