A piston compressor has three main parts: the pump (a cylinder and piston driven by an electric motor), the receiver tank that stores compressed air, and the controls with the pressure switch, regulator and gauges. The tank size, from 6 to 100 litres or more, determines the reserve of air. For home and garage use, models with a tank of around 24 litres are the most popular.
A compressor will last many years if a few simple jobs are done regularly. The most important are a clean filter, the correct oil level and draining condensate from the tank.
What you will need
Important: Before any maintenance, unplug the compressor and release all pressure from the tank. Never open parts that are under pressure and do not adjust the safety valve yourself.
Step 1
Clean or replace the air filter
The compressor draws in air from the room along with dust that wears the cylinder and piston, which is why there is a filter on the intake. Open the housing regularly and check the element, usually paper or foam. Blow out a lightly soiled element with compressed air and replace a heavily clogged one. In a dusty workshop, check it more often.

Step 2
Check the oil level and condition
In oil-lubricated compressors the piston and moving parts are constantly lubricated from the crankcase. The filler cap has a dipstick or the housing has a sight glass. Check the level with the compressor cold and standing level, and top up only with the oil recommended by the manufacturer. If the oil has darkened or turned cloudy, change it at the interval given in the manual. Oil-free compressors skip this step.
Step 3
Drain condensate from the tank
Compressing air inevitably produces condensate, which collects at the bottom of the tank and corrodes it from inside. It is drained through the screw valve at the bottom of the receiver. Do this at least every three months, or after every use if you work daily or in a damp garage. Place a container underneath, open the valve with a little residual pressure and close it once only clean air comes out.
If the valve is stuck, treat the thread with WD-40 Multi-Use and wait a few minutes. After draining, wipe the outside of the valve and the bottom of the tank with it too: it displaces moisture and protects against rust.
Step 4
Check the pressure switch and safety valve
The pressure switch cuts the motor when the tank reaches the set pressure and restarts it when pressure drops during use. Keep an eye on the gauge: if the compressor cuts out above the value stated in the manual or fails to restart, have the switch checked by a service centre. Lift the safety valve ring now and then to make sure it has not seized. Inspect the power cable and plug, and clean oxidised plug pins with WD-40 Specialist Contact Cleaner.
Step 5
Test the regulator and gauge
The regulator with its knob and gauge sets the outlet pressure. To test it, close the knob fully: the gauge should read zero. Then open it to the required value and check the pressure stays steady. Inspect hoses for cracks and chafing and check connections for leaks with soapy water.
Step 6
Look after couplers and air tools
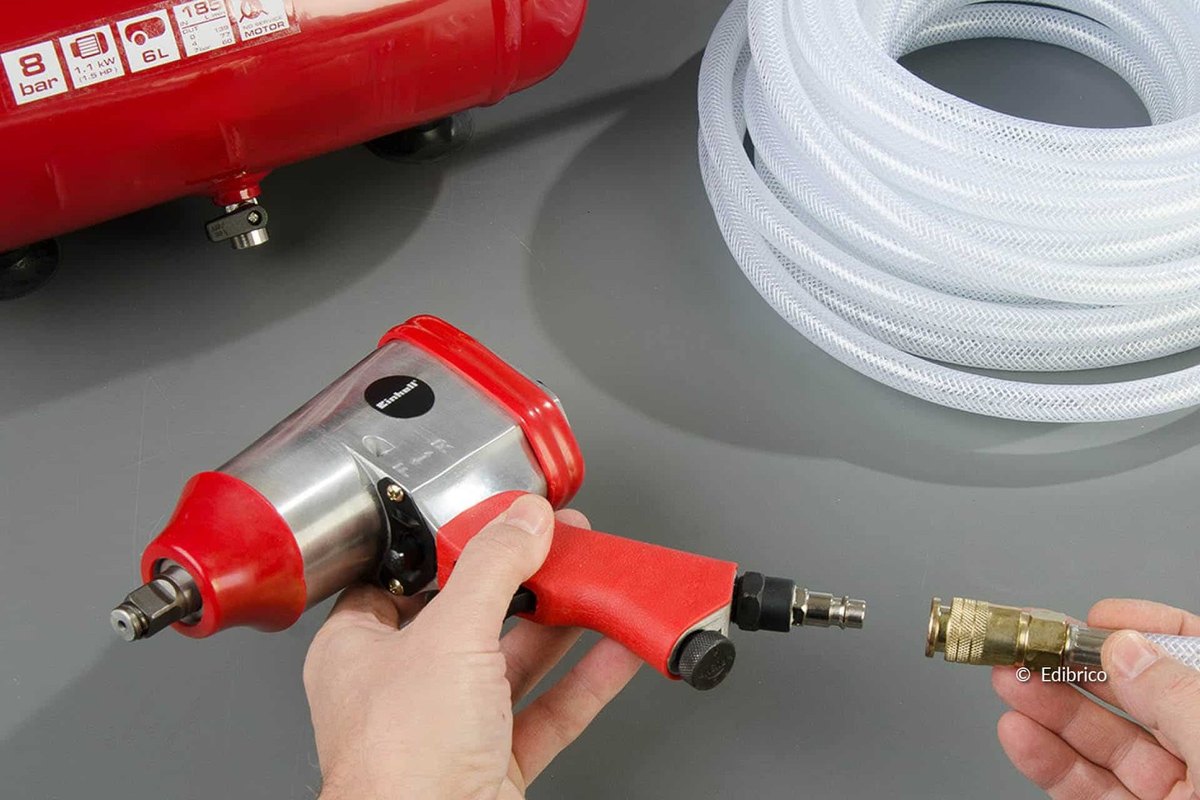
Blow guns, inflators and impact wrenches connect through quick couplers. Unless the manufacturer says otherwise, add a few drops of air tool oil into the tool's inlet before use. Treat the external metal parts of couplers and threads that stick or corrode with the thin straw of WD-40 Smart Straw and wipe off the excess so dust does not stick to them.
Tip: In an unheated garage in winter, condensate in the tank and hoses can freeze. Drain it after every job and let the compressor warm up above freezing before starting it.
What next
Check the filter monthly, drain condensate regularly and change the oil at the specified interval. The same WD-40 products are useful for other workshop tools, from vices to threaded fittings.
These uses come from the experience of WD-40 users in many countries. Always follow the instructions and warnings on the product label.
More guides in «How to use».