A sander works in the dirtiest conditions of any tool in the workshop. However well the housing is sealed, fine wood dust, filler and paint eventually get inside and settle on the motor, contacts and bearings. The tool then runs hot, sparks and loses power.
Whether random orbital, orbital, delta or belt, the rule is the same: clean it after every job and give it a deeper service every few months, checking the brushes and wiring.
What you will need
Important: Before any maintenance, unplug the sander or remove the battery from a cordless model. Only open the housing if you are confident and the warranty has expired; otherwise leave deeper servicing to a repair shop.
Step 1
Clean the outside after use
Remove the abrasive sheet and dust bag and empty the bag outdoors. Blow out the housing vents with compressed air, holding the sander vents down so dust leaves the tool rather than being driven deeper.
Inspect the pad: delamination, cracks or worn hook-and-loop cause vibration and uneven sanding. Replace a damaged pad.
Step 2
Open up and blow out the inside
Undo the housing, keeping the screws in a tray so nothing goes missing. Blow out the motor, commutator and every corner: dust settles even in places that seem impossible to reach.
Do not leave build-ups around electrical connections: over time they cause overheating and serious faults.
Step 3
Check and replace the carbon brushes
To reach the brushes, carefully remove the top of the housing, slide out the side holders and assess wear. If a brush is shorter than the limit in the manual, fit new ones, always both at once.
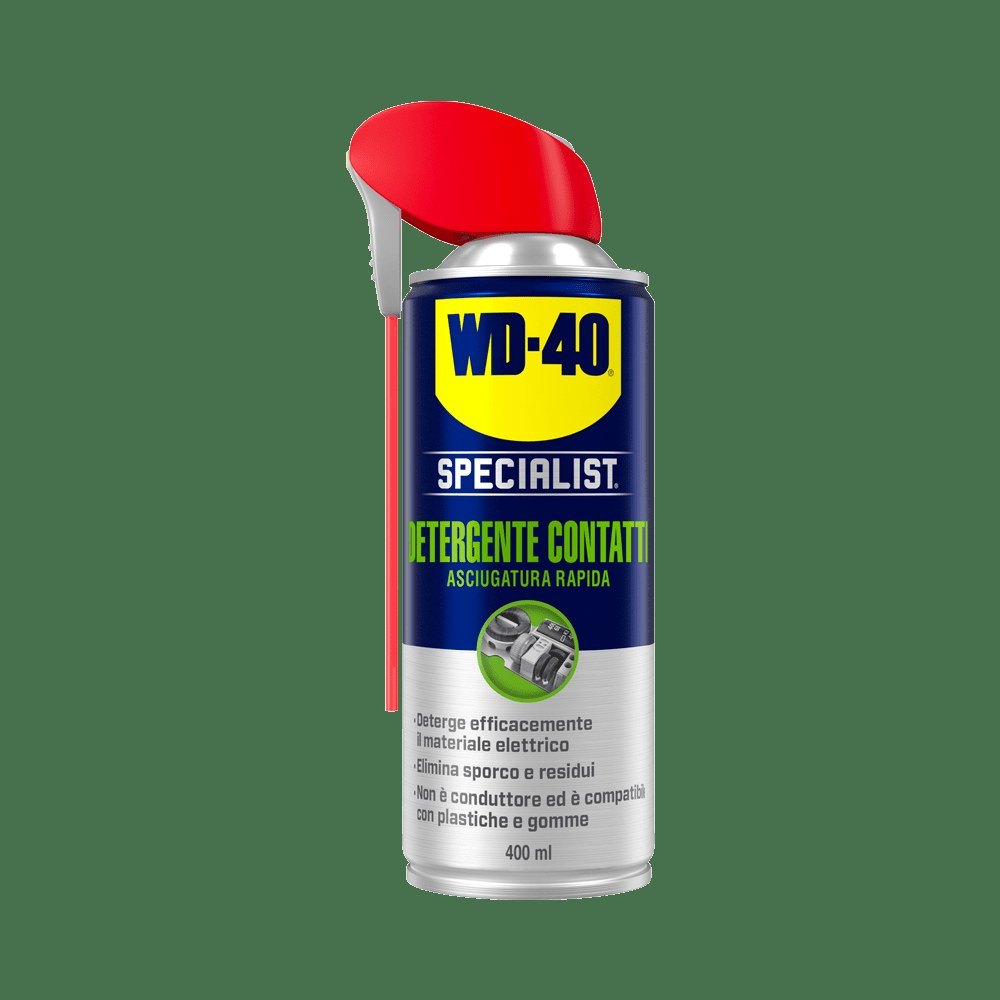
While the contacts are exposed, treat them and the brush holders with WD-40 Specialist Contact Cleaner: it quickly dissolves dirt and deposits and evaporates. Reassemble only once it has fully dried.
Step 4
Inspect the cable and switch
Check the cable along its full length, especially where it leaves the housing and at the plug: chafing and split insulation are dangerous. Replace a damaged cable rather than taping it up.
If the switch sticks or acts erratically, blow it out and treat it with WD-40 Specialist Contact Cleaner.
Step 5
Refresh and protect the housing
Reassemble the sander. Wipe the plastic housing, metal screws and adjusters with a cloth moistened with WD-40 Multi-Use: it lifts grime, refreshes the plastic and protects metal from moisture. The WD-40 Smart Straw is handy for narrow gaps.
Always wipe off any excess, especially from the grip and the pad, which must be dry for the abrasive to hold well.
Tip: Fit a pad protector between the pad and the abrasive sheet: it takes the wear and extends the life of an expensive pad. Dust from the bag mixed with glue makes a filler that exactly matches your timber.
What next
Blow the sander out after every job and check the brushes and cable every few months with regular use. Always wear a dust mask and connect an extractor if the tool allows: wood dust is harmful to the lungs.
These uses come from the experience of WD-40 users in many countries. Always follow the instructions and warnings on the product label.
More guides in «How to use».