A biscuit jointer cuts slots for flat wooden biscuits that make a joint strong and invisible. It is a handy alternative to dowels, screws and nails, so in a woodworking shop it is used constantly.
Wood dust, resin and moisture from unseasoned timber gradually clog the plunge mechanism, build up on the blade and reduce slot accuracy. Regular maintenance takes half an hour and keeps the jointer running smoothly and safely for years.
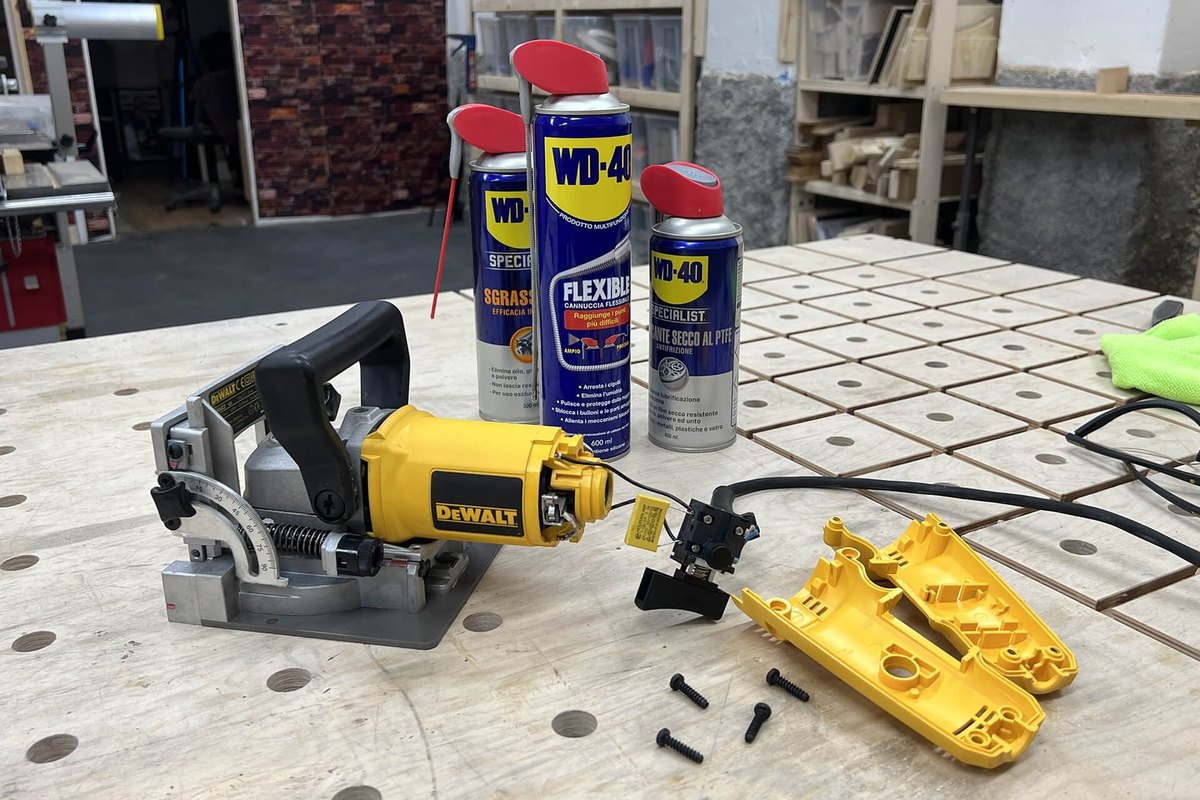
What you will need
Important: Before any maintenance, switch the jointer off and unplug it, or remove the battery from a cordless model. The blade is sharp, so wear gloves. Never put liquid lubricants on the base or fence that touch the workpiece: stains on the wood will later reject both finish and glue.
Step 1
Isolate the tool and inspect the blade
Disconnect the power, remove the cover and engage the spindle lock. Undo the nut with the spanner and remove the cutter blade.
Inspect the teeth: chips, cracks and dull carbide tips mean the blade needs sharpening or replacing. Never refit a damaged blade, as it vibrates and can break up.
Step 2
Clean resin off the blade
Brush the dust off the blade. Soften stuck-on resin and wood grime with WD-40 Multi-Use: spray, wait a few minutes and wipe with a cloth, using an old toothbrush for stubborn spots.
Wipe the blade dry, leaving only a thin protective film against rust and no excess.
Step 3
Remove dust from the housing
Blow out or vacuum the motor vents, blade cavity, dust port and plunge slides. Blocked vents make the motor overheat.
Brush compacted dust out of the fence grooves. Always wear safety glasses when using compressed air.
Step 4
Lubricate the plunge and adjustment mechanism
Treat the guide rods the body slides on and the fence height and angle adjustment screws with WD-40 Specialist Dry PTFE. The dry film does not pick up sawdust or transfer to the timber. Plunge the body a few times to spread it.
Fence pivots, locks and wing screws that feel stiff get a drop of WD-40 Smart Straw through the thin straw; wipe off the excess.
Step 5
Look after contacts and the cable
Check the cable and plug for kinks and damaged insulation. Treat oxidised battery and charger contacts, as well as a dust extraction plug with a sensor, with WD-40 Specialist Contact Cleaner: it evaporates quickly and leaves no residue.
If the motor sparks or loses power, check the carbon brushes or take the tool for servicing.
Step 6
Reassemble and test
Fit the blade with the teeth facing the correct direction of rotation, tighten the nut and refit the cover. Cut a test slot in an offcut and check the depth and position.
Store the jointer in its case somewhere dry: in an unheated workshop, winter condensation quickly rusts the blade and spindle.
Tip: If you often cut resinous pine or spruce, clean the blade after every large job: built-up resin raises the temperature and the teeth go dull faster.
What next
Remove dust after every working day, and clean the blade and lubricate the mechanism monthly with heavy use. The same WD-40 Multi-Use will serve your other power tools too.
These uses come from the experience of WD-40 users in many countries. Always follow the instructions and warnings on the product label.
More guides in «How to use».