We tend to take a drill for granted and only think about it when the chuck grips badly or the motor starts running hot. Yet a few minutes of care after use noticeably extends the life of both corded and cordless drills.
A drill's main enemies are dust in the vents and moisture and dirt in the chuck. After working outdoors, in a damp cellar or in an unheated garage, the chuck and shaft soon start to rust and the mechanism begins to bind.
What you will need
Important: Unplug the drill or remove the battery before you start. Never spray lubricant into the housing through the vents or onto the motor windings.
Step 1
Disconnect the power and inspect
Pull the plug or remove the battery. Check the chuck, vents, cable and moving parts for dust, rust, cracks in the housing and stiffness in the chuck.
Do not repair a damaged cable or plug with tape; replace it. This is a matter of electrical safety.
Step 2
Wipe the body and clear the vents
Wipe the housing with a microfibre cloth after every use: chips and dust cling to the plastic and gradually get inside. Do not scrub the vents with a brush, as that pushes dirt further in.
The best way is to blow them out with compressed air, holding the can at an angle. Clear vents protect the motor from overheating.
Step 3
Free and lubricate the chuck
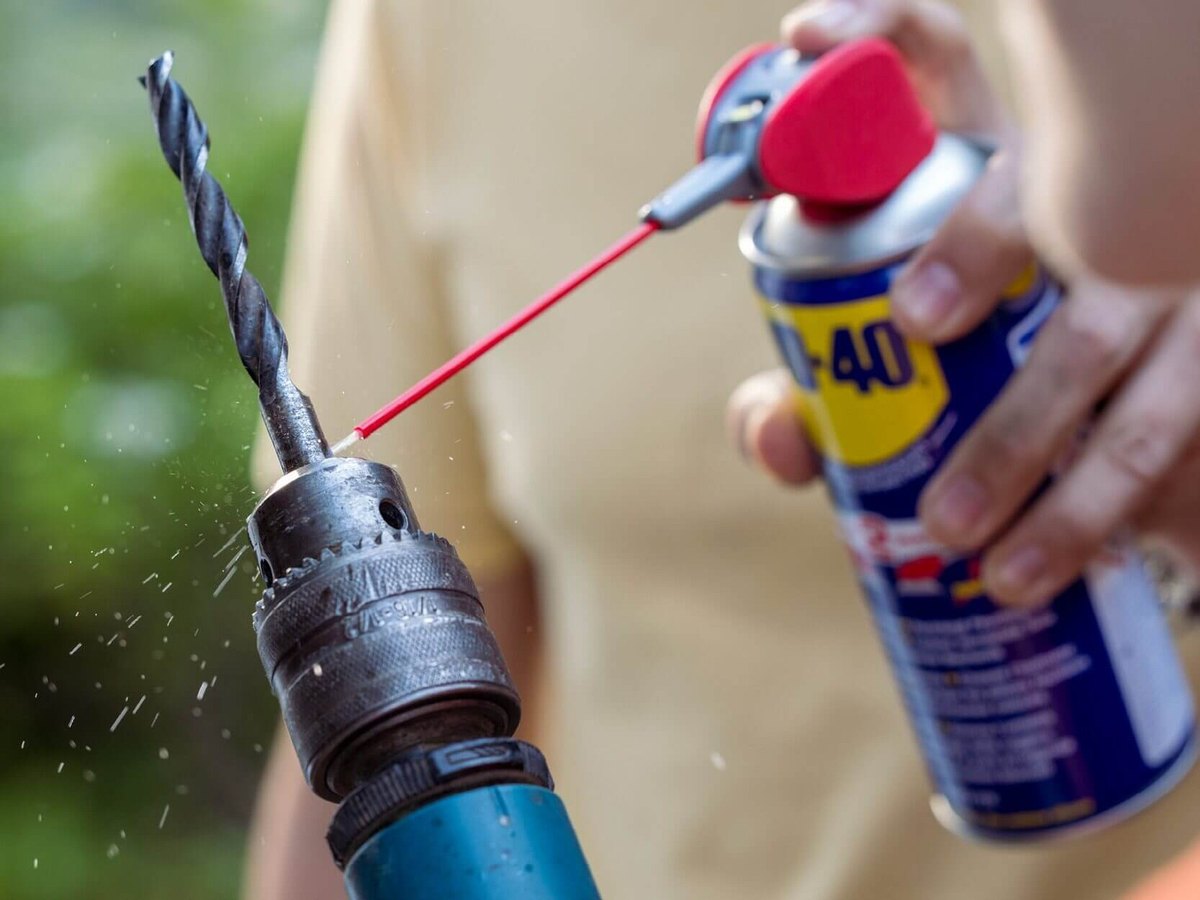
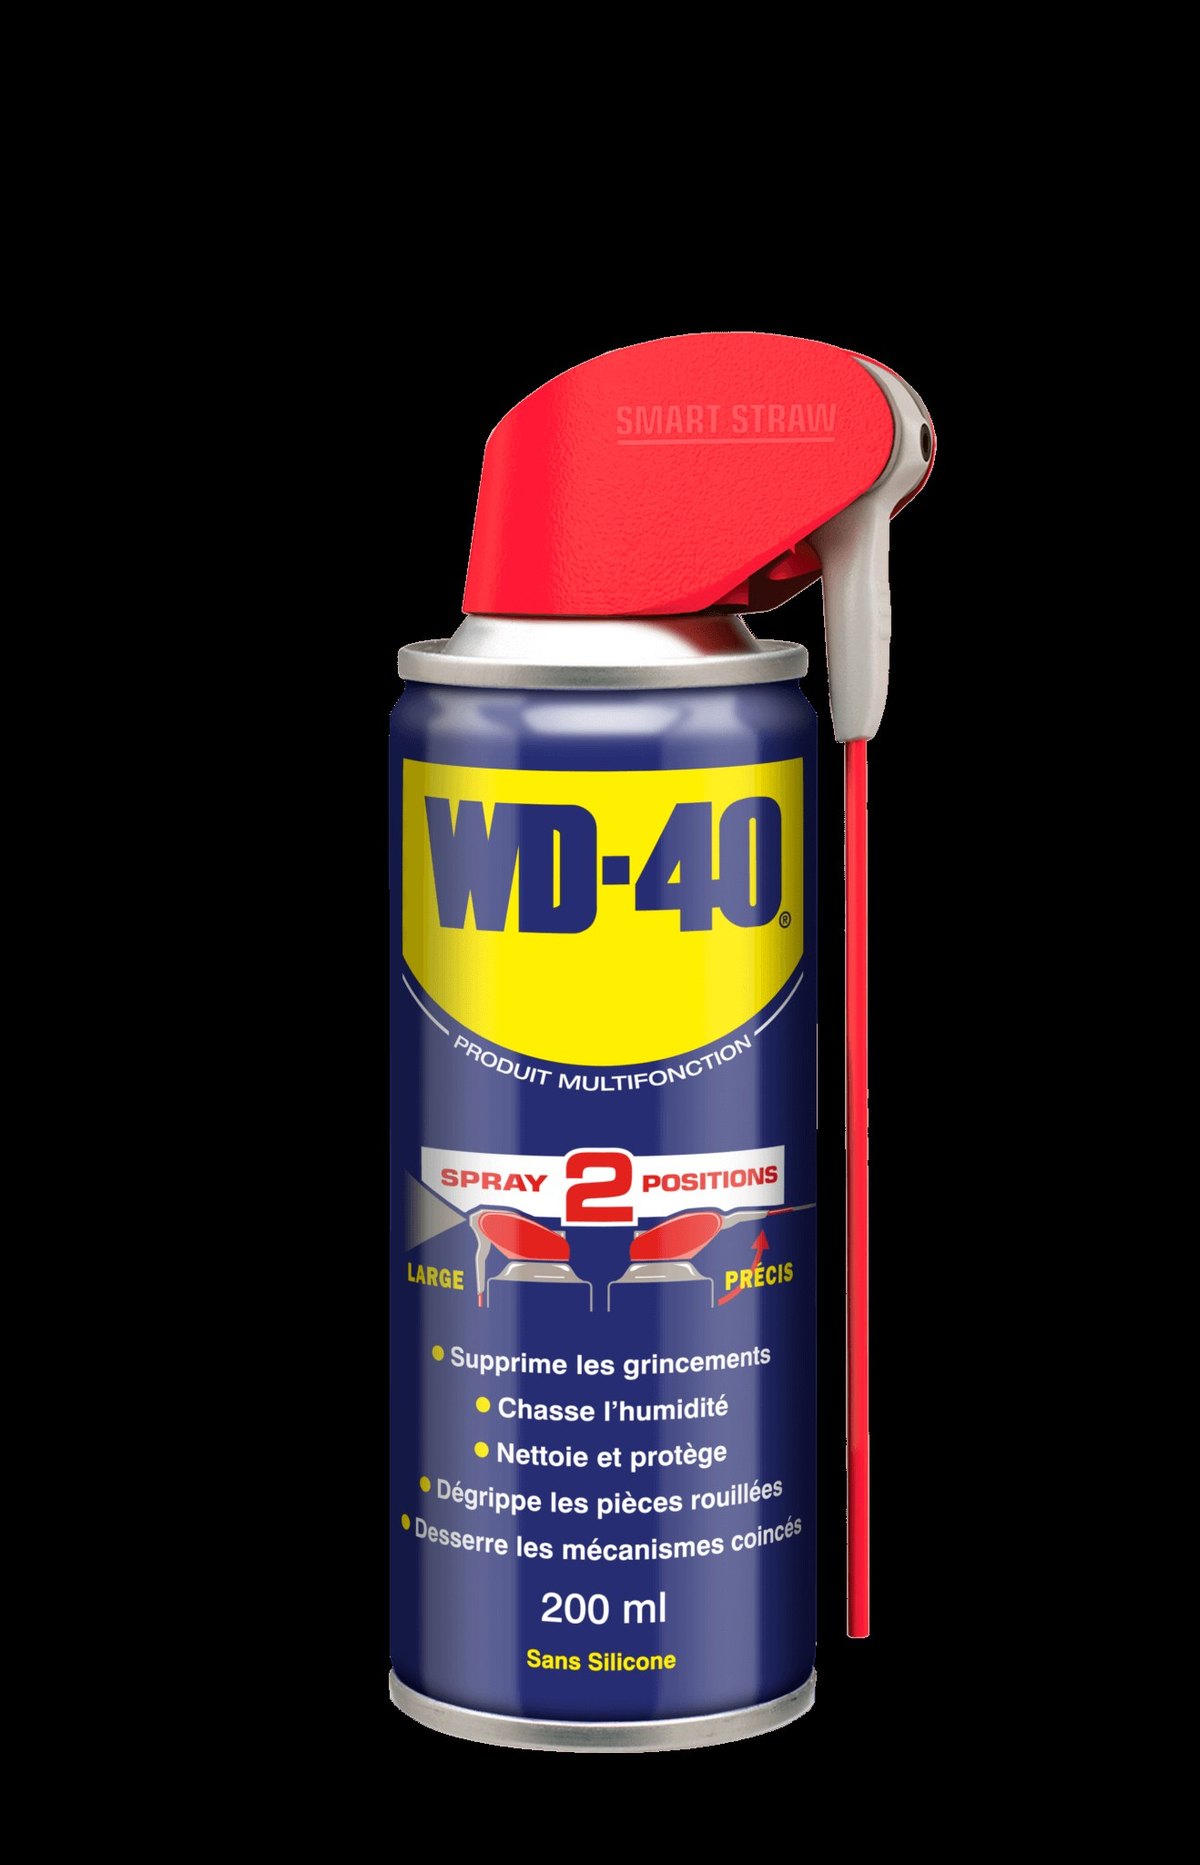
If the bit wobbles or the chuck is stiff to open, first check for small fragments trapped at the base of the jaws. Then spray WD-40 Multi-Use onto the chuck and outer metal parts, keeping away from the vents and electrical parts. It loosens dirt, displaces moisture and stops corrosion, and WD-40 Smart Straw lets you aim it right into the jaw gaps.
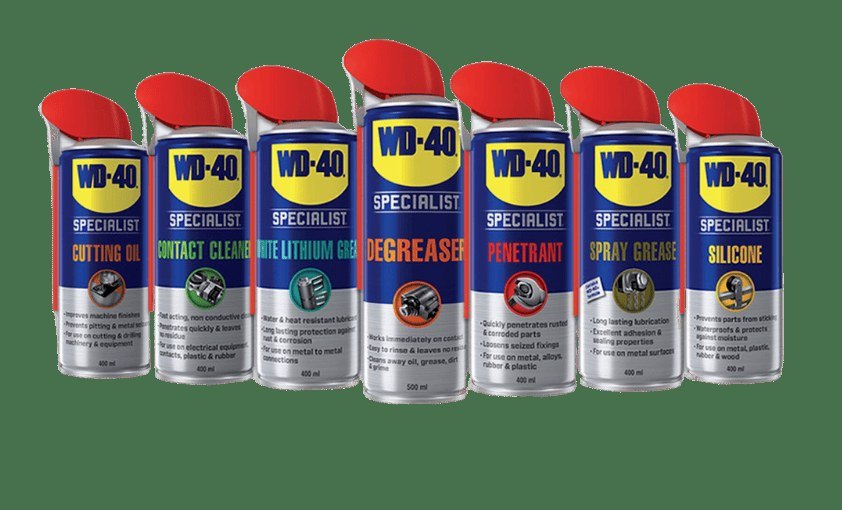
For lasting lubrication apply a little WD-40 Specialist White Lithium Grease to the jaws and chuck thread and open and close it fully a few times. Lithium grease does not drip and stays in the mechanism for a long time.

Step 4
Protect the metal from rust
If light rust appears on metal parts, put a little WD-40 Multi-Use on a cloth and work it into the metal. Test first on an inconspicuous spot to check compatibility with your tool's finish.
The thin film displaces moisture and guards against further corrosion. After working in the rain or a damp room, dry the drill completely before treating it.
Step 5
Work it in and test
Turn the chuck by hand to spread the lubricant and wipe off any excess. Reconnect the power and run the drill briefly with no load in both directions.
It should run smoothly, without squeaks or wobble. Now and then wipe the battery terminals and charger contacts with WD-40 Specialist Contact Cleaner: oxidation there costs power and disrupts charging.
Step 6
Look after the bits and store it properly
A blunt bit forces you to push harder, overloading the motor and chuck. Sharpen or replace bits in good time and store them in a case with a light coat of WD-40 Multi-Use.
Keep the drill itself in its case in a dry place to limit dust and moisture. Do not leave batteries in a freezing car or garage.
Tip: After drilling concrete, let the drill run at idle for a few seconds. The cooling fan blows some of the dust out of the housing on its own.
What next
Wipe the drill after every use and lubricate the chuck every few months or after work in dust and damp. There is a separate guide for drill stands and drill presses, and WD-40 Multi-Use will help with the rest of your toolbox too.
These uses come from the experience of WD-40 users in many countries. Always follow the instructions and warnings on the product label.
More guides in «How to use».