A good tool makes any job easier, while a neglected one turns a simple task into a struggle. Stiff pliers, a rusty spade or a file clogged with swarf cost you time and patience. Most of these problems are solved by simple, regular care: cleaning, drying, lubricating and protecting against moisture.
With damp autumns, humid garages and cellars, rust appears quickly in Ukraine. Even tools you rarely use deserve a service every 3-6 months, and anything used outdoors should be looked after straight away.
What you will need
Important: Always unplug power tools or remove the battery before any maintenance. Wear gloves: worn edges and burrs cut easily.
Step 1
Clean tools right after use
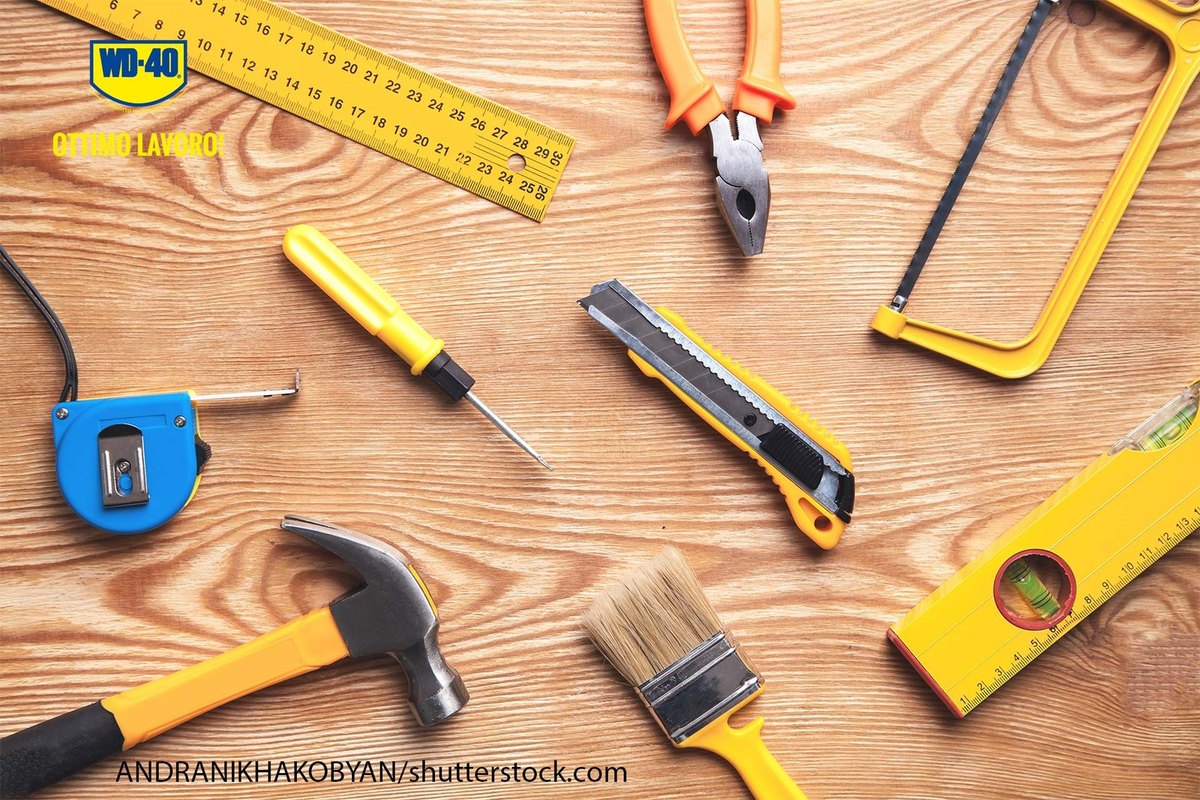
Pliers, screwdrivers and hammers stay fairly clean, while scrapers, trowels, rasps and brushes get dirty by nature. Clean them immediately, before mortar, paint or glue hardens: dried residue is hard to remove and a brush can be ruined for good.
Depending on the dirt, use warm water, a brush, a scraper or a suitable solvent. Rinse off soil and cement slurry with water and wipe greasy deposits with a cloth and WD-40 Multi-Use, which softens grime and gets into crevices.
Step 2
Clean your files
Metal files need special attention, especially after working soft metals that clog the teeth. Clean them with a brass brush or a file card, brushing along the cut in one direction.
A clean file cuts faster and does not scratch the workpiece with trapped swarf. Do not oil files: an oily surface makes them skate and cut poorly.
Step 3
Dry and protect the metal from rust
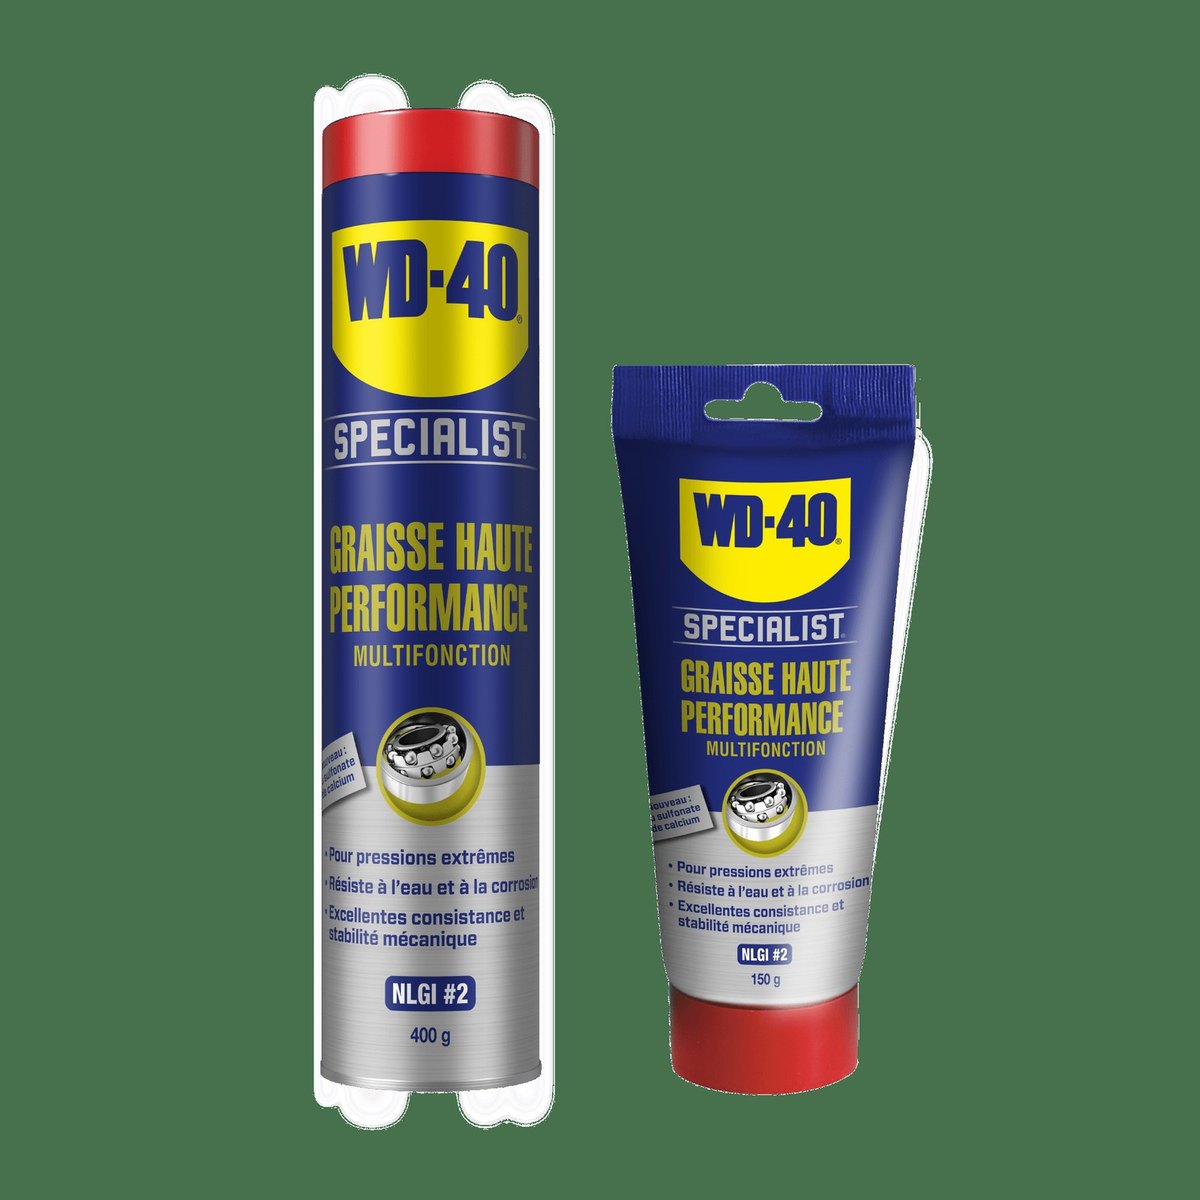
After washing, wipe the tool thoroughly with paper towel and let it dry. Give all metal parts except files a light coat of WD-40 Multi-Use if you will not be using them soon.
It displaces moisture and leaves a protective film that stops the metal oxidising in a damp room. For tight spots, WD-40 Smart Straw with its flip-up straw is handy.
Step 4
Lubricate pivots and moving parts
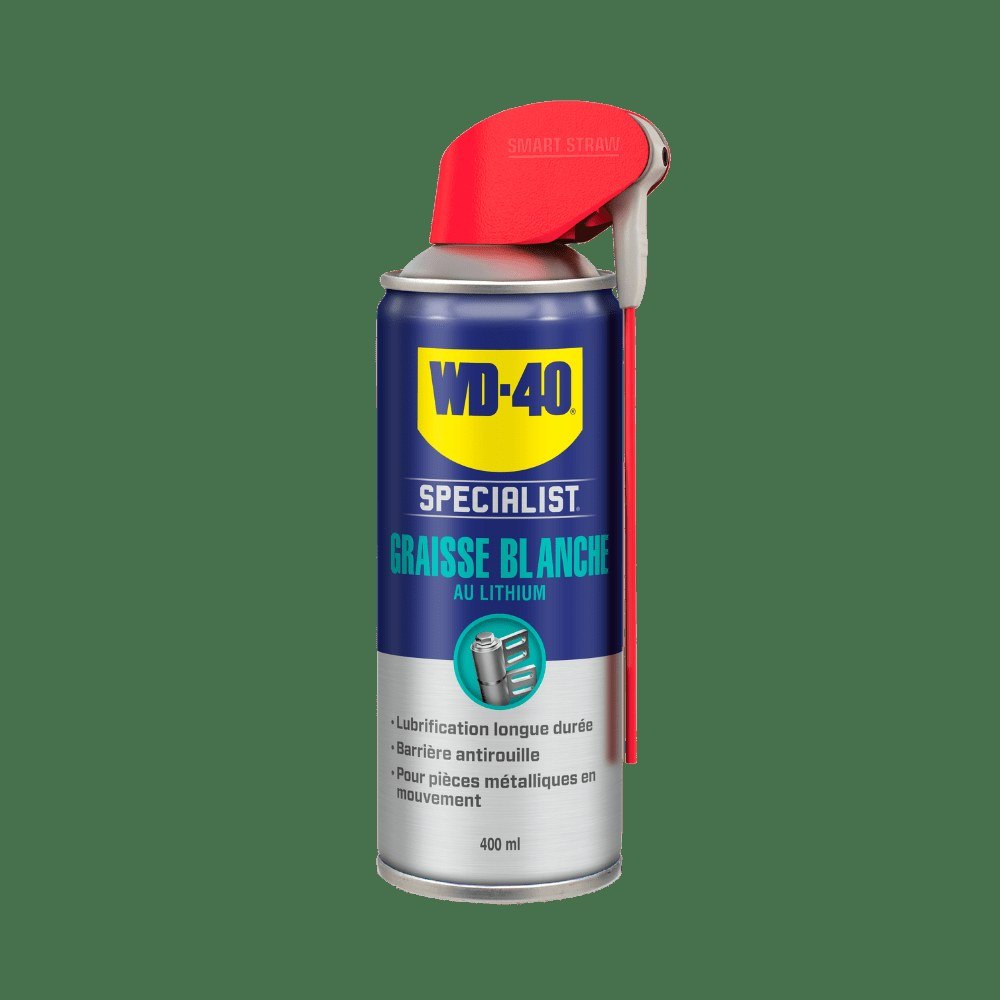
Pliers, side cutters, secateurs, clamps and vices have pivots, joints and threads that start to bind over time. Apply WD-40 Specialist White Lithium Grease to the pivot and open and close the handles several times to work it in.
Lithium grease does not drip, resists water and keeps working under load. Wipe off any excess so dust does not stick. If a joint is seized, soak it with WD-40 Multi-Use first and leave it for a few minutes.
Step 5
Restore wooden handles
Handles on axes, hammers and spades dry out, crack and splinter over time. Sand them with P160-200 paper, dust off and rub in a thin coat of linseed oil with a cloth until the wood absorbs it.
At the start of the season check that the head is firmly fixed: wood shrinks during winter storage. If there is play, drive in a metal wedge and replace the handle if needed.
Step 6
Restore the working edges
Clean the metal head with a wire brush to remove dirt and surface rust. Fix dents, nicks and blunt edges with a file, grinding wheel or whetstone, bringing the edge back to its original profile.
After sharpening, apply WD-40 Multi-Use again: freshly sharpened, unprotected steel rusts fastest.
Step 7
Store tools properly
Keep tools in a dry place on a wall board or in a compartment box so they do not knock against each other. Stand brooms and brushes handle down. If your workshop drops below freezing, remember that plastic handles become brittle in the cold.
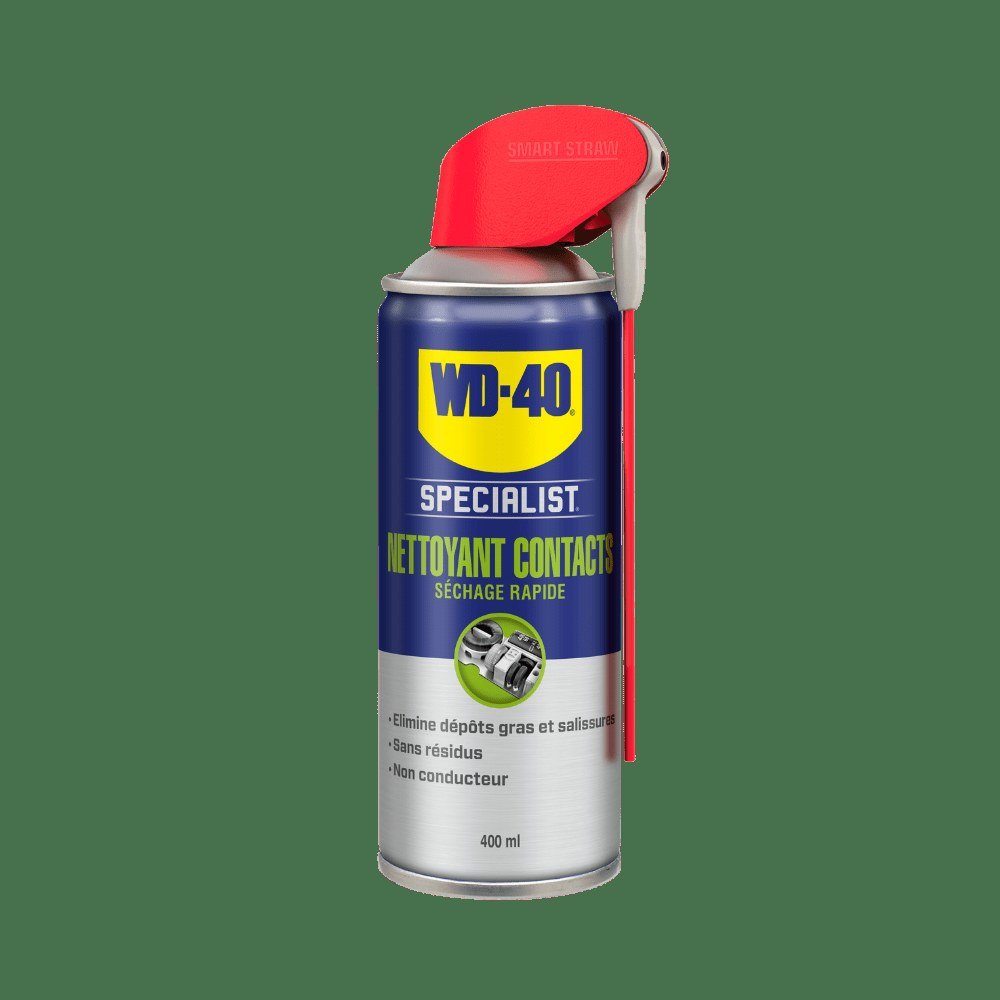
Wipe the battery contacts of cordless tools now and then with WD-40 Specialist Contact Cleaner: it removes dust and oxidation and evaporates quickly.
Tip: Keep a small can of WD-40 and a rag next to your workbench. Wiping tools down after every job takes a minute but adds years to their life.
What next
Do a full service every 3-6 months and treat any tool that has been out in the rain or wet soil straight away. Garden tools follow the same routine, and for heavily loaded pivots keep WD-40 Specialist White Lithium Grease to hand.
These uses come from the experience of WD-40 users in many countries. Always follow the instructions and warnings on the product label.
More guides in «How to use».