Side lights, brake lights and indicators on a trailer are a legal requirement and vital for safety: the driver behind sees them, not your car. Yet trailer lights live in the worst conditions: spray from the wheels, mud from dirt roads, winter road salt and water when launching a boat. Most often they fail because of corroded contacts, not the bulb itself.
Here is a routine from simple to more involved that solves most faults in half an hour.
What you will need
Important: Do all work on contacts and bulbs with the engine and ignition off and the trailer plug disconnected. Do not wash the lights with a strong pressure jet, as water gets inside.
Step 1
Check every light
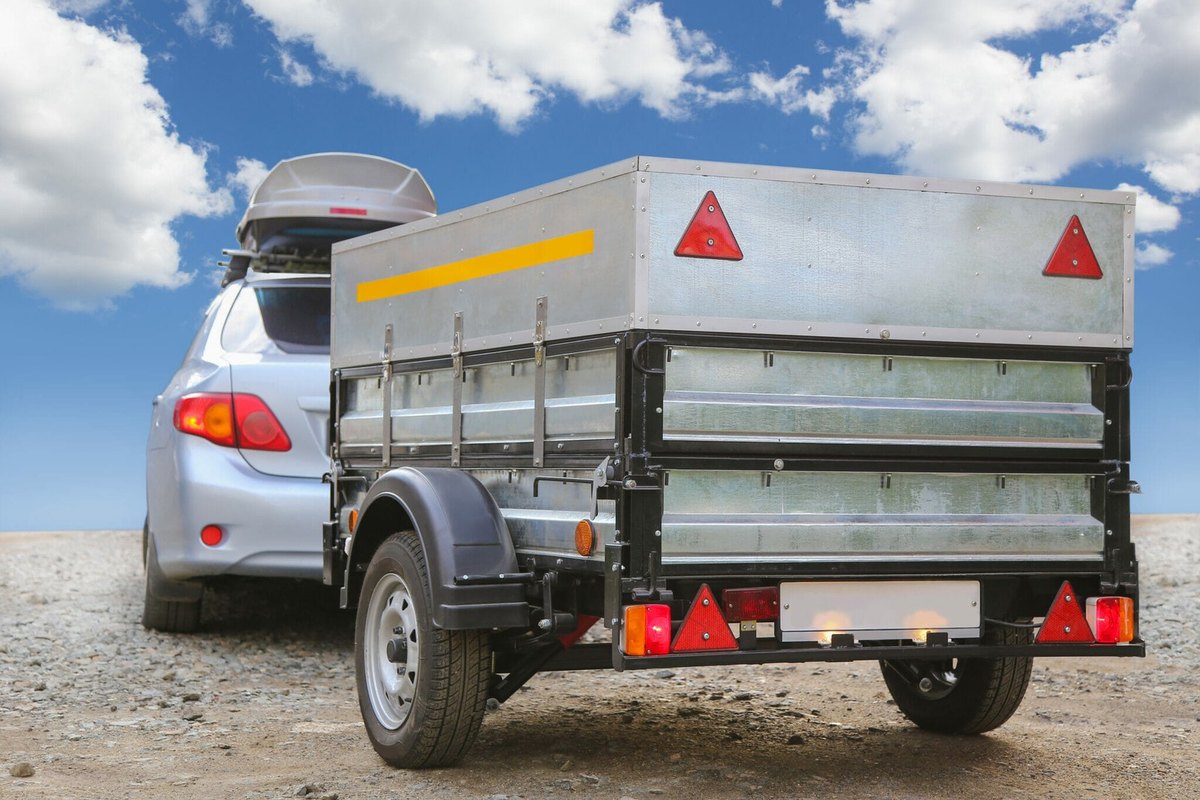
Before a trip, hitch up the trailer, connect the plug and switch on the ignition. A helper behind the trailer checks the side lights, brake lights, left and right indicators, reversing light and number plate light while you switch them on in turn.
At the same time inspect the lenses and reflectors, which should be intact and clean. Wash them with a soft sponge and water, without a strong jet.
Step 2
Clean the socket and plug
If one or more lights do not work, start with the 7- or 13-pin connection between car and trailer. Switch off the engine, unplug and inspect the pins in the socket and plug: you will often find sand, dirt, cobwebs or green corrosion.
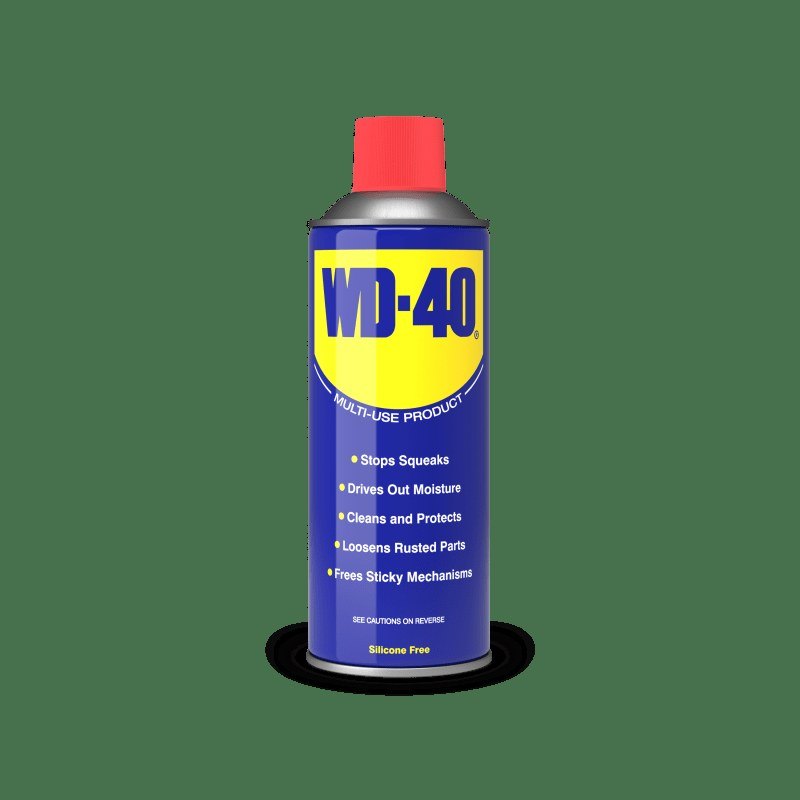
Blow the connector out with compressed air and treat the contacts with WD-40 Specialist Contact Cleaner: it dissolves corrosion and dirt, displaces moisture and evaporates quickly without residue. Plug and unplug a few times to wipe the contacts, then test the lights again.
Step 3
Open the lamp unit
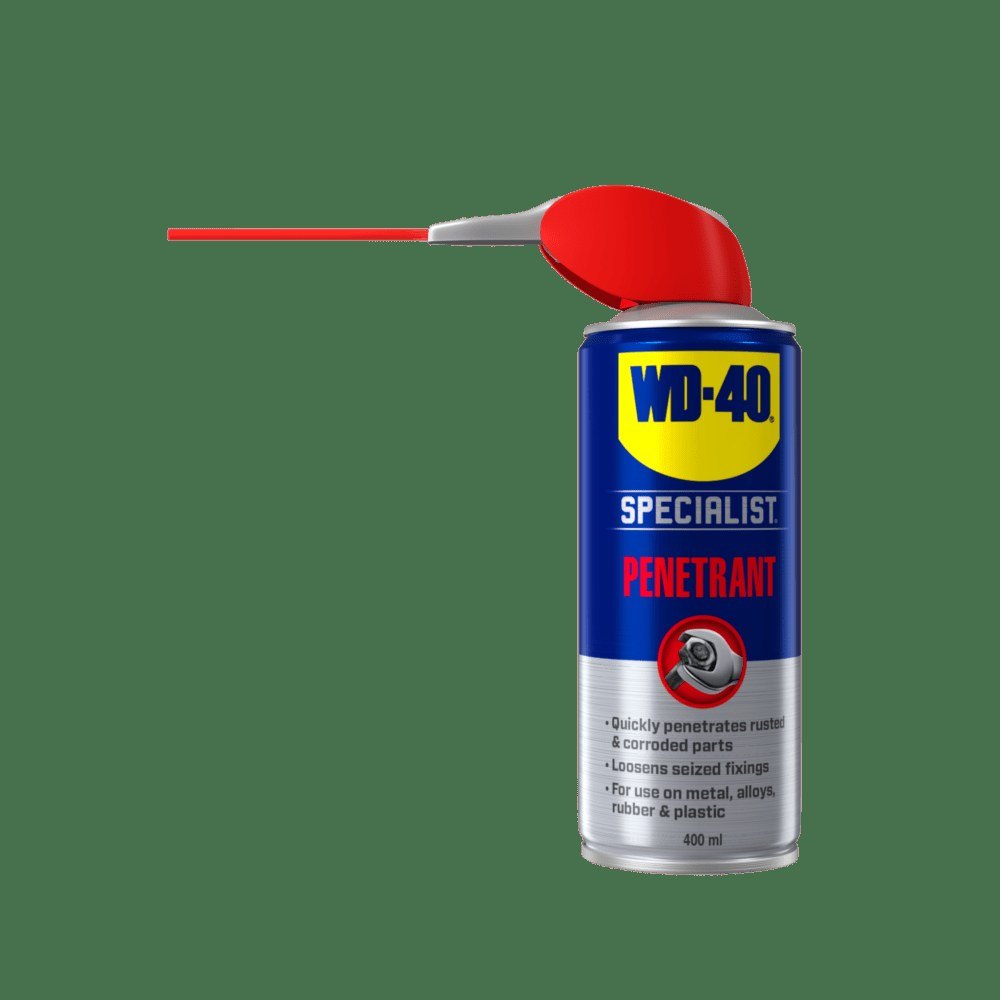
If cleaning the connector did not help, a bulb has most likely blown. Unplug the trailer and open the lamp as the trailer manual describes, either by undoing the lens screws or unclipping the cover. If the screws are seized, put a drop of WD-40 Specialist Penetrant on them and wait a few minutes so you do not crack the plastic.
Step 4
Replace the bulb and clean the holder
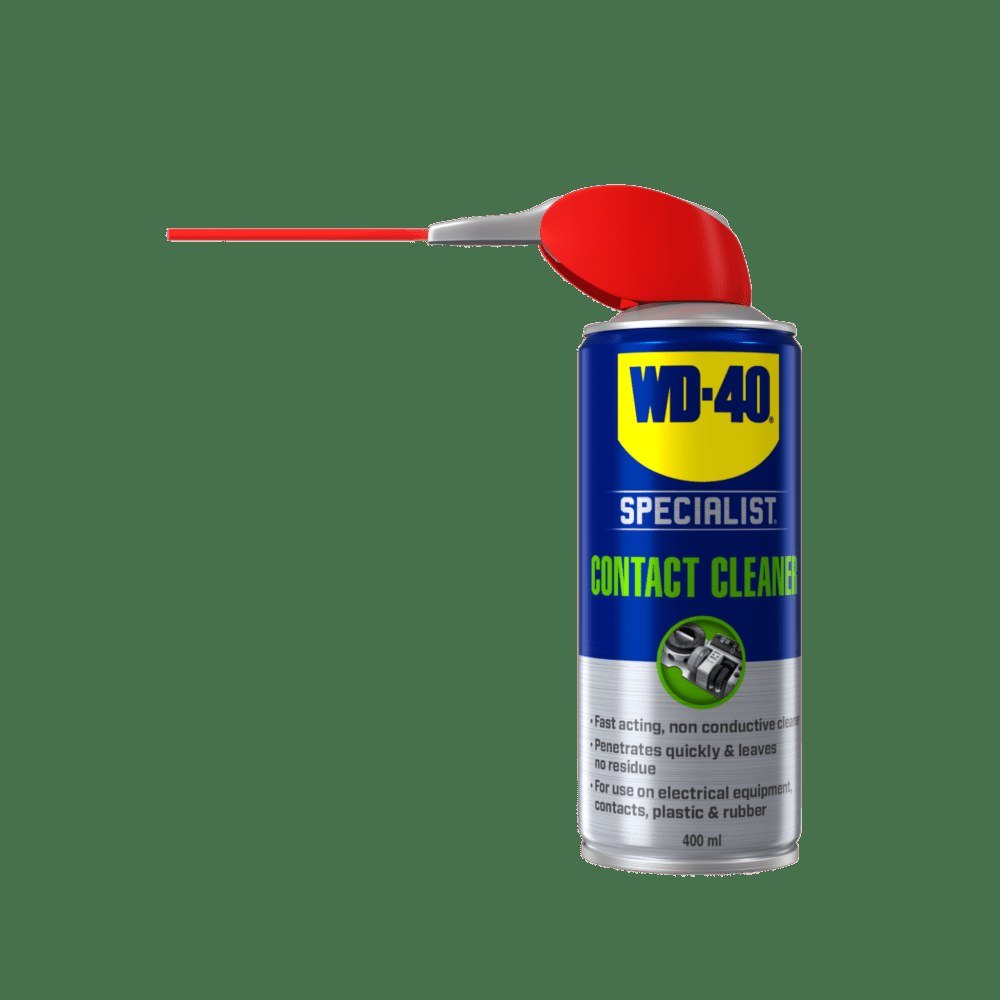
Remove the blown bulb and inspect the holder: if the contacts are dark or green, treat them with contact cleaner and let them dry. Handle the new bulb with a glove or paper towel, as a greasy fingerprint on a halogen bulb shortens its life.
Fit the bulb, test the light with your helper and only then close the lens. Make sure the seal sits evenly, or water will get in again.
Step 5
Check the lamp fixings
Lamps are fixed to the trailer frame with bolts, screws or brackets that loosen over time with vibration. If a lamp wobbles, tighten the fixings. Treat rusty bolts with penetrant first, give it time to work and only then turn them.
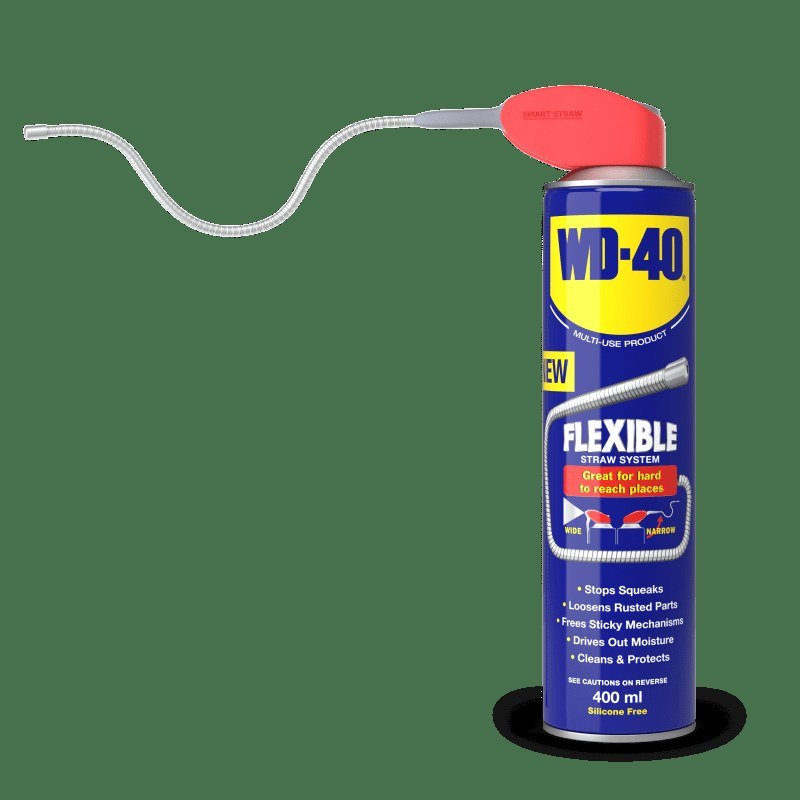
After tightening, spray WD-40 Smart Straw onto the brackets and nuts: it displaces moisture, cleans and protects the metal from rusting again. WD-40 Multi-Use also removes tar and bitumen marks from the lamp housings.
Tip: In winter, after every trip on salted roads, treat the plug and socket with contact cleaner and keep the socket cover closed when not in use. Salt and moisture can eat through fine contacts in a single season.
What next
Check the trailer lights before every trip and inspect the contacts and fixings at least twice a year, in autumn and spring. While you are at it, lubricate the coupling latch and jockey wheel.
These uses come from the experience of WD-40 users in many countries. Always follow the instructions and warnings on the product label.
More guides in «How to use».