Excess moisture builds up at home both in winter, when windows mist up from temperature differences, and in damp summer weather. In basements, bathrooms and older houses with poor ventilation it soon shows itself as mould patches, a musty smell and rust on tools.
Here is what humidity level counts as normal, why deviations matter and how to remove excess moisture with simple means.
What you will need
Important: Switch off the power and unplug any device before treating electrical contacts. Do not spray aerosols near an open flame, and keep the room ventilated.
Step 1
Measure the humidity
Comfortable indoor relative humidity is 40-60%, and for people with health issues 45-55% is better. Place a hygrometer in a living room, the kitchen and the bathroom and watch the readings for a few days.
Step 2
Understand the risks
Humidity above 60% encourages mould and dust mites, which can trigger allergies and asthma. Air that is too dry, below 40-45%, is not good either: more dust and dry mucous membranes. The aim is not to dry the house out but to bring humidity back into range.
Step 3
Ventilate and use a dehumidifier
Air rooms briefly but thoroughly several times a day, cover pans when cooking, and dry laundry on a balcony or with the extractor fan running. Check that the bathroom and kitchen vents actually work.
If that is not enough, a portable dehumidifier will help. Empty its water tank regularly and clean the filter so moisture does not stagnate inside.
Step 4
Renew the sealant joints
Damaged joints around the bath and shower let water into the walls. Cut out the old sealant with a utility knife, clean and degrease the surface thoroughly and let it dry. Apply masking tape on both sides of the joint, run a thin even bead of silicone and smooth it with a finger dipped in soapy water. Peel off the tape before the silicone sets.
If moisture comes from the foundations or through the walls, more serious damp-proofing and insulation work will be needed.
Step 5
Protect metal and electrics in damp rooms
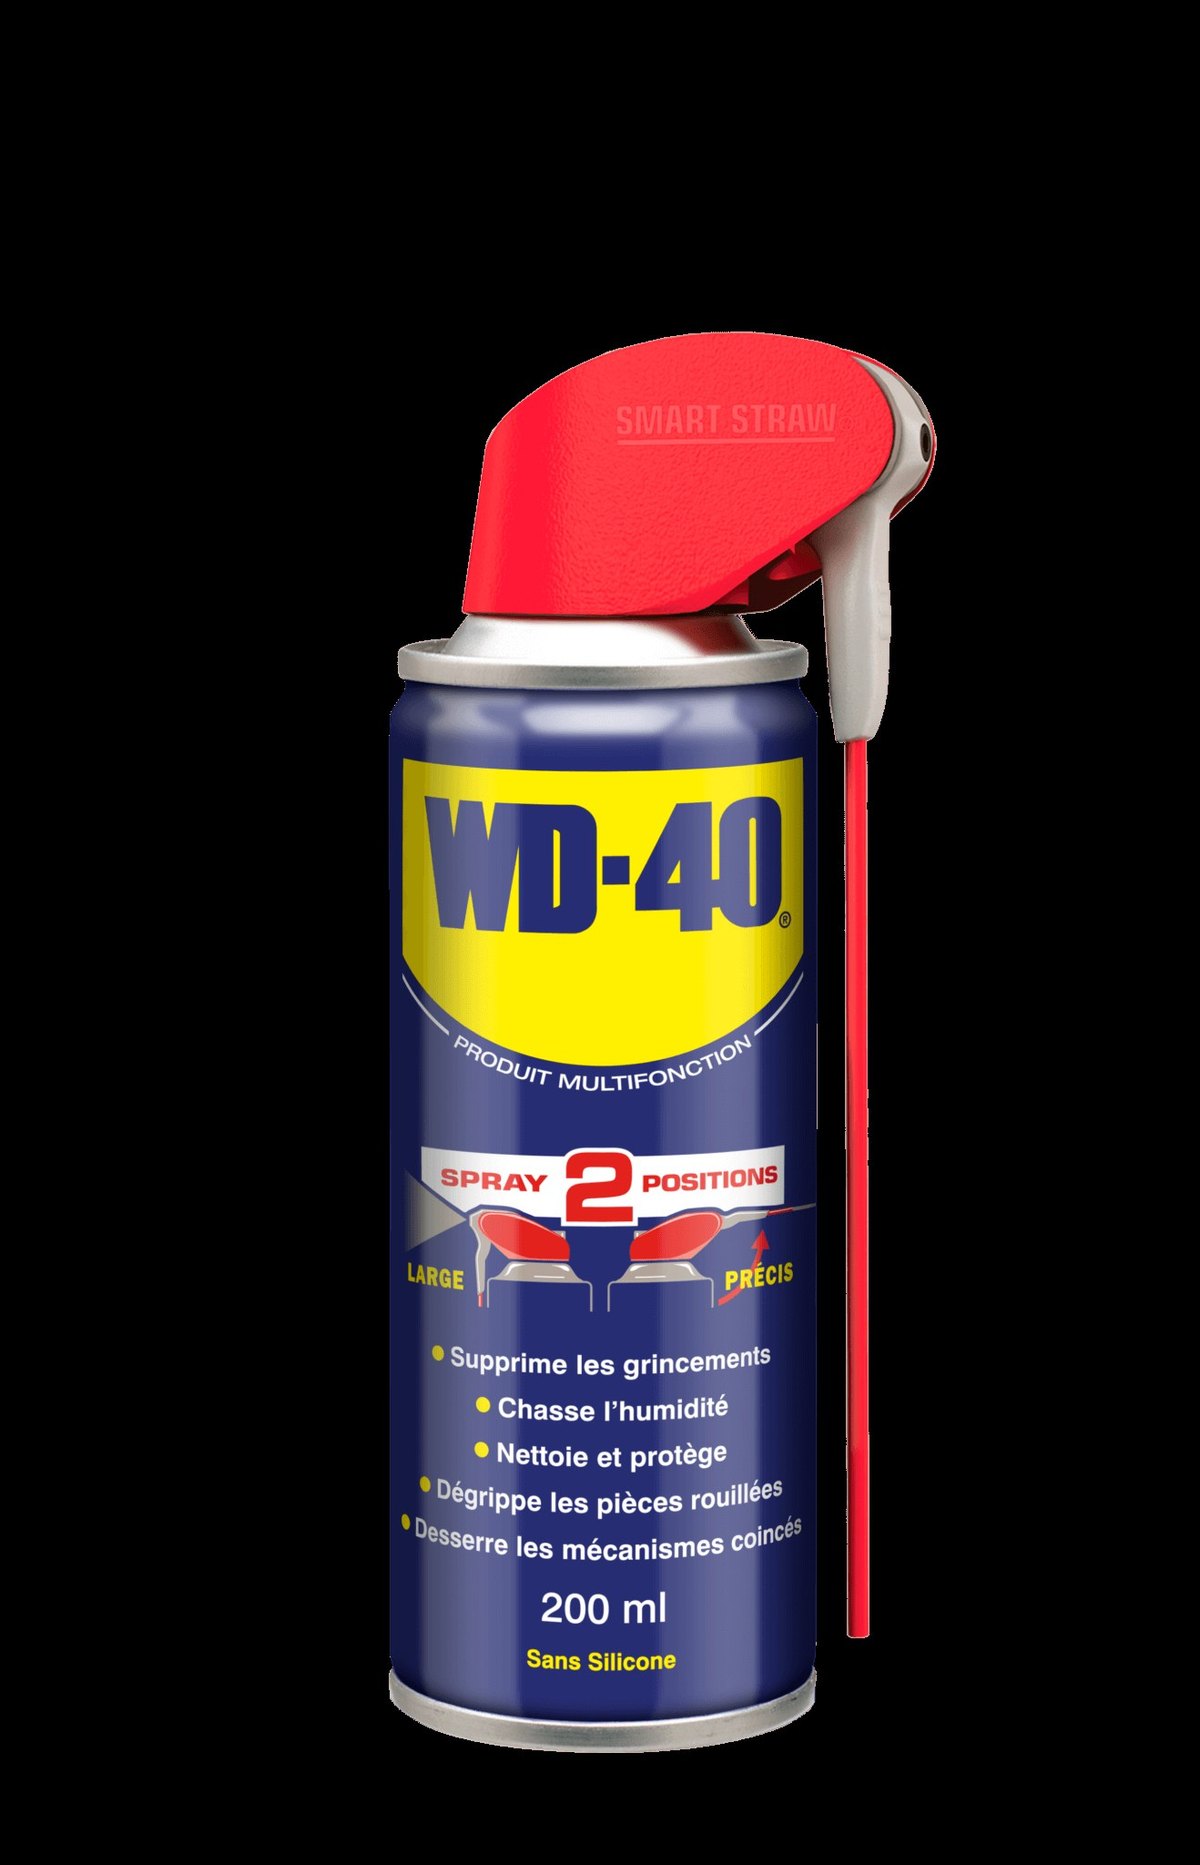
In a basement, garage or storeroom, damp quickly ruins tools, hinges and locks. Treat them with WD-40 Multi-Use: it displaces moisture and leaves a thin protective film against rust.
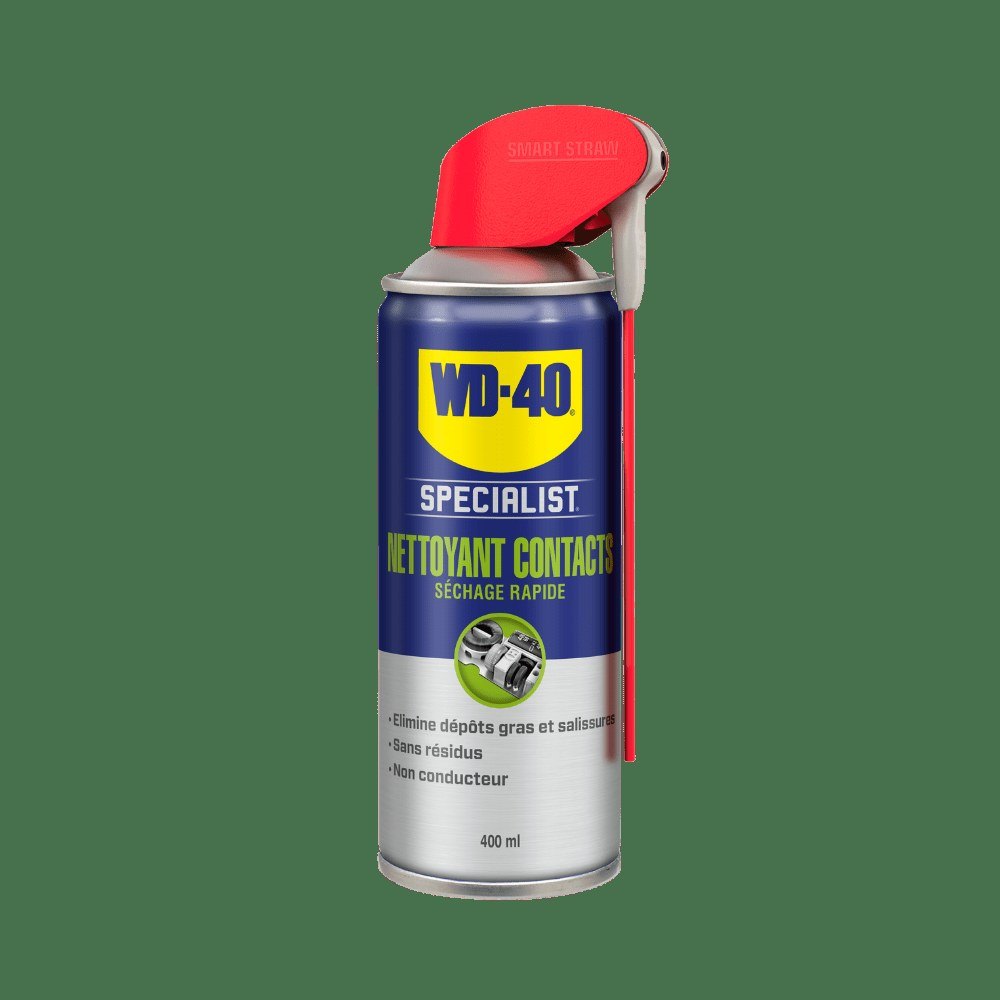
With the power off, treat extension lead connectors and the contacts of power tools and batteries stored in damp conditions with WD-40 Specialist Contact Cleaner. It dissolves condensation and dirt, dries quickly and leaves no residue.
Tip: In winter, wipe condensation off window sills and reveals every morning: that is where mould appears first.
What next
Check humidity every season and inspect the bathroom joints once a year. For large metal surfaces in a garage or workshop, a WD-40 Trigger Pro with its trigger spray is convenient.
These uses come from the experience of WD-40 users in many countries. Always follow the instructions and warnings on the product label.
More guides in «How to use».