Rust on brake discs is more than a cosmetic issue. When a car stands outside for a while, especially in autumn and winter, moisture and road salt coat the discs with an orange film overnight. It causes squeals, reduces braking efficiency and, if the corrosion is uneven, judder through the steering wheel.
Light surface rust disappears after a few stops, but deeper corrosion has to be removed by hand. Here is how to judge the damage step by step and get the discs back into working condition.
What you will need
- jack, axle stands, wheel brace
- Torx and Allen keys, torque wrench
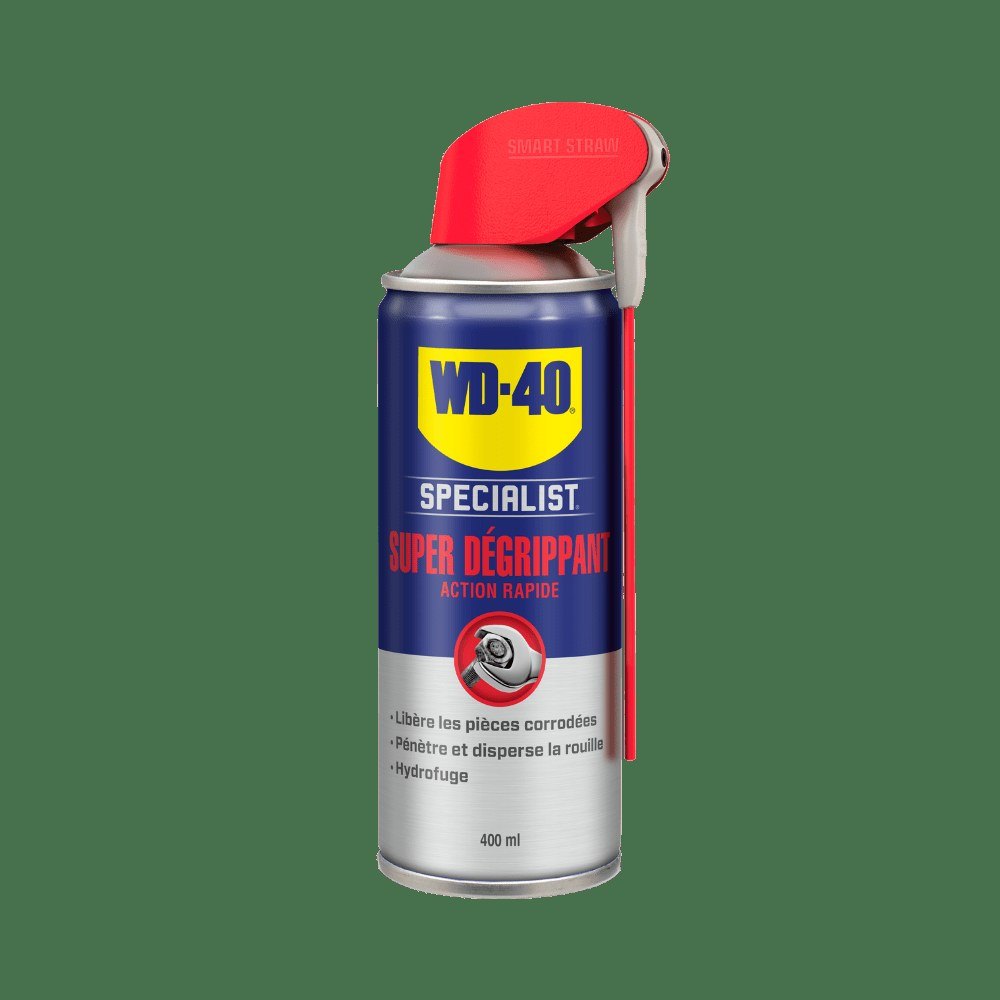
- WD-40 Specialist Penetrant for seized bolts
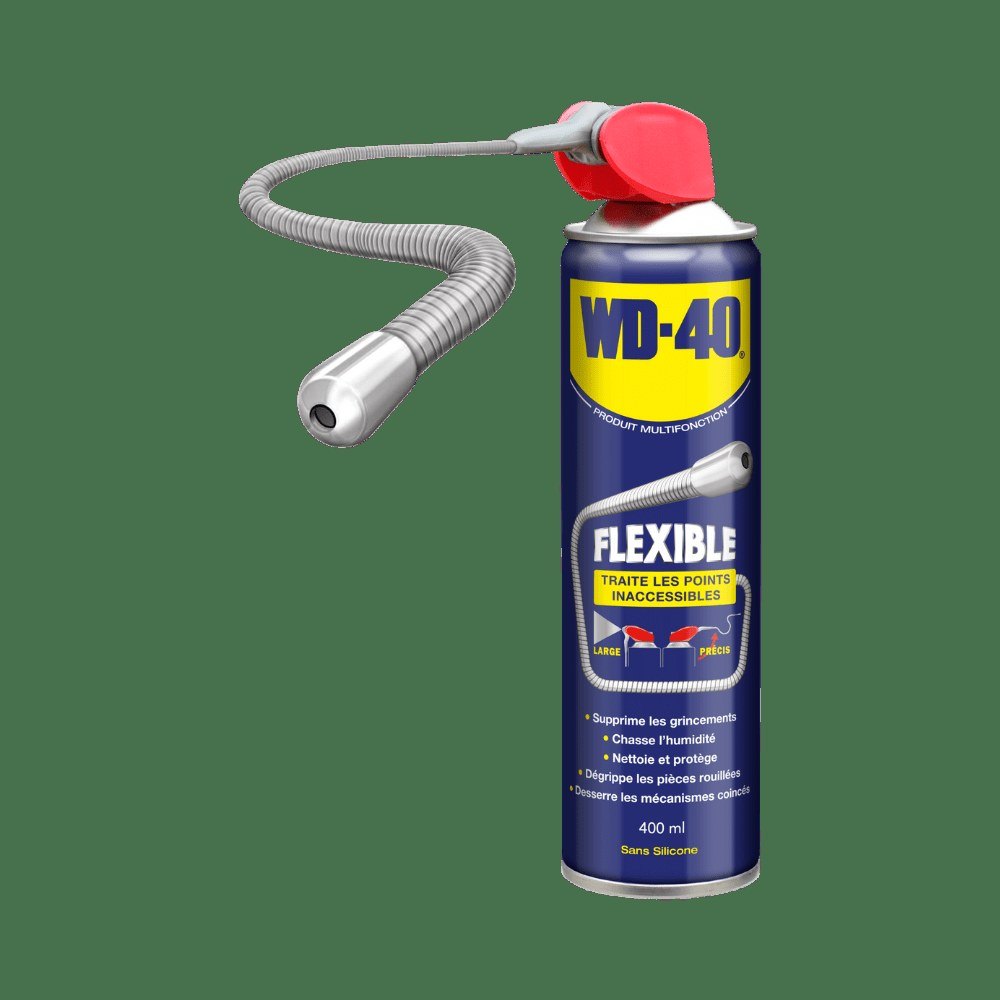
- WD-40 Smart Straw for wheel bolts
- brake cleaner, rags or paper towels
- white vinegar and a container for soaking
- drill with a soft wire brush, gloves, safety glasses
Important: Never apply lubricants, copper paste or any oily product to the disc friction surface or pads: the brakes could fail. Use WD-40 only on threaded fasteners and wipe off any excess.
Step 1
Remove the wheel
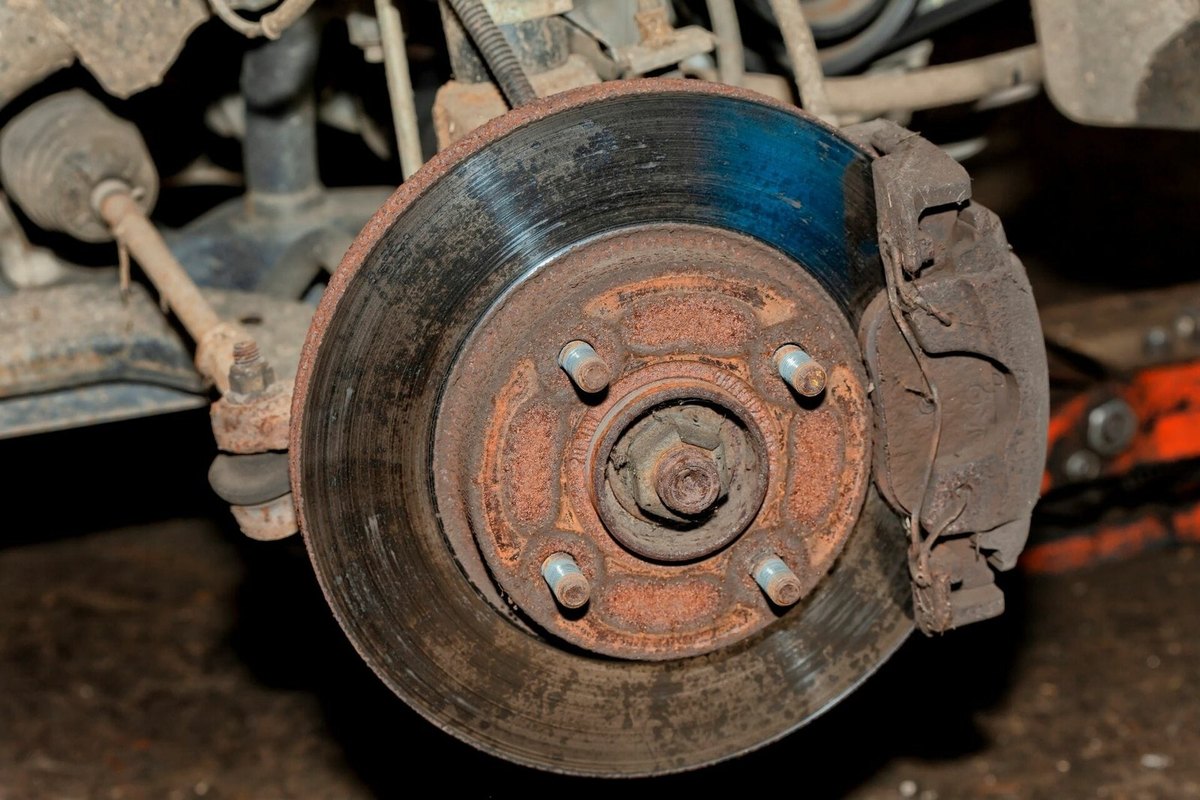
Park on level ground, apply the handbrake and engage a gear. Loosen the wheel bolts a quarter turn; if they are tight, apply WD-40 Smart Straw to the threads. Raise the car at the correct jacking point, support it on an axle stand and remove the wheel.
Step 2
Assess the corrosion
A light orange film after rain or washing usually comes off with normal braking. A narrow band of rust at the edge of the friction surface needs cleaning to stop it spreading. If the disc is rusty all over, deeply pitted, shows an uneven pad pattern or is already below the minimum thickness stamped on it, replace it together with the pads.
Step 3
Clean the discs and brake them clean
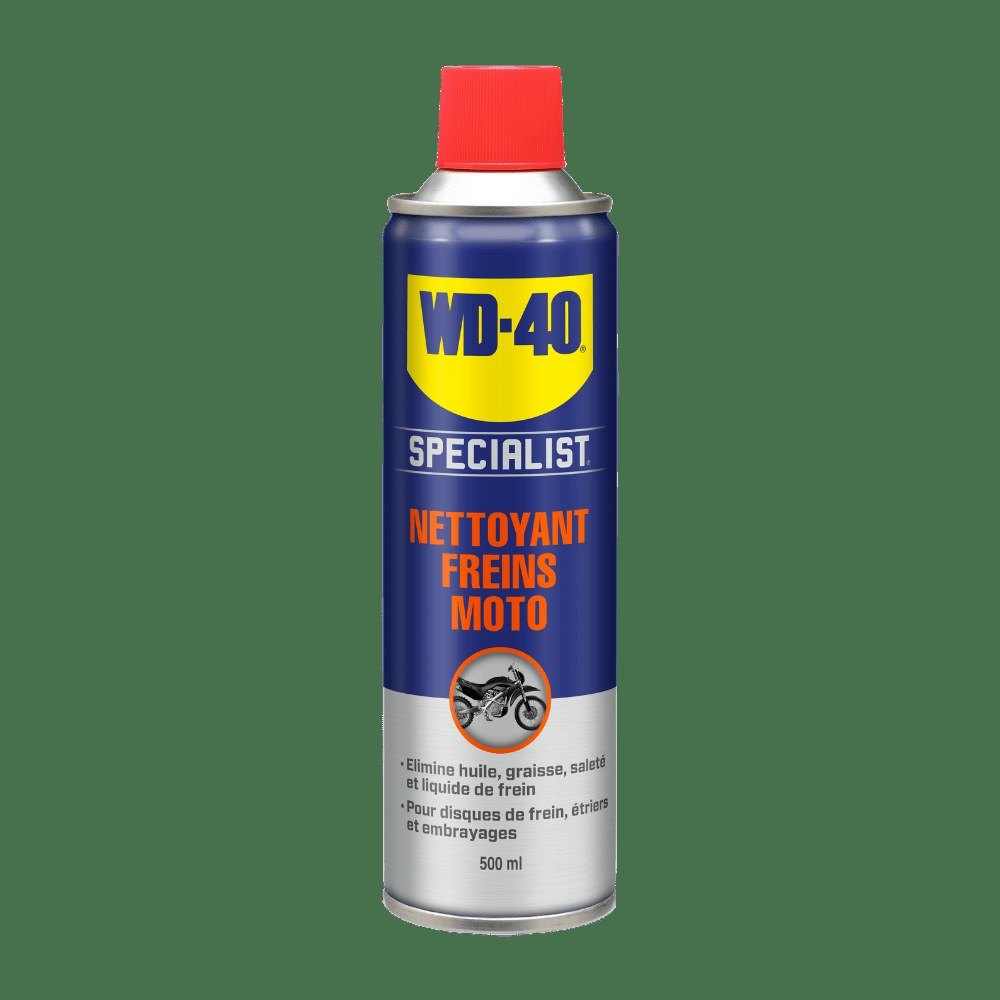
Spray brake cleaner generously over the discs and callipers, leave it for 2 to 3 minutes and wipe with a paper towel. Wear gloves. Refit the wheel, tighten the bolts in a cross pattern and lower the car.
On an empty stretch of road, accelerate to around 50 km/h and make several firm stops. Friction from the pads polishes light rust off the friction surface. Only do this when you are not endangering anyone.
Step 4
Remove the disc if rust remains
Take the wheel off again and undo the calliper guide bolts and the disc screw. Treat any seized fasteners with WD-40 Specialist Penetrant and let it work for 5 to 10 minutes. Hang the calliper on wire, not on the hose, and remove the disc.
Step 5
Remove rust with vinegar and a brush
Degrease the disc with brake cleaner. Soak it in a container of vinegar for 24 to 48 hours in a ventilated area, then rinse with clean water and dry it thoroughly straight away.
Remove remaining rust with a soft wire brush in a drill, working evenly and without pressure. If the metal turns blue, you are overheating it. Do not grind below the minimum thickness; if in doubt, have the discs skimmed at a workshop.
Step 6
Refit the disc
Give the disc, screws and calliper bolts a final spray of brake cleaner. Fit the disc and calliper, apply thread locker to the bolts and tighten to the torque in the manual. Refit the wheel, torque the wheel bolts, pump the brake pedal a few times and test the brakes at low speed.
Tip: The best protection against disc rust is regular driving: even a short trip warms the discs and drives off moisture. After a long stop or a car wash, make a few gentle stops before joining a fast road.
What next
Check the discs whenever you check tyre pressures, and especially after winter. If the car is parked outdoors, use a carport where possible, and treat the calliper fasteners with WD-40 Specialist Penetrant once a season so the next service goes smoothly.
These uses come from the experience of WD-40 users in many countries. Always follow the instructions and warnings on the product label.
More guides in «How to use».