Rust on bodywork rarely appears overnight. It starts as a tiny orange spot near a wheel arch or sill, and within a season or two corrosion is spreading under the paint and the repair costs several times more.
Bodywork has a hard life: in winter the roads are covered in salt and de-icing chemicals, and in autumn and spring mud and moisture sit in the arches and seams for months. The sooner you spot a rust patch, the easier it is to stop. Small areas can easily be repaired at home in the garage.
What you will need
Important: Wear gloves, safety glasses and a respirator when sanding and painting, and work in a ventilated space away from naked flames. Large areas of corrosion, rust holes and structural parts of the body are best left to a body shop.
Step 1
Inspect the vulnerable areas
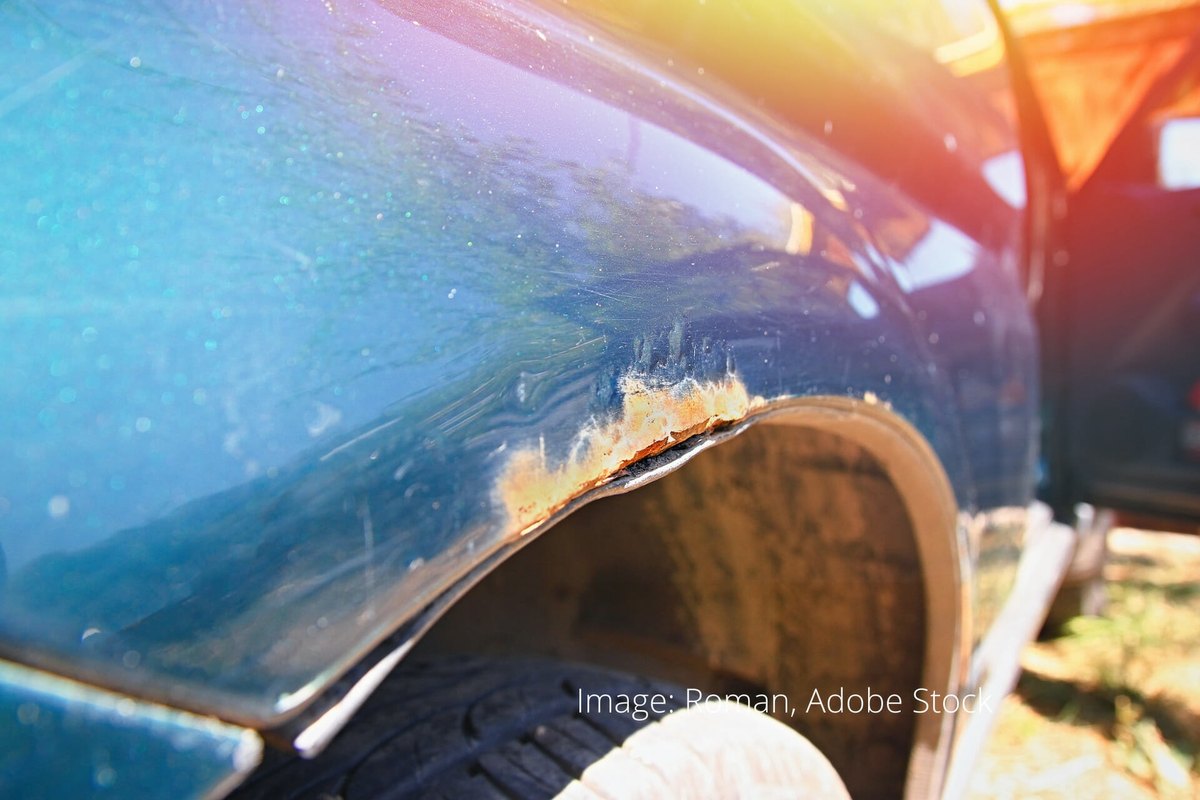
Wash the car and look closely at the places where rust appears first: the wheel arches, the front end and lower rear, the sills, door seams and edges, around trim mouldings and under rubber seals.
If you need to remove a moulding or trim piece and the fixings have seized, treat them with WD-40 Specialist Fast Release Penetrant and leave it to work for a few minutes. The fixings will then come undone without stripped threads or broken clips.
Step 2
Treat early signs of rust
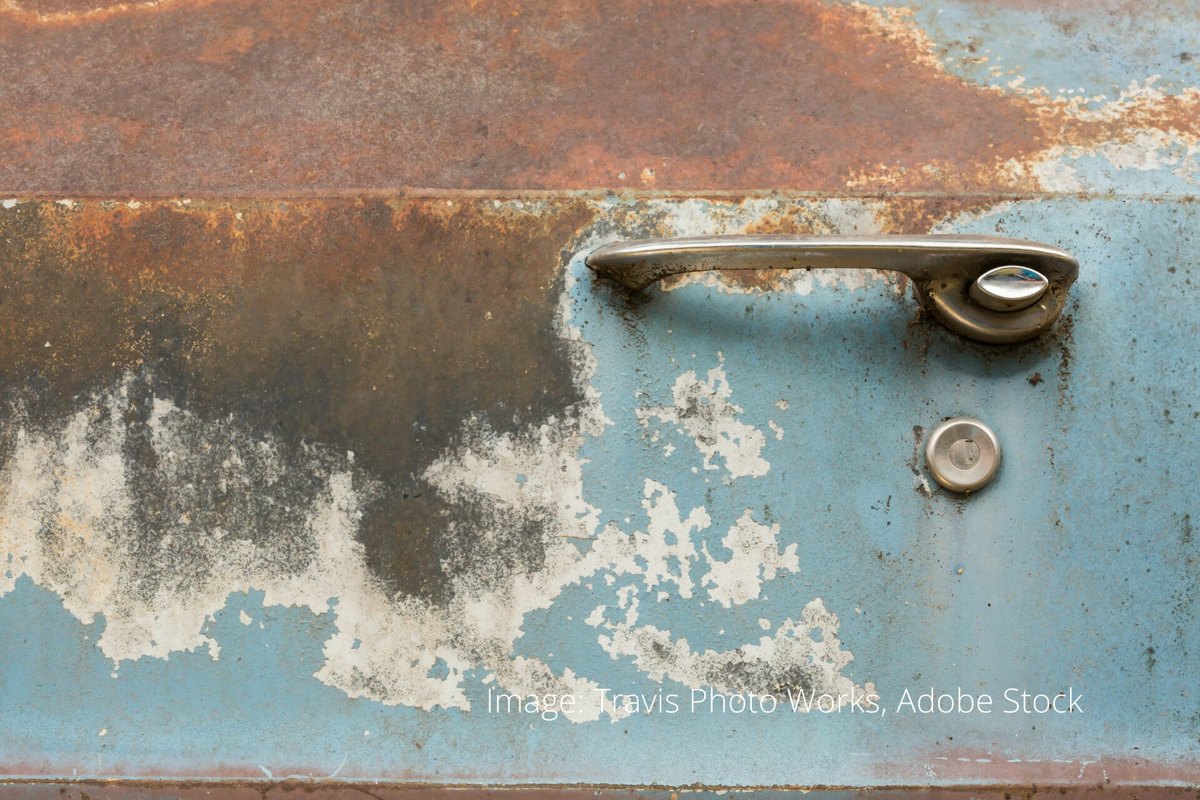
If the paint is intact and there are only orange spots or a light bloom on the surface, treat them with WD-40 Multi-Use Product. It displaces moisture, protects the metal against further corrosion and also removes tar and sap spots.
For hidden cavities, seams and the underbody, where moisture and salt linger longest, use WD-40 Specialist Corrosion Inhibitor: it forms a durable protective layer that lasts.
Step 3
Sand the damaged area back to metal
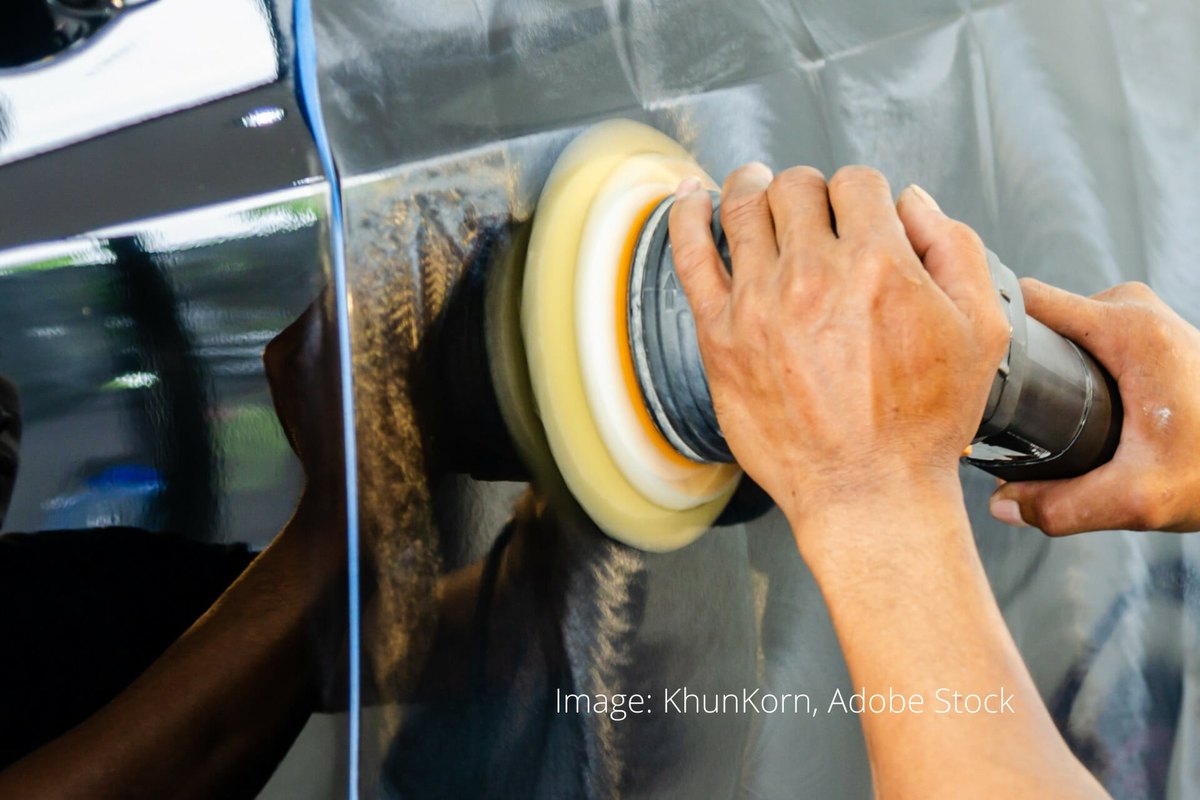
If the paint has already bubbled or is flaking, mask off the surrounding area with tape and paper. Sand the damaged spot with P120-P240 paper or a sander down to clean, bright metal, taking in a little sound paint around the edges.
Where sanding is impossible, such as in deep corners or along seams, apply rust converter according to the manufacturer's instructions.
Step 4
Fill and prime
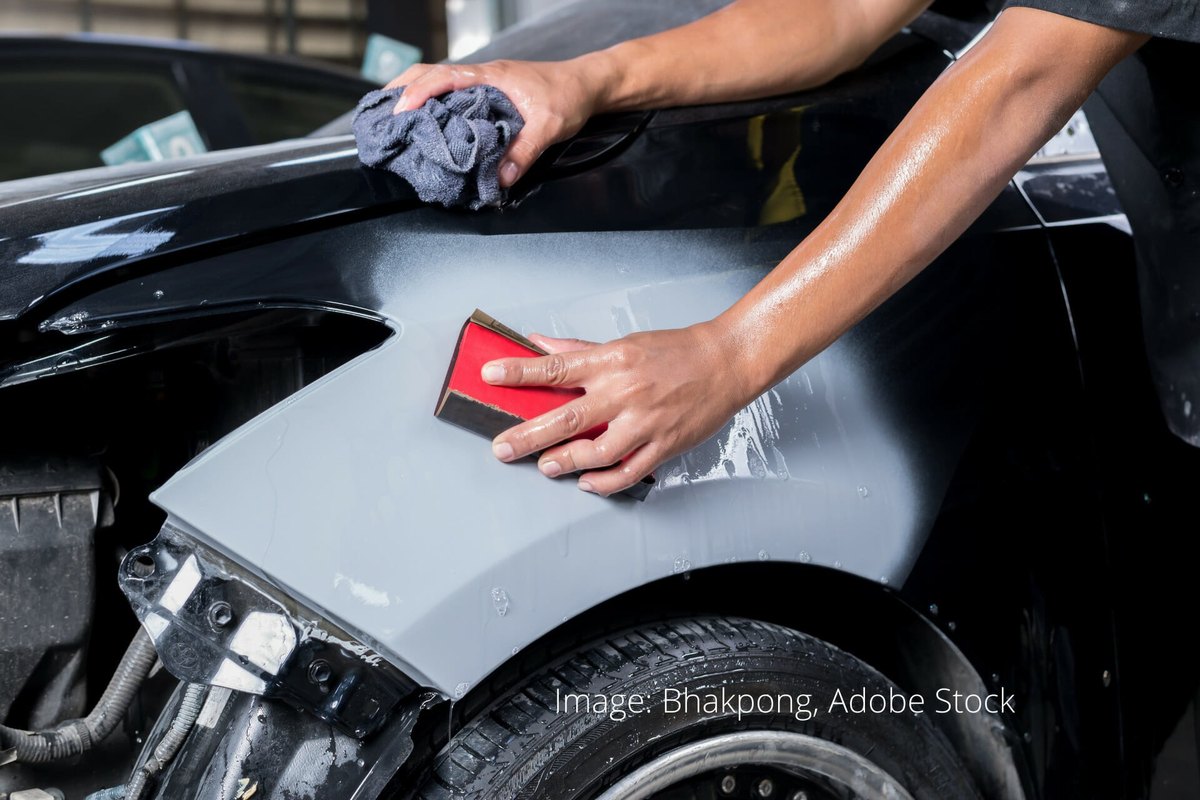
Apply body filler in thin layers with a flexible steel spreader to bring the area level with the panel. Once dry, sand it with P200-P240 paper.
Spray two coats of aerosol primer, aiming towards the masked edges so no ridge forms. When the primer is dry, sand it with fine P600-P800 paper to a perfectly smooth finish.
Step 5
Paint the area in your car's colour
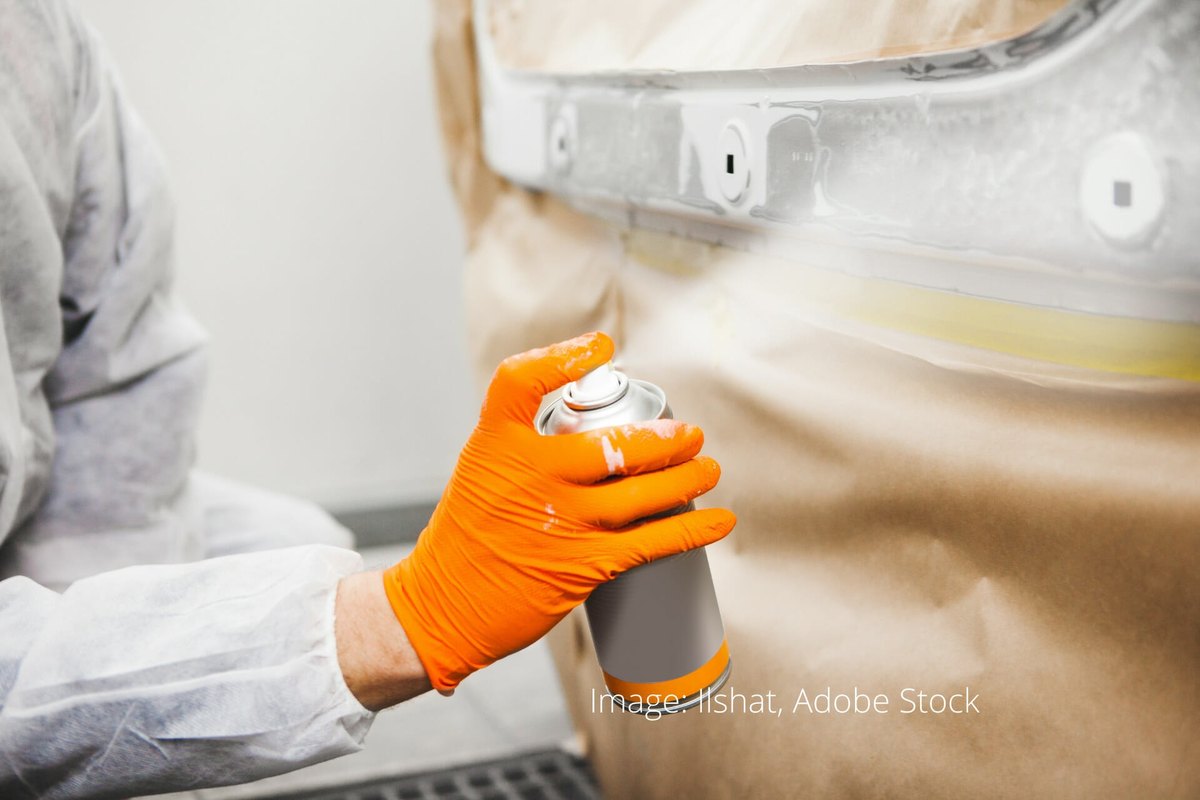
Choose an aerosol paint matched to your car's colour code. Apply several thin coats, letting each one flash off, rather than one heavy coat, which will run.
Start and stop each pass outside the repair area so the paint goes on evenly. If the damaged area is large, it is hard to get an even finish from a can, so a body shop is the better option.
Step 6
Polish and lacquer
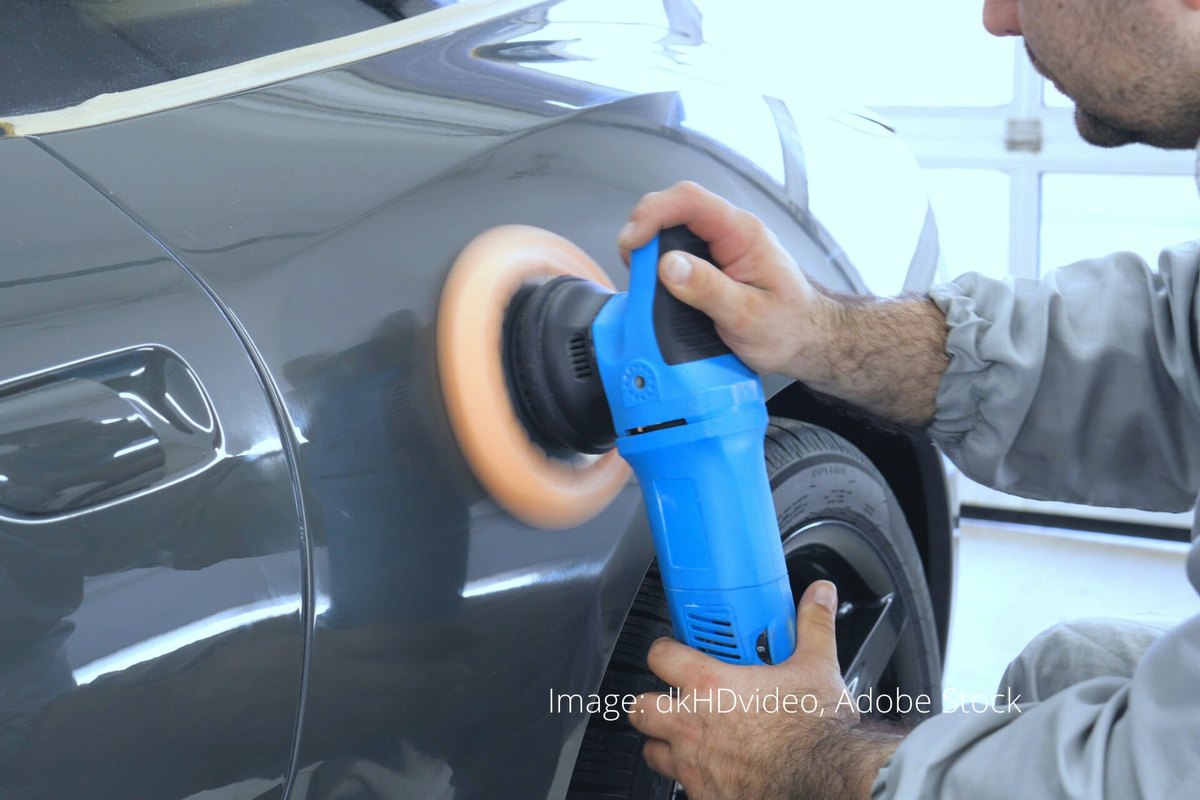
Once the paint is fully dry, work over the area with abrasive polishing compound to blend the edge between new and old paint. Then apply clear lacquer and polish the surface with polishing wax to an even shine.
Tip: Peel off the masking tape while the last coat of paint is still slightly wet: you get a cleaner edge and the paint film does not tear away with the tape.
What next
Inspect the bodywork every spring after the salty-road season and every autumn before it. Treat early spots with WD-40 Multi-Use and protect arches, sills and seams with Corrosion Inhibitor, and you will need filler and paint far less often.
These uses come from the experience of WD-40 users in many countries. Always follow the instructions and warnings on the product label.
More guides in «How to use».