You only really appreciate a washing machine once it breaks down. Most faults, such as not switching on, not filling or not spinning, can be traced and often fixed at home with screwdrivers, a multimeter and some patience.
Repair first and replace only parts that have genuinely failed. Regular care of the drum, filter and door seal prevents many breakdowns.
What you will need
Important: Unplug the machine and turn off the water supply before taking anything apart. Measure resistance only with the machine disconnected. Leave live testing and electronics repairs to a qualified technician.
Step 1
Identify the type of fault
Faults fall into three groups: electrical, water fill and mechanical. A dark display points to electrics, so first check the socket with another appliance. If it works, suspect the mains filter, inlet valve, control board, heating element, temperature sensor, drain pump or a broken wire between them.
Step 2
Test the electrical components
With the machine unplugged, disconnect the part and measure its resistance. Typical values: heating element 20-40 ohms, inlet valve 1-5 kilohms, drain pump 100-300 ohms, temperature sensor about 12-15 kilohms at room temperature. Your model's service documentation gives exact figures.
If a reading is well off or shows an open circuit, the part needs replacing. Before reconnecting, treat oxidised contacts with WD-40 Specialist Contact Cleaner and let them dry.
Step 3
Sort out water fill problems
Make sure the inlet hose is not kinked, unscrew it and check the tap delivers water. If it does, rinse the mesh filter in the hose connector, which often clogs with limescale. Then check the inlet valves' resistance and descale the hoses to the detergent drawer with white vinegar.
Step 4
Check the drum and motor
The motor drives the drum via a belt. If the motor runs but the drum stays still, or rumbles and turns stiffly by hand, the bearings are probably worn and need replacing. If the motor does not turn, remove it and check the windings, tacho generator and carbon brushes, replacing worn brushes.
Back panel screws and motor mountings often seize in a damp bathroom. Apply WD-40 Smart Straw through the thin straw and wait a few minutes. Never lubricate the belt or pulleys, as the belt will slip.
Step 5
Clean the drum and filter
Run a rinse cycle without laundry weekly, before detergent and softener residues harden, to stop bacteria and mould.
Clean the drain filter about every three months: switch off, lay down a towel and container, unscrew the filter, remove fluff and small objects, clean the pump impeller carefully and screw the filter back firmly.
Step 6
Care for the door and replace the seal
Clean the door glass with an ordinary cleaner and a soft cloth. Wipe the rubber seal, where black mould spots appear most often, with a sponge and vinegar or bicarbonate of soda.
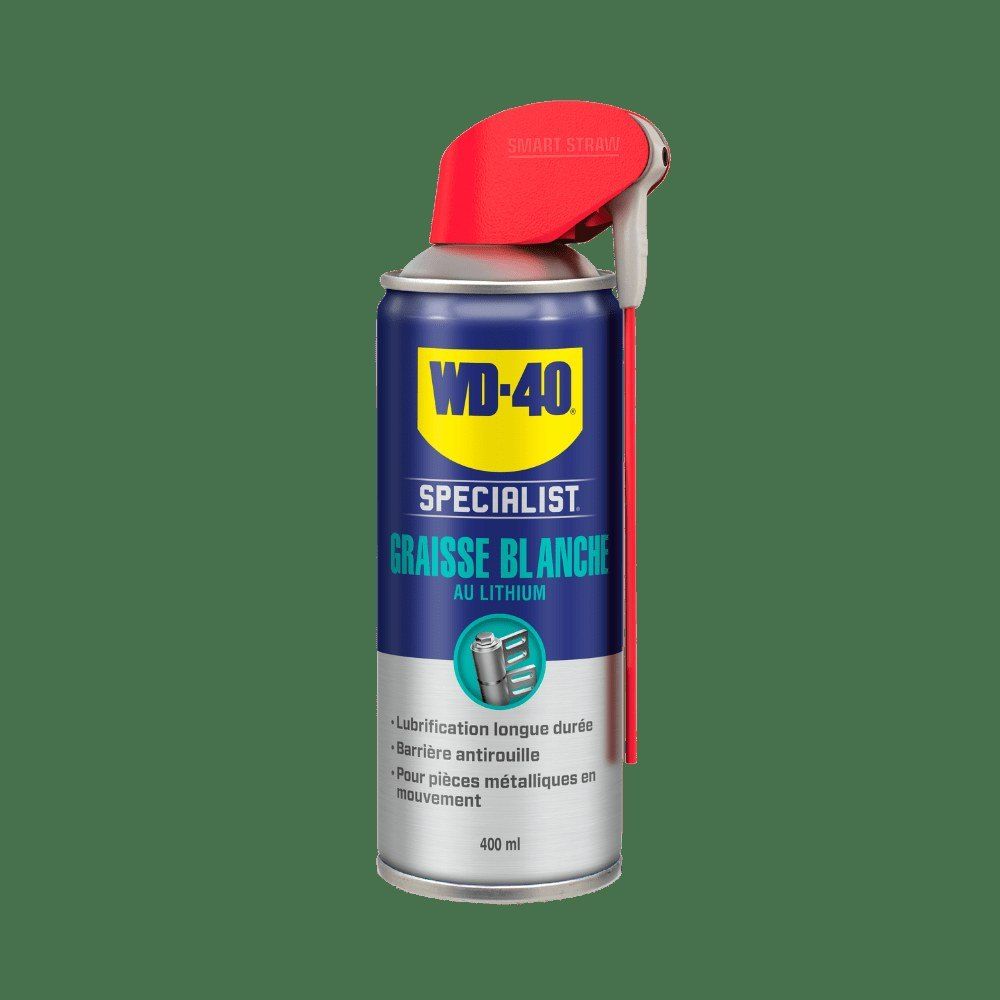
A torn seal must be replaced: remove the clamp or spring, ease out the old seal and clean the seating. Treat the groove lightly with WD-40 Specialist Silicone so the new seal fits more easily; silicone is safe on rubber and does not attract dirt.
Step 7
Lubricate the door hinge
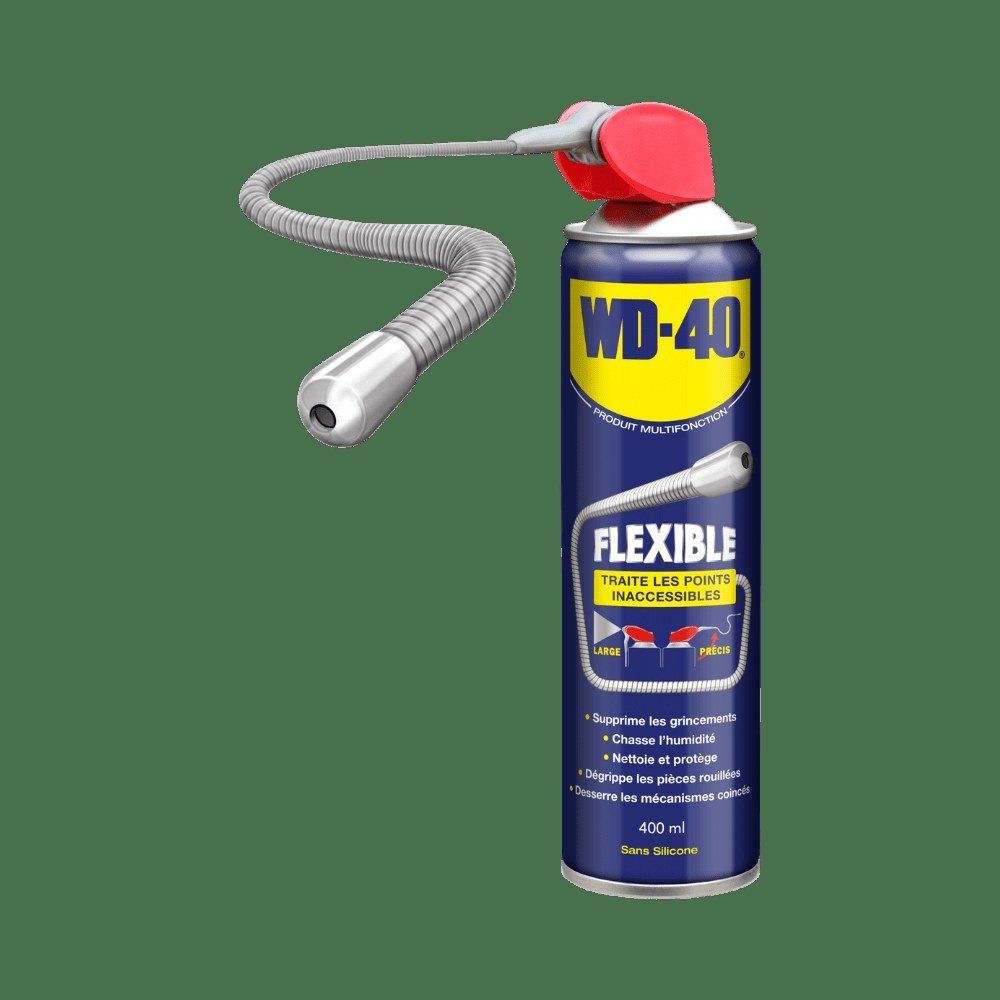
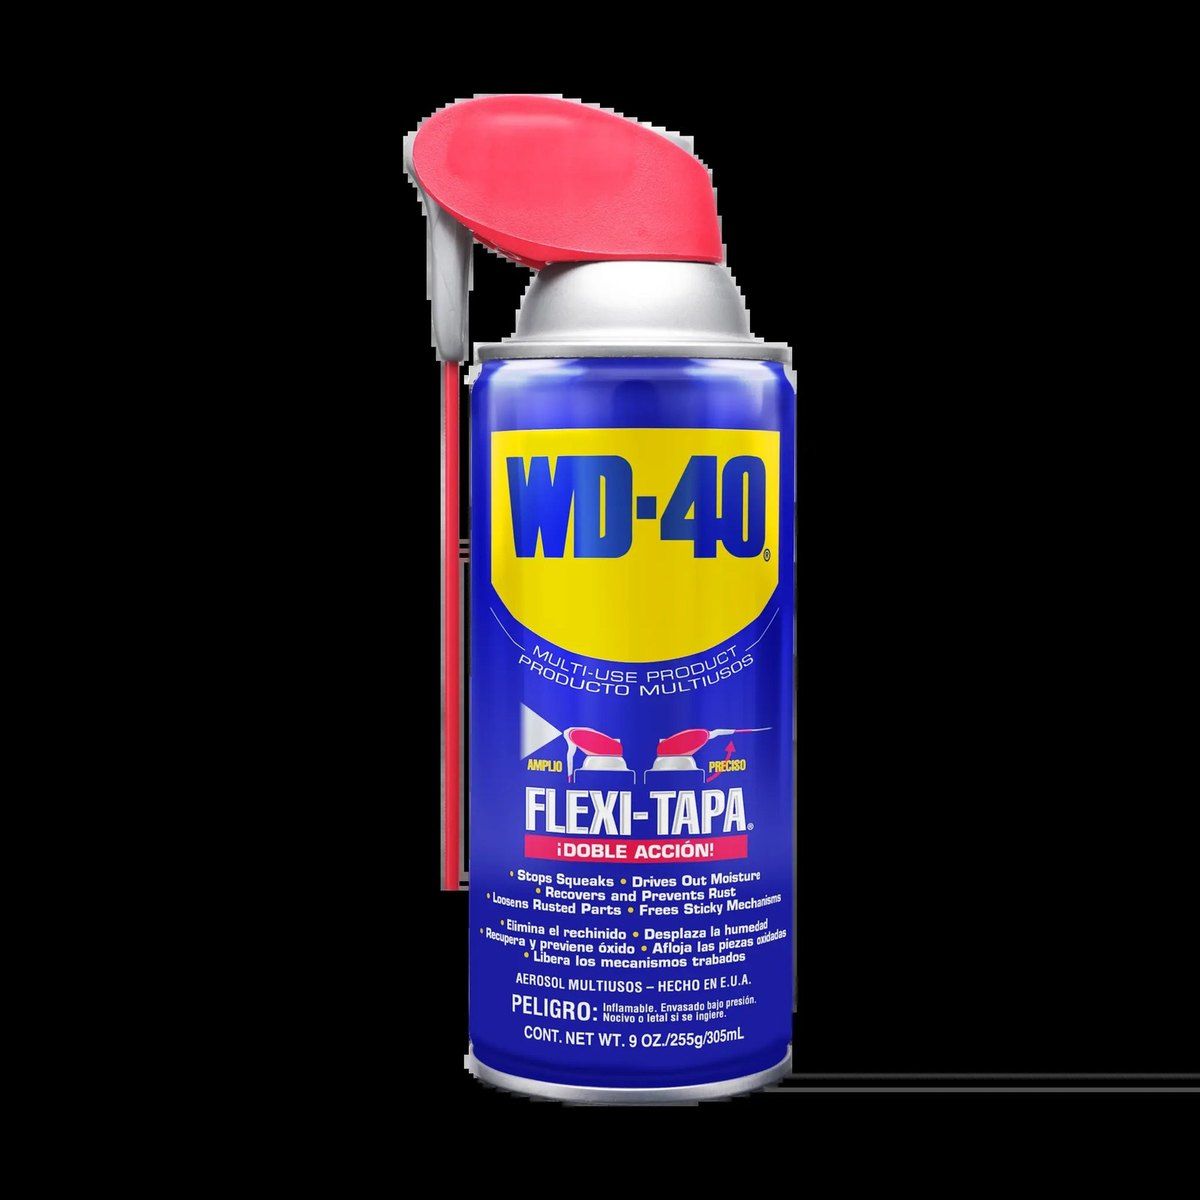
A squeaking or stiff door is caused by moisture, dust and oxidation in the hinge. Apply WD-40 Smart Straw to the hinge pin through the straw, open and close the door several times and wipe off the excess so it does not reach the seal.
Tip: After every wash, leave the door and detergent drawer ajar so the seal dries and mould never gets a start.
What next
Flush the drum weekly, clean the filter every three months and check the seal and hinge regularly. Control board faults are a job for a service centre.
These uses come from the experience of WD-40 users in many countries. Always follow the instructions and warnings on the product label.
More guides in «How to use».