The rubber door seal, also called the gasket or boot, wears out over time. Limescale, sand and hairgrips or coins left in pockets damage it, and constant moisture breeds black mould. Once it splits, the machine leaks during the wash.
Replacing the seal is not complicated. The main difficulty is getting at it, so on some models you will need to remove the front panel. Both front and top-loaders are covered below.
What you will need
Important: Always unplug the machine and turn off the water supply. Drain any remaining water through the emergency hose or drain filter before starting. Counterweights are very heavy, so remove them carefully and mind your fingers.
Step 1
Remove the front panel
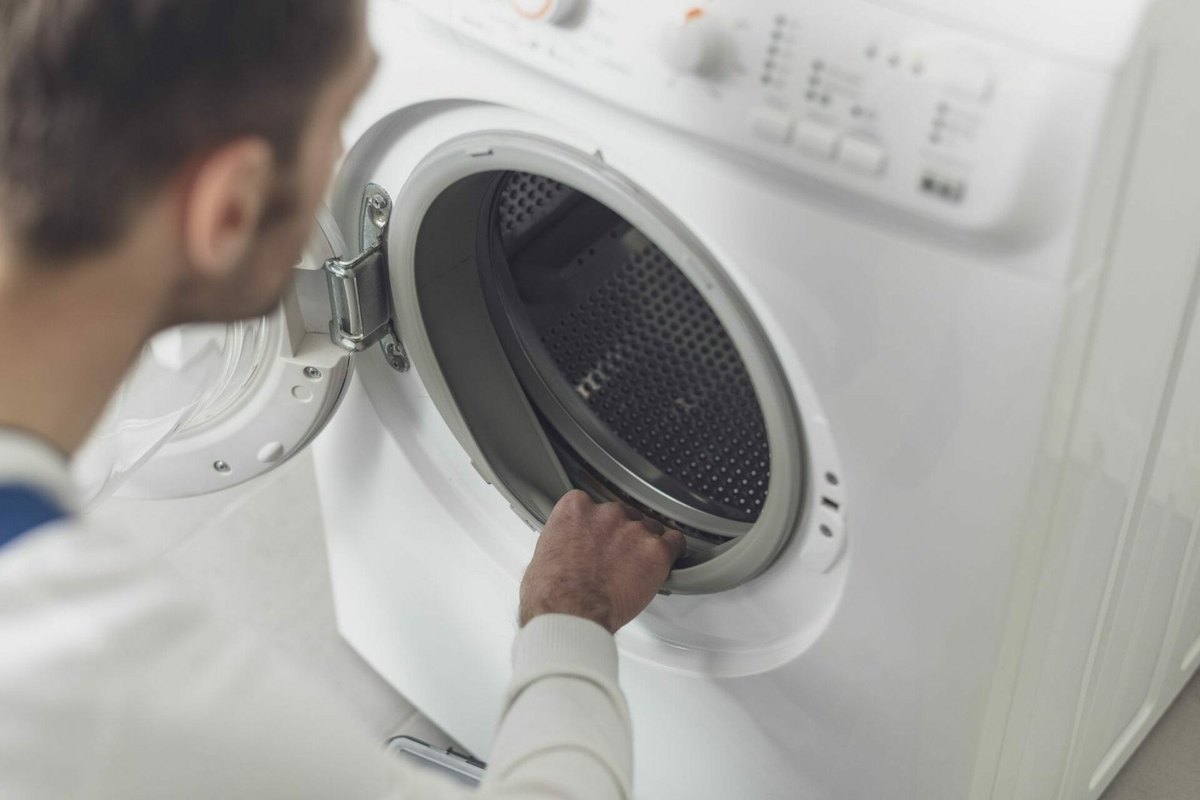
Pull the machine away from the wall or out of its housing. Open the door and lever off the outer clamp band of the seal with a flat screwdriver: it is either a sprung metal band or a plastic one. Tuck the edge of the seal into the drum.
On many models you need to take the front panel off for proper access. This can mean unscrewing the door lock, the plinth, the top cover and the control panel, as the panel screws hide beneath them. If screws are seized, soak them with WD-40 Specialist Penetrant and wait a few minutes.
Step 2
Take out the old seal
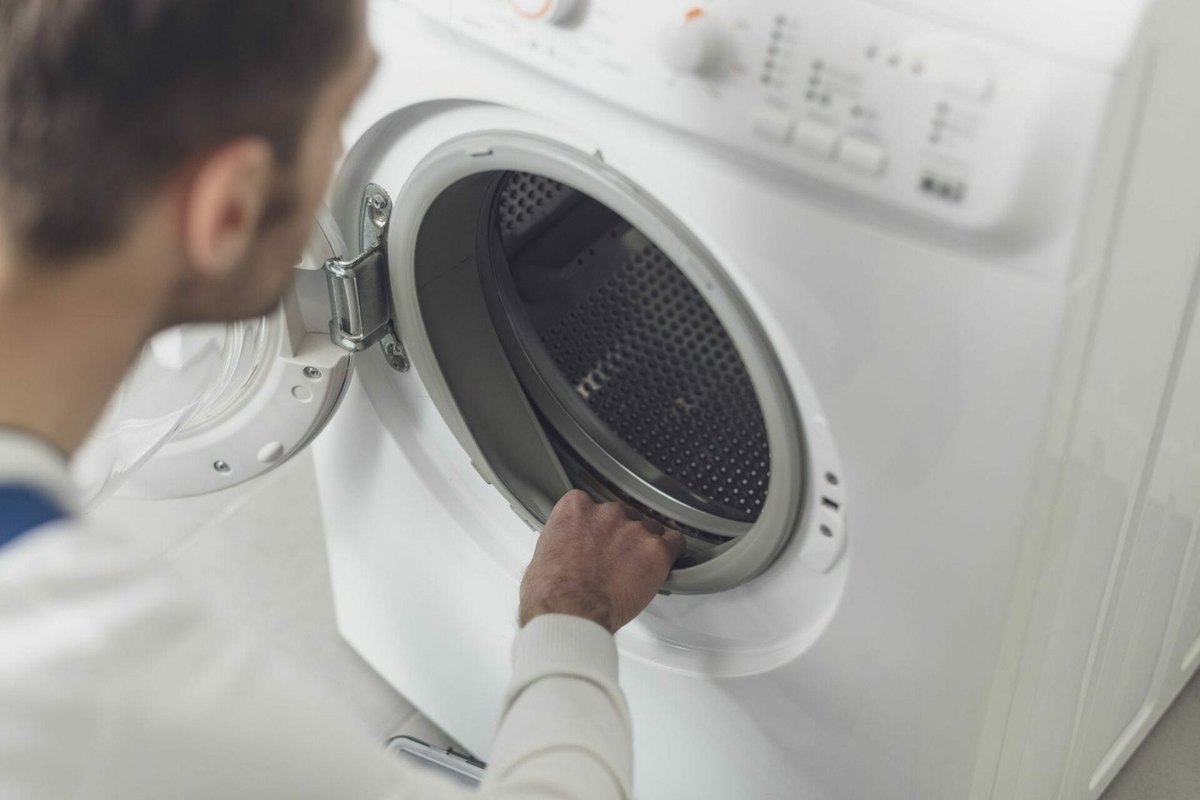
You now have access to the seal. If counterweights at the front are in the way, unbolt them. You may also need to disconnect the small hose that drains water from the seal groove.
Use a flat screwdriver to remove the inner clamp band on the tub side. On some models it is sprung, on others it is tightened by a screw. The seal can then be pulled out of its seat. Check and wipe the tub groove clean of dirt and scale.
Step 3
Fit the new seal
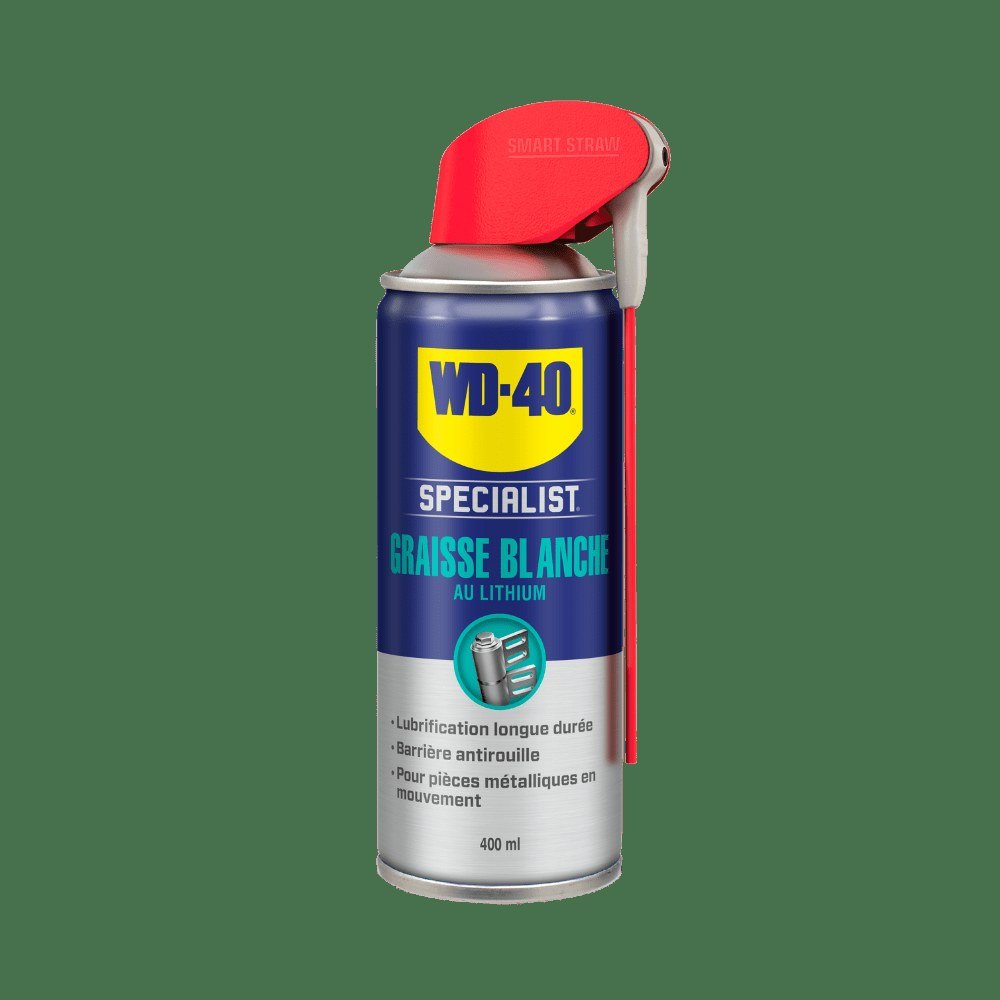
The new seal must be identical to the old one. Before fitting, treat its mounting lips with WD-40 Specialist Silicone: the rubber slips into the grooves more easily and the bands slide into place better. It is safe on rubber.
Line the seal up using the marks: usually a small arrow on it should point to the top centre of the opening. Push the seal into the opening from the inside. If it is seated correctly it stays in place on its own, even without the band.
Step 4
Reassemble the machine
Fit the inner band on the tub side into its groove. Reconnect the hose and bolt the counterweights back on. Refit the front panel and everything you removed. Ease the seal lip over the panel opening and fit the outer band on the door side.
Run a short empty programme and check for leaks.
Step 5
Top-loading machines
On a top-loader, remove the lid, lift the seal to reach the screws, undo them and take off the plastic frame. Remove the side panels to reach the band or springs holding the seal on the tub, fit the new seal with silicone on its edges and reassemble.
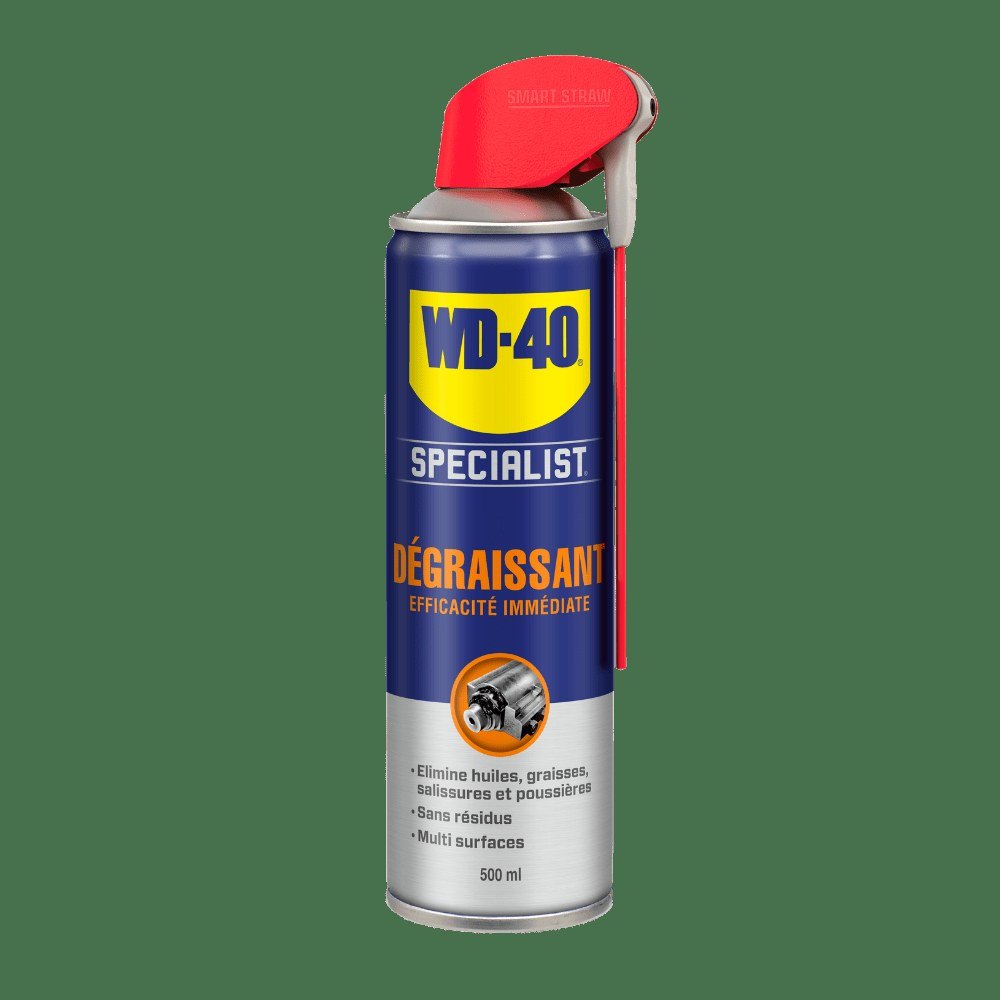
Tip: With the seal out, clean the drum, tub and grooves. To make the new seal last, wipe it dry after each wash and leave the door ajar.
What next
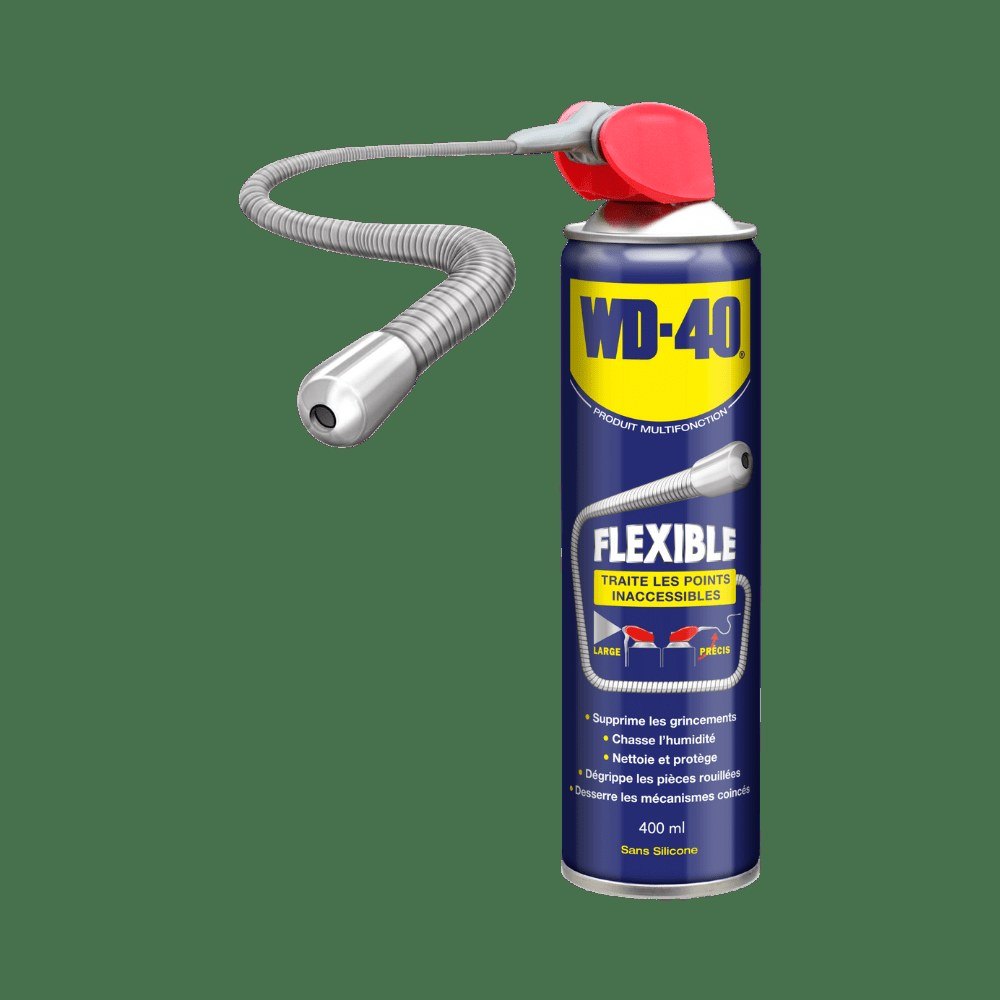
Check the seal folds monthly for small objects and wipe the rubber with a little silicone every few months. If the door hinge feels stiff, treat it with WD-40 Smart Straw.
These uses come from the experience of WD-40 users in many countries. Always follow the instructions and warnings on the product label.
More guides in «How to use».