Modern car bodies are galvanised and resist corrosion better, but in Ukrainian conditions rust still finds a way in: stone chips, winter road salt, dirt and moisture under trims. Starting from a tiny orange dot, corrosion creeps under the paint, and in one season a coin-sized spot can grow to the size of a palm.
Small areas can be put right at home. The key is to spot the problem early and know what you are dealing with: surface staining or metal that is already affected.
What you will need
- WD-40 Multi-Use or WD-40 Smart Straw
- masking tape and protective sheeting
- sandpaper P120-P240, P400 and P600-P800
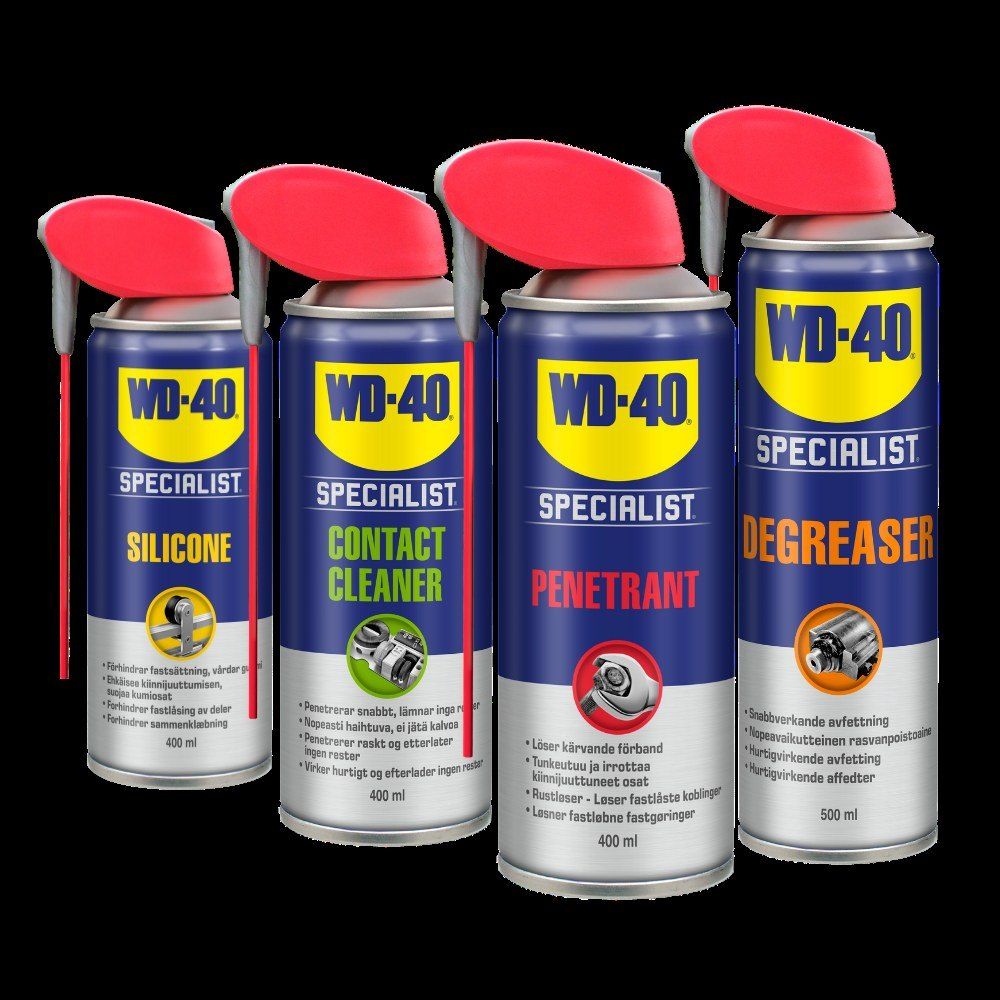
- rust converter, degreaser (silicone remover)
- rubber spreader and metal body filler
- metal primer, aerosol paint matched to the colour code, clear coat
- cutting compound and wax, rags, respirator and gloves
Important: WD-40 leaves a protective film, so before filler, primer and paint the treated area must be thoroughly degreased with silicone remover, or the coating will not adhere. Paint in a ventilated space, wearing a respirator, away from naked flames.
Step 1
Inspect the bodywork
Wash the car and check the most vulnerable areas: wheel arches and wings, sills, the bottom of the doors, the front end, the boot edge, folds and areas under trims and seals where metal stays wet. Mark every spot and judge whether the paint is intact or already bubbling.
Step 2
Treat early signs
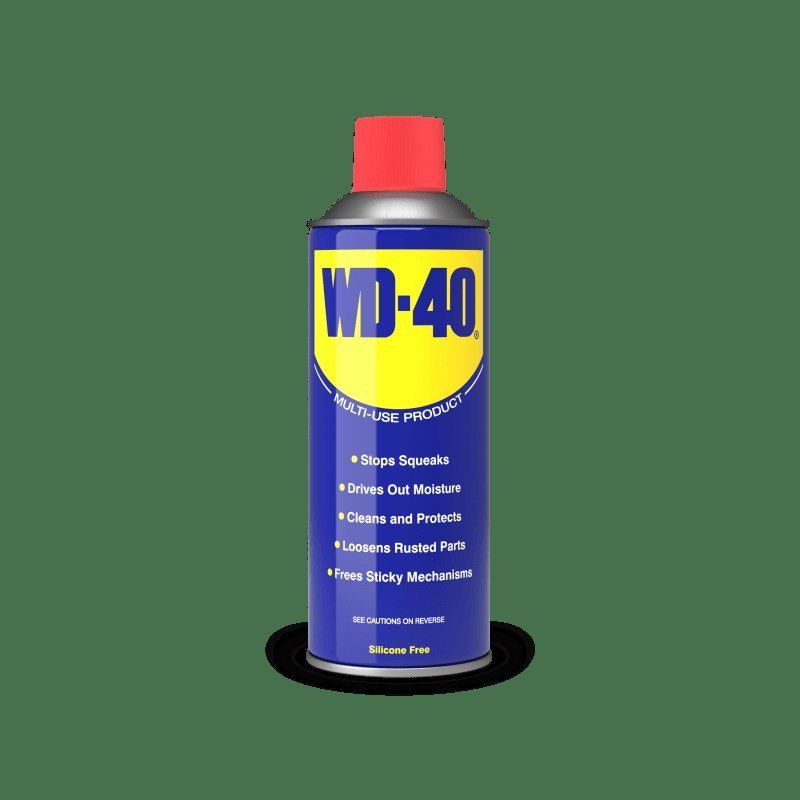
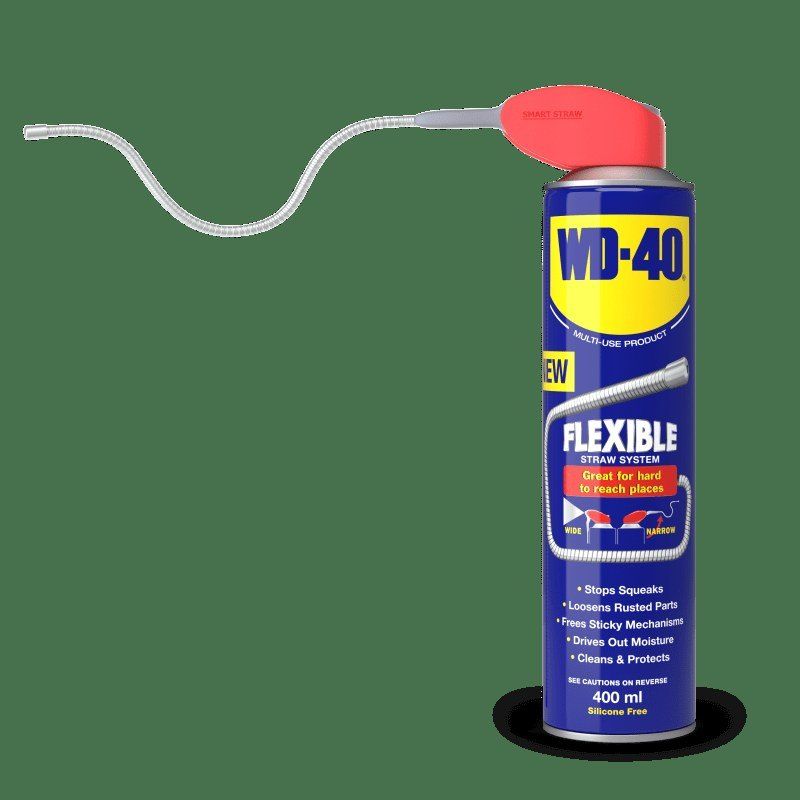
If the staining is only on the surface and the paint has not lifted, treat the area with WD-40 Multi-Use. It displaces moisture, removes dirt and tar spots and protects the metal from further corrosion. The WD-40 Smart Straw reaches seams, holes and areas under trims.
This is not a repair but a pause: it holds the rust back until you are ready to paint.
Step 3
Clean back affected metal
If the paint is bubbling and flaking, mask the area with tape and sheeting. Sand back to bare metal with P120-P240, removing all rust and loose paint, and feather the edges. Where rust cannot be fully sanded out, apply rust converter as directed. Degrease the surface.
Step 4
Fill and prime
Spread a thin layer of filler with a rubber spreader to level the surface. Once dry, sand with P240, degrease and apply two coats of primer, keeping it close to the repair so no visible step forms on the old paint. Sand the primer with very fine P600-P800 paper until smooth.
Step 5
Paint
A small area can be painted with an aerosol matched to the car's colour code. Start spraying before the area and finish beyond it, in even passes. Apply 2-3 thin coats with drying time in between. Leave larger areas to a body shop.
Step 6
Clear coat and polish
When fully dry, apply aerosol clear coat for shine and a moisture barrier. Once cured, work the area with cutting compound and then wax so the transition between new and old paint disappears to the eye and touch. Remove the tape and sheeting.
Tip: In autumn, before the road salt season, treat the sills, door edges, seams and accessible cavities with WD-40. For a fleet or workshop, the trigger-spray
WD-40 Trigger Pro covers large areas under the car faster.
What next
Wash the car more often in winter, especially the arches and sills, and inspect the bodywork every season: the earlier an orange dot is spotted, the less work it takes. Treating with WD-40 Multi-Use twice a year keeps the usual trouble spots under control.
These uses come from the experience of WD-40 users in many countries. Always follow the instructions and warnings on the product label.
More guides in «How to use».