The silencer damps engine noise, cools the exhaust gases and directs them away from the cabin. Condensation forms inside it constantly, while moisture, dirt and winter salt attack the outside, so over the years the metal burns through and rots.
A small hole can often be patched yourself in an hour, but a crumbling case has to be replaced. Here is how to assess the silencer and carry out either job.
What you will need
- A jack and sturdy axle stands
- A wire brush and abrasive paper
- WD-40 Multi-Use for loosening rust and dirt
- Two-part exhaust repair putty and a spatula
- An exhaust repair bandage and binding wire
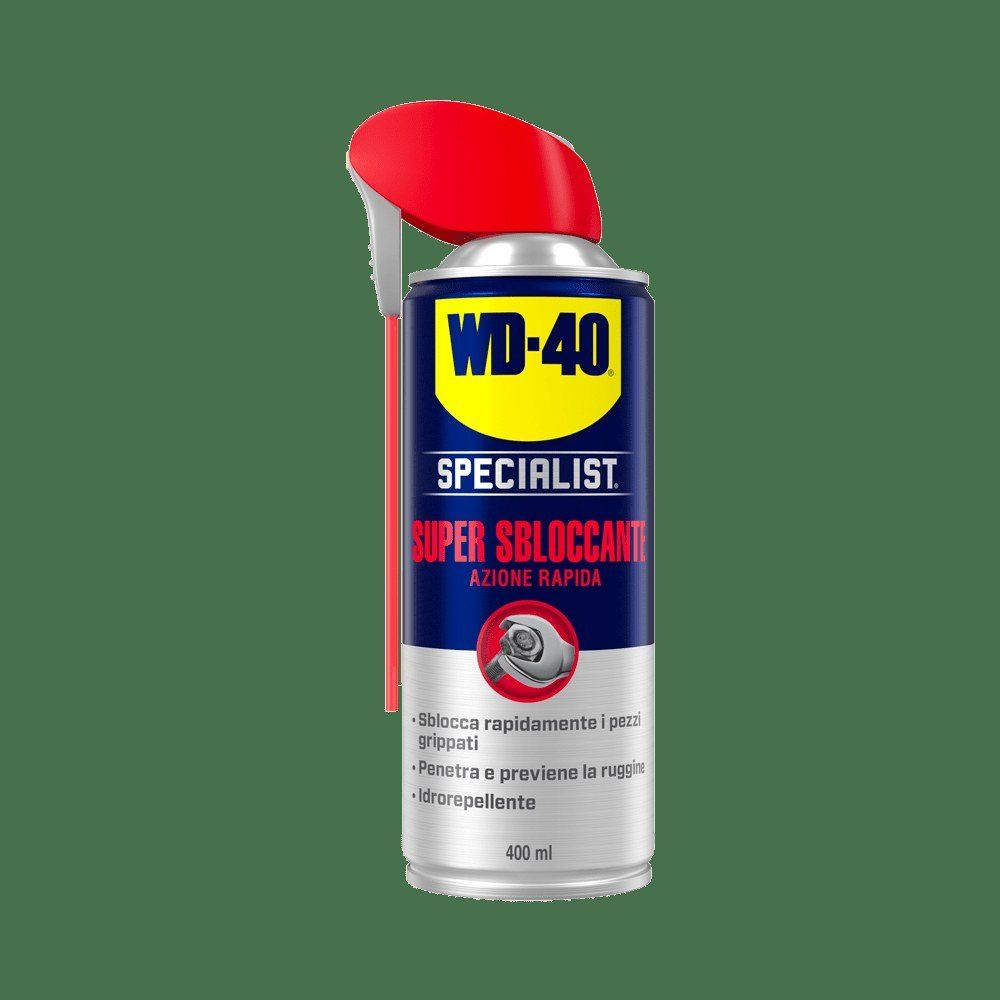
- WD-40 Specialist Penetrant for seized bolts and clamps
- A new silencer (if repair is not possible), safety glasses, gloves
Important: Never work under a car supported only by a jack: always use axle stands. The system must be completely cold. Exhaust leaks near the cabin are dangerous because of carbon monoxide, so do not delay the repair.
Step 1
Inspect the silencer
Raise the car and inspect the silencer case, seams and joints. Look for rust-through, holes, cracks and soot marks around them. With the engine running, a leak is easy to hear and can even be felt with your palm at a safe distance. Tap the case: if the metal flexes and flakes away, repair is pointless.
Step 2
Patch small holes with epoxy putty
Clean around the hole with a wire brush, treating it with WD-40 Multi-Use to lift loose rust and dirt. Then sand back to bare metal and degrease thoroughly: putty does not bond well to an oily film.
Mix the two parts of the putty as instructed, spread it with a spatula well beyond the edges of the hole and let it cure fully. Smooth with abrasive paper if needed.
Step 3
Cover larger damage with a bandage
For bigger holes, use a repair bandage. Prepare the surface the same way, wrap the bandage around the silencer with an overlap and secure it with binding wire. Start the engine: the heat cures the resin in the bandage and seals the holes.
Step 4
Free the fixings for replacement
If the case has rotted, the silencer must be replaced. Treat bolts, clamps and joints with WD-40 Specialist Penetrant, leave it a few minutes and repeat if the fixings resist. This reduces the risk of stripping threads and the amount of cutting needed.
Step 5
Fit the new silencer
Unhook the old silencer from its rubber hangers and clean the mating surfaces with WD-40 Smart Straw and a wire brush. Hang the new one, fit new clamps and gaskets, align it and tighten the fixings. Start the engine and check the joints for leaks.
Tip: A putty or bandage patch is a temporary fix that gets you to a planned replacement. If the silencer has burnt through in several places at once, replace it straight away, as the metal around is just as thin.
What next
To make a new silencer last, wash road salt off the underbody after winter and check the hangers and clamps. Our guide to caring for and replacing an exhaust pipe is also worth a read.
These uses come from the experience of WD-40 users in many countries. Always follow the instructions and warnings on the product label.
More guides in «How to use».