The bumper takes the first knocks in car parks and from kerbs and stones thrown up from the road. Almost all modern bumpers are made of composite plastic, either painted in the body colour or left dark grey. A scratch, dent or crack does not always mean a replacement.
Minor damage can quite realistically be fixed at home. Serious deformation, or cases where the bodywork or the mountings for lights and sensors are damaged, are best left to a body shop.
What you will need
- sponge, soapy water, microfibre cloths
- abrasive polishing compound and a polishing pad
- fine sandpaper (P400 and up), plastic filler
- spanners, screwdrivers and plastic trim tools
- WD-40 Specialist Penetrant for seized bolts
- heat gun, WD-40 Multi-Use
Important: Wear gloves and safety glasses and take care with the heat gun: plastic blisters easily if overheated. Before removing the bumper, switch off the ignition and unplug the connectors for lights, parking sensors and washers.
Step 1
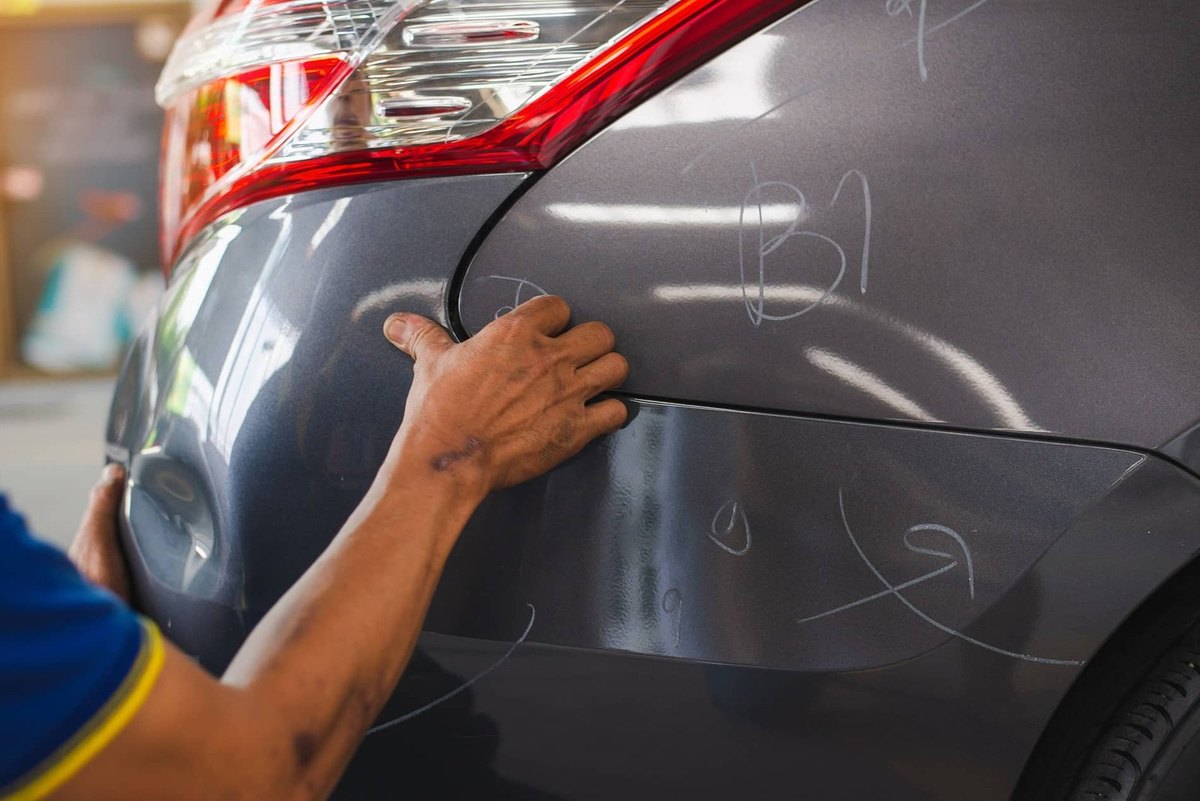
Remove light scratches
Wash the area with soapy water and dry it with microfibre. Apply polishing compound and work it patiently in circles until the scratches disappear.
On unpainted plastic, slightly deeper scratches can be eased with P400 sandpaper and light pressure. On painted bumpers, especially metallic, sandpaper is not used, as it removes the clear coat.
Step 2
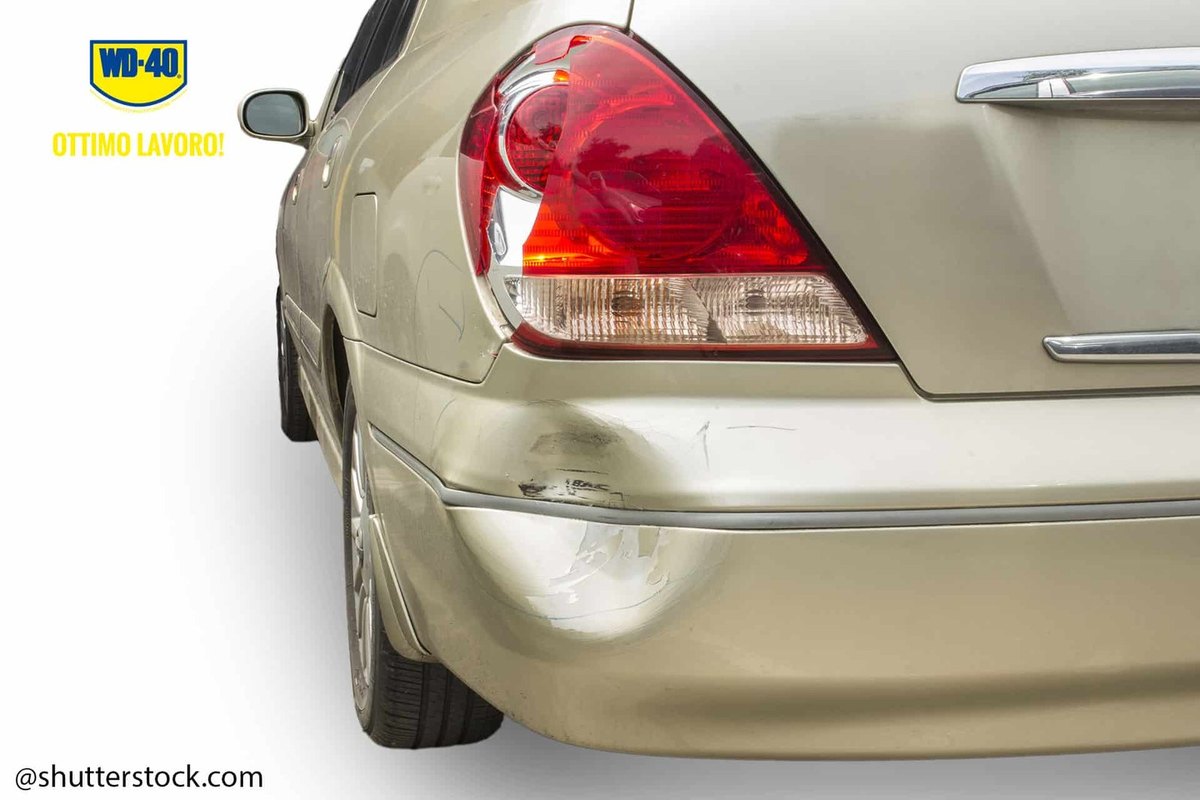
Repair deep scratches in paint
If compound does not work, decide whether to touch up the paint yourself, accepting the repair may show, or go to a painter.
If doing it yourself: after cleaning, apply a thin layer of plastic filler, which stays more flexible than body filler. Once dry, sand it flush, apply colour-matched paint, then clear coat, and polish.
Step 3
Remove the bumper to repair a dent
A dent is easier to fix with the bumper off. Undo the screws and bolts holding it to the body, remove the inner liner and unplug the wiring. Take care not to break the plastic clips and mounting lugs.
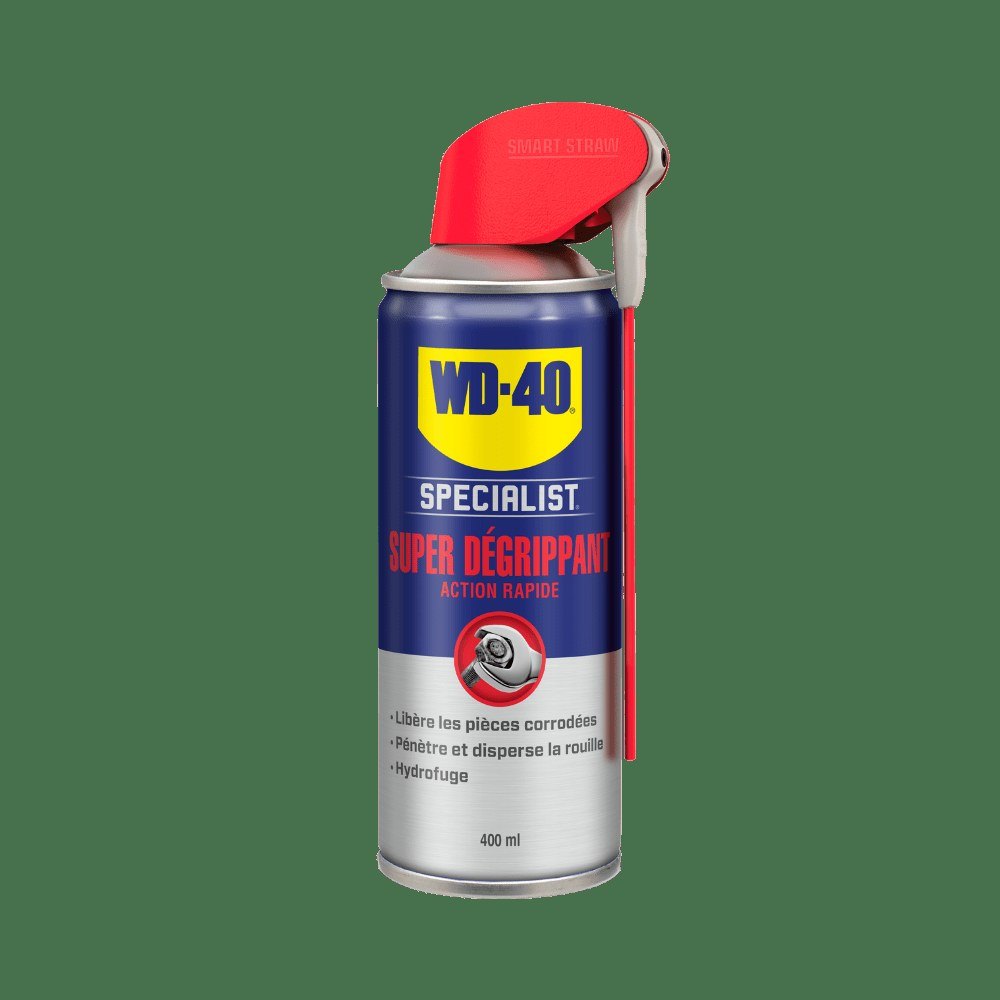
Fixings at the bottom of the bumper sit in mud and salt for years and often seize. Spray them with WD-40 Specialist Penetrant, wait a few minutes, and the threads will come undone without rounding the heads.
Step 4
Push out the dent with heat
Warm the edges of the dent first with a heat gun, then the centre, keeping the nozzle moving. When the plastic softens, push it out from the inside to restore the shape.
The shape rarely comes out perfect, so it is then sanded with coarse and then fine abrasive, filled if needed, sanded again and painted.
Step 5
Close cracks from the inside
Cracks are repaired from the back. A plastic welding tool melts metal staples into the plastic, which hold the edges firmly once cool. A repair kit with glass fibre cloth and resin also works.
On the outside the crack is filled, sanded and painted as above.
Step 6
Refit the bumper
Before refitting, clean the bolts and nuts and wipe them with a cloth carrying WD-40 Multi-Use: this protects the metal from corrosion and makes the next removal easier. Reconnect all connectors, secure the bumper and check the lights and sensors work.
Tip: In winter the bumper is constantly covered in salty slush. At the autumn service, treat the accessible bumper and wheel arch liner fixings with WD-40 so they do not seize by spring.
What next
Inspect the bumper after every wash: a fresh scratch is easier to deal with than an old one with rust on the metal brackets. Keep WD-40 Specialist Penetrant in the garage for seized fixings under the car.
These uses come from the experience of WD-40 users in many countries. Always follow the instructions and warnings on the product label.
More guides in «How to use».