An engine contains dozens of metal parts rubbing against each other. Engine oil forms a film between them, reduces friction and carries heat away. Without it, parts wear quickly and overheat, and in the worst case the engine suffers permanent damage. Oil also holds tiny metal particles and deposits, which leave the engine when the oil is changed.
Changing the oil yourself takes about an hour and gives you a chance to inspect the underside of the car: suspension, exhaust and any leaks. Always take the interval and quantity from your car's service book, and shorten the interval for city traffic, short trips and harsh winters.
What you will need
- A lift, ramps or an inspection pit
- A container for used oil and a funnel
- A new drain plug washer (or a new plug)
- A new oil filter with sealing ring and a filter wrench
- Engine oil of the grade and specification required by the manufacturer
- WD-40 Specialist Penetrant for a seized drain plug
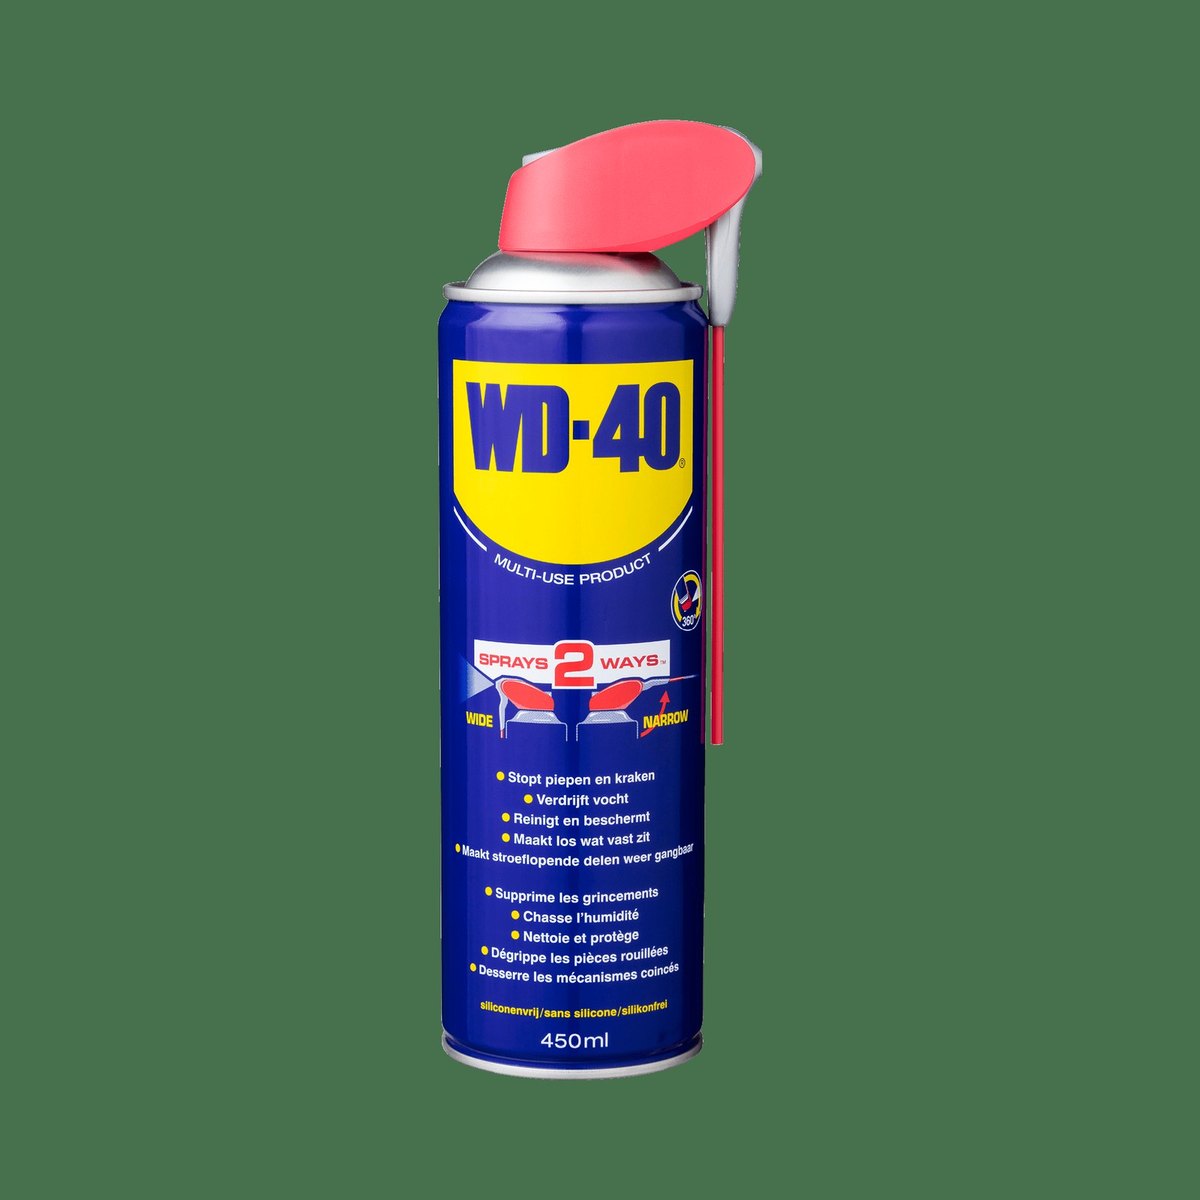
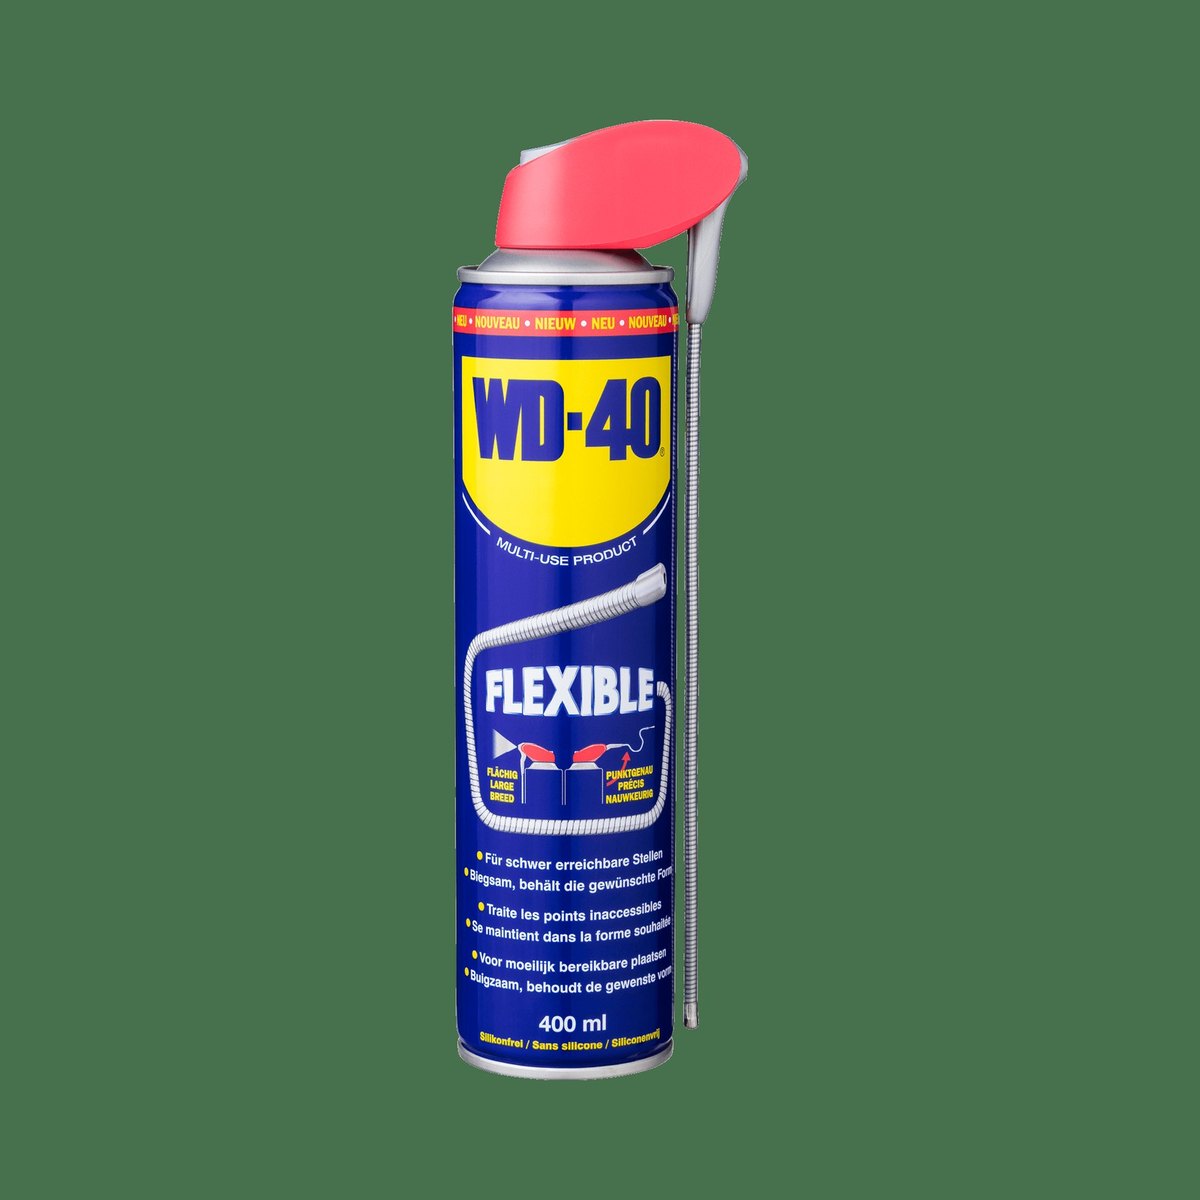
- WD-40 Multi-Use or WD-40 Smart Straw, rags, gloves
Important: Hot oil can cause burns, so wear gloves and keep your hand out of the stream. Only go under a raised car when it is on proper stands, never on a jack alone. Take used oil and the old filter to a collection point and never pour them into drains or soil.
Step 1
Prepare the car
Drive onto a lift, ramps or pit so you have clear access to the sump. The car must be level, otherwise some oil will stay in the sump.
Run the engine at idle for 2-3 minutes or take a short drive: warm oil is thinner and drains faster and more completely. Switch off, open the oil filler cap and pull out the dipstick so the oil flows freely.

Step 2
Drain the old oil
Place the container under the drain plug, offset to one side, because the oil does not come out vertically. Undo the plug slowly and turn the last few threads by hand.
If the plug is seized, especially after winters on salted roads, treat the thread and plug edge with WD-40 Specialist Penetrant, wait 10-15 minutes and only then use the spanner. This reduces the risk of rounding the plug or stripping the sump thread.

Step 3
Replace the oil filter
While the oil drains, undo the old filter with the wrench. Keep the container underneath, as oil will run out of it too.
Wipe the filter seat on the engine with a clean rag. Smear the new filter's rubber ring with fresh oil, screw it on by hand until it touches, then tighten as instructed on the filter. Do not overtighten it with the wrench.
Step 4
Refit the plug and add new oil
When the oil has almost stopped dripping, fit the plug with a new washer and tighten it to the manufacturer's torque.
Pour the new oil in through the funnel, starting with slightly less than the full quantity in the service book. Close the filler cap and refit the dipstick.
Step 5
Check the level
Give the oil a few minutes to settle in the sump, then check the dipstick. With a cold engine the mark should be roughly midway between min and max, and with a warm engine no higher than max.
Top up in small amounts if needed and check again. Overfilling is as harmful as running low.
Step 6
Check for leaks and clean up
Start the engine for a minute or two, make sure the oil pressure light goes out, and look at the plug and filter from underneath. Tighten slightly if anything weeps.
Wipe oil runs off the sump and nearby parts: WD-40 Multi-Use dissolves oily grime, and a rag removes the rest. A clean sump makes any new leak easy to spot. Keep sprays away from brake discs, pads and belts.
Tip: Note the date, mileage and oil used on a sticker under the bonnet. In cold weather, bring the new oil indoors beforehand: warm oil pours faster and gives a more accurate dipstick reading.
What next
Plan the next change by mileage, or once a year if the car does few miles. At every service, check the underbody and exhaust fixings: treat rusty bolts with WD-40 Specialist Penetrant before undoing them, and keep WD-40 Smart Straw in the garage to protect metal from moisture.
These uses come from the experience of WD-40 users in many countries. Always follow the instructions and warnings on the product label.
More guides in «How to use».