For many drivers, rims are about looks, but in reality they carry the weight of the car and pass every force of acceleration, braking and cornering to the tyre. A poorly matched rim harms handling, may foul the brake caliper or wheel arch liner and overloads the wheel bearings.
Below we explain which specifications to check before buying and how to fit new rims to your car correctly.
What you will need
Important: Never let any lubricant get onto brake discs, pads or tyres. Never work under a car supported only by a jack.
Step 1
Check the rim size and specifications
If you buy original rims, simply order them for your model. Otherwise, check the vehicle documents or the label on the door pillar, which list the permitted tyre and rim sizes.
The key figures are: diameter, bolt pattern (number of holes and the diameter of the circle they sit on, for example 5x112), rim width, ET offset and centre bore. They are usually stamped on the inside of the rim. Even a few millimetres' error in the bolt pattern makes a rim unusable.
Step 2
Prepare the car and loosen the fixings
Park on firm, level ground, apply the handbrake, engage a gear and chock the wheels on the opposite axle. With the wheel still on the ground, loosen the bolts by half a turn.
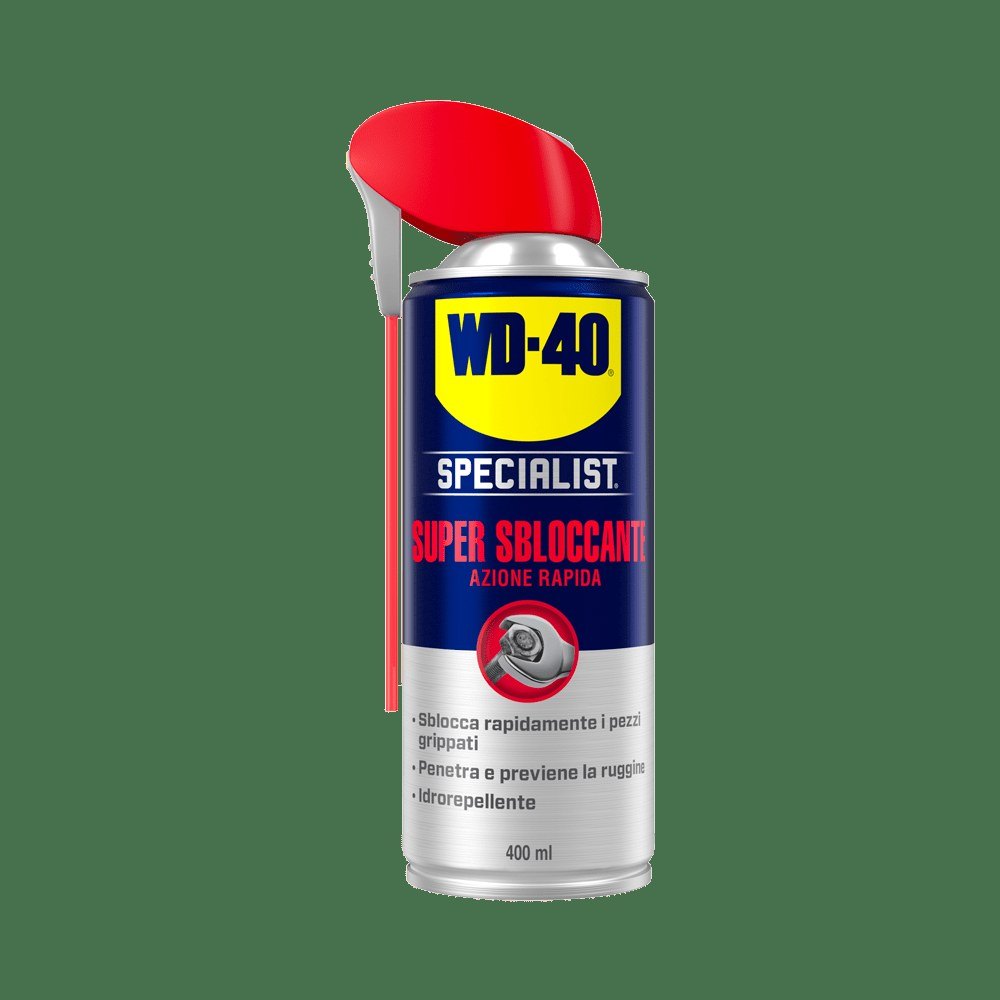
Do not force bolts and nuts seized over winter. Apply WD-40 Specialist Penetrant to the thread, wait 10-15 minutes and try again. Spray precisely and shield the brake disc with a rag.
Step 3
Raise the car
Place the jack only at the designated jacking point on the sill or chassis rail, never under thin floor panels that dent easily. Lift until the wheel clears the ground and position an axle stand.
Step 4
Remove the old rim and clean the hub
Undo the fixings and take the wheel off. Clean rust and dirt from the hub mounting face and centring spigot with a wire brush: even a small irregularity causes vibration at speed.
A thin film of WD-40 Specialist White Lithium Grease on the centring spigot only will make the rim easier to remove next time. Keep grease off the bolt threads and the mounting face.
Step 5
Fit the new rim
Offer the wheel up to the hub, start the bolts by hand and snug them in a diagonal sequence without force. Make sure the bolt seat type matches the new rim (taper, radius or flat with washer): alloy and steel rims often need different bolts.
Lower the car to the ground and only then tighten the fixings with a torque wrench, diagonally, to the vehicle manufacturer's specified torque.
Step 6
Check again after the first miles
After 50-100 km, check the tightening torque again. If the steering wheel vibrates, have the wheels balanced: new rims with tyres must always be balanced before fitting.
Tip: When storing a spare set, treat the bolts and nuts with
WD-40 Multi-Use and keep them in a bag: they will not rust before next season and will screw in easily.
What next
At every seasonal wheel change, check the rims for cracks and dents caused by potholes. While you are at it, treat bonnet catches, door hinges and other body mechanisms with WD-40 Smart Straw.
These uses come from the experience of WD-40 users in many countries. Always follow the instructions and warnings on the product label.
More guides in «How to use».