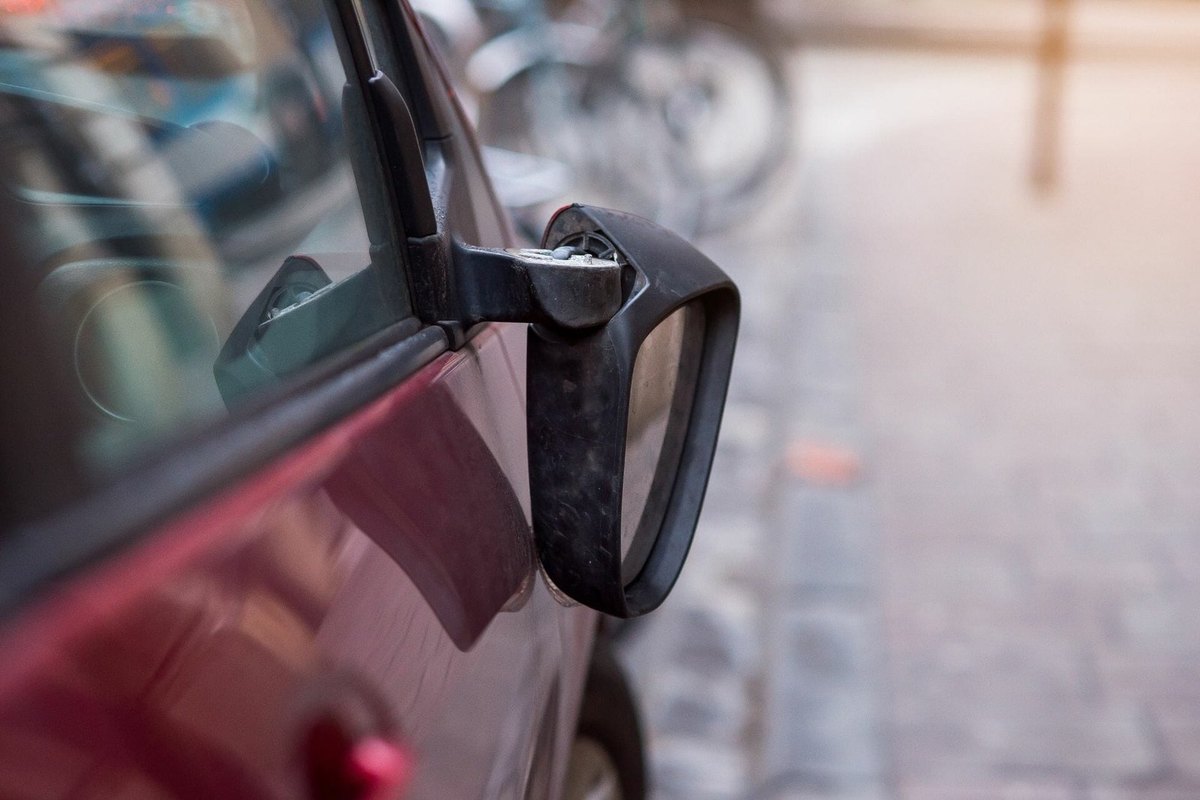
A side mirror usually suffers from contact with a wall, a post or another car: the housing is forced round and the glass cracks. It can also fail without impact when the adjustment mechanism seizes with dirt and salt.
Sometimes it is enough to reseat a spring or lubricate the cables, sometimes the glass or whole unit must be replaced. On a manual mirror, a lever inside the car sets the angle and an impact can unseat the internal spring. On an electric mirror, small motors in the pivoting carrier move the glass.
What you will need
Important: Before working on an electric mirror, switch off the ignition and, if possible, disconnect the negative battery terminal. Mirror glass is fragile: wear gloves and safety glasses.
Step 1
Remove a manual mirror
Inside the door, use a thin screwdriver or plastic trim tool to prise off the cover hiding the screws that hold the mirror arm. Remove the cap from the adjustment lever, undo the screws and lift out the mirror with its arm and housing.
On some models you must also remove the clipped-in glass to reach the joint, so lever it out gently. Most often the spring has simply come out of place.
Step 2
Repair the joint or replace the glass
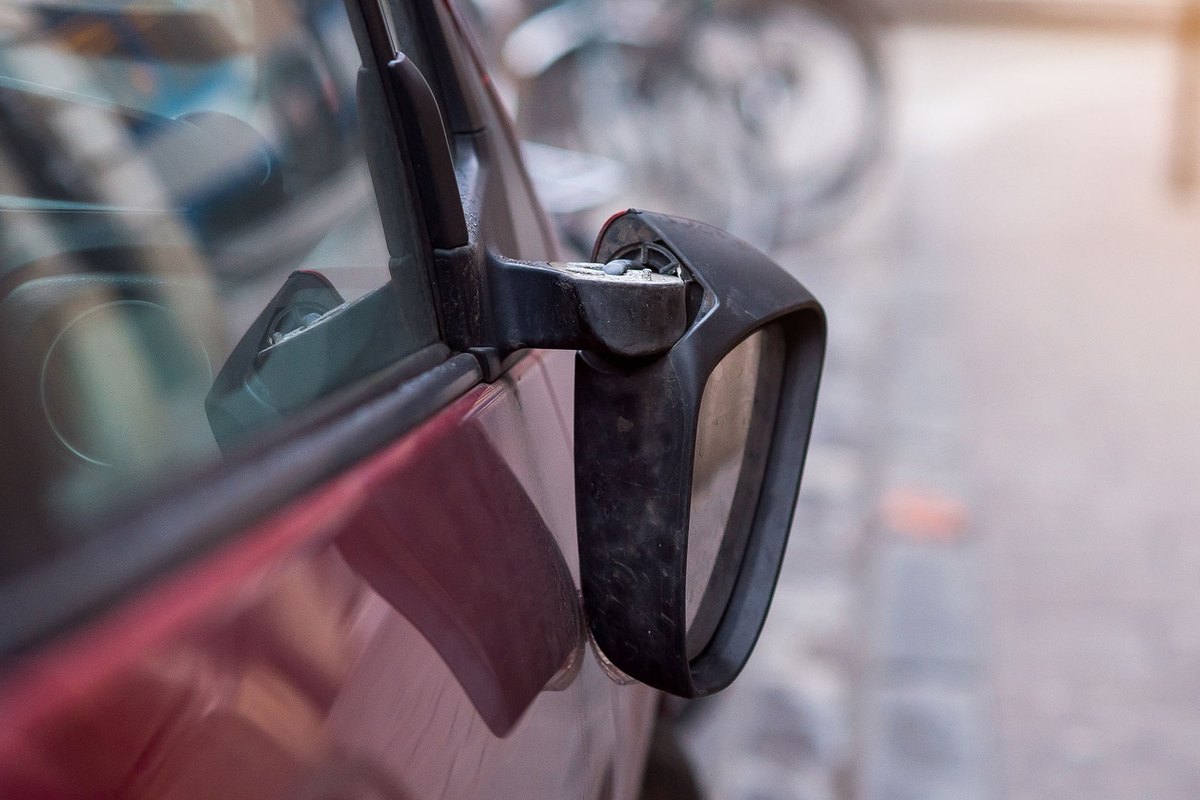
The spring and its pressure washers must be compressed so that the shaped washer holds them together again. A clamp makes this easy. Then reassemble the mirror in reverse order.
If the glass is cracked or broken, remove the pieces and detach it from the carrier. Line up the feet of the new compatible glass with the slots in the carrier and press it evenly until it clicks.
Step 3
Lubricate the adjustment cables
If the glass is hard to adjust, the lever may be to blame: it pulls three steel cables in sleeves that move the carrier, and they can bind or the carrier can stick with dirt and salt.
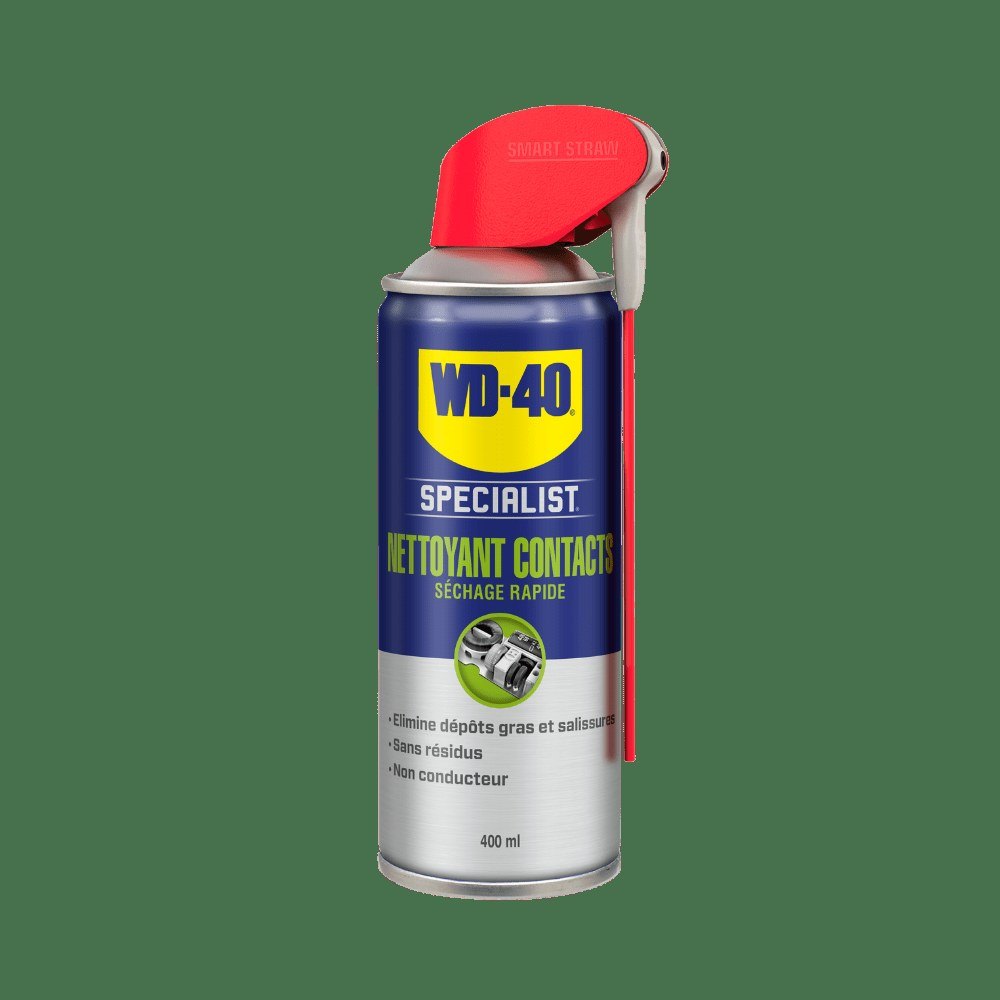
Disconnect the cables and sleeves from the lever and spray WD-40 Specialist Silicone into the sleeves, or better still pull the cables out, treat them and slide them back. Clean the carrier and lubricate it with silicone too. It is safe on plastics and does not attract dust.
Step 4
Remove an electric mirror and check the contacts
An electric mirror comes off the same way, but you also unplug the motor connector, which usually has a locking tab, plus any heater or side indicator circuits.
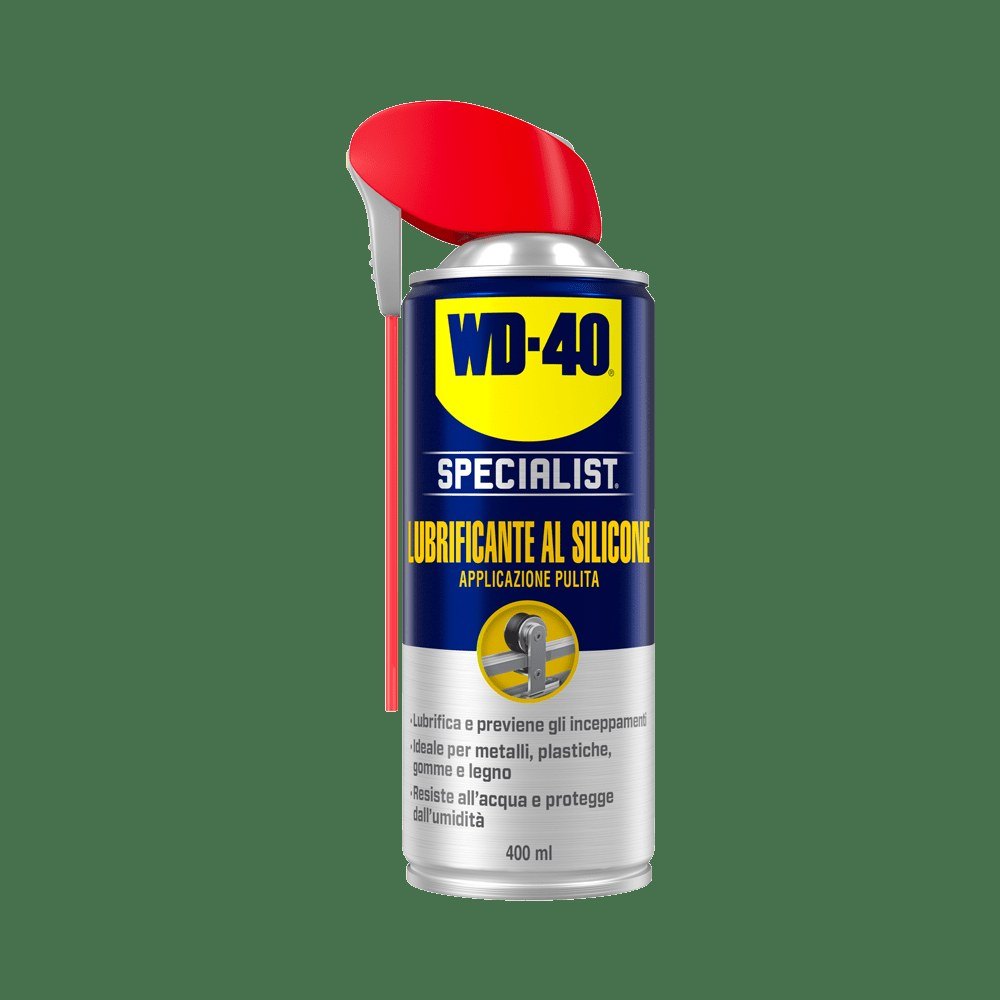
Before fitting the glass, check that the motors were not damaged by the impact: temporarily reconnect the plug and operate the mirror with the switch in the cabin, then test the heater and indicator. Treat all contacts with WD-40 Specialist Contact Cleaner: it removes oxidation and moisture and restores conductivity.
Step 5
Replace the complete mirror
If repair is not possible, buy a complete mirror compatible with your model and fit it in reverse order. Replacement housings are often sold unpainted, so paint the cover yourself or take it to a body shop with your car's paint code.
Then adjust the mirror from the driver's seat and test every function.
Tip: Before winter, spray a little silicone into the mirror's folding pivot so it does not freeze or stick.
What next
After the repair, clean the mirror connectors and lubricate the mechanism with silicone once a year. Also check other parts that suffer from road salt: door hinges, locks, seals and headlight contacts.
These uses come from the experience of WD-40 users in many countries. Always follow the instructions and warnings on the product label.
More guides in «How to use».