Spark plugs are fitted to petrol and gas-powered engines and ignite the fuel mixture in the cylinders. They work in harsh conditions and wear over time: the spark weakens, the engine starts less easily, and you get flat spots under acceleration, misfires and higher fuel consumption.
The replacement interval is in the service book, and it is best to stick to it rather than wait for symptoms. The job itself is simple and takes under an hour with basic tools.
What you will need
- new spark plugs specified in the owner's manual
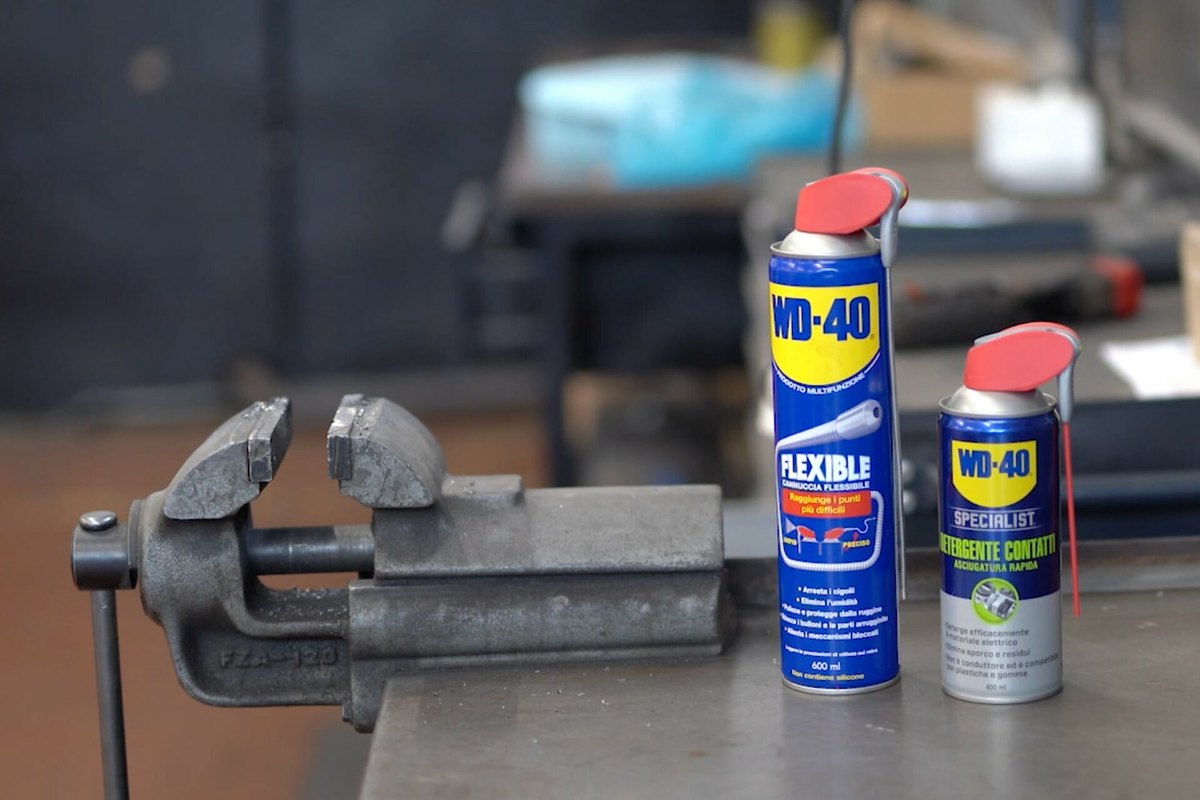
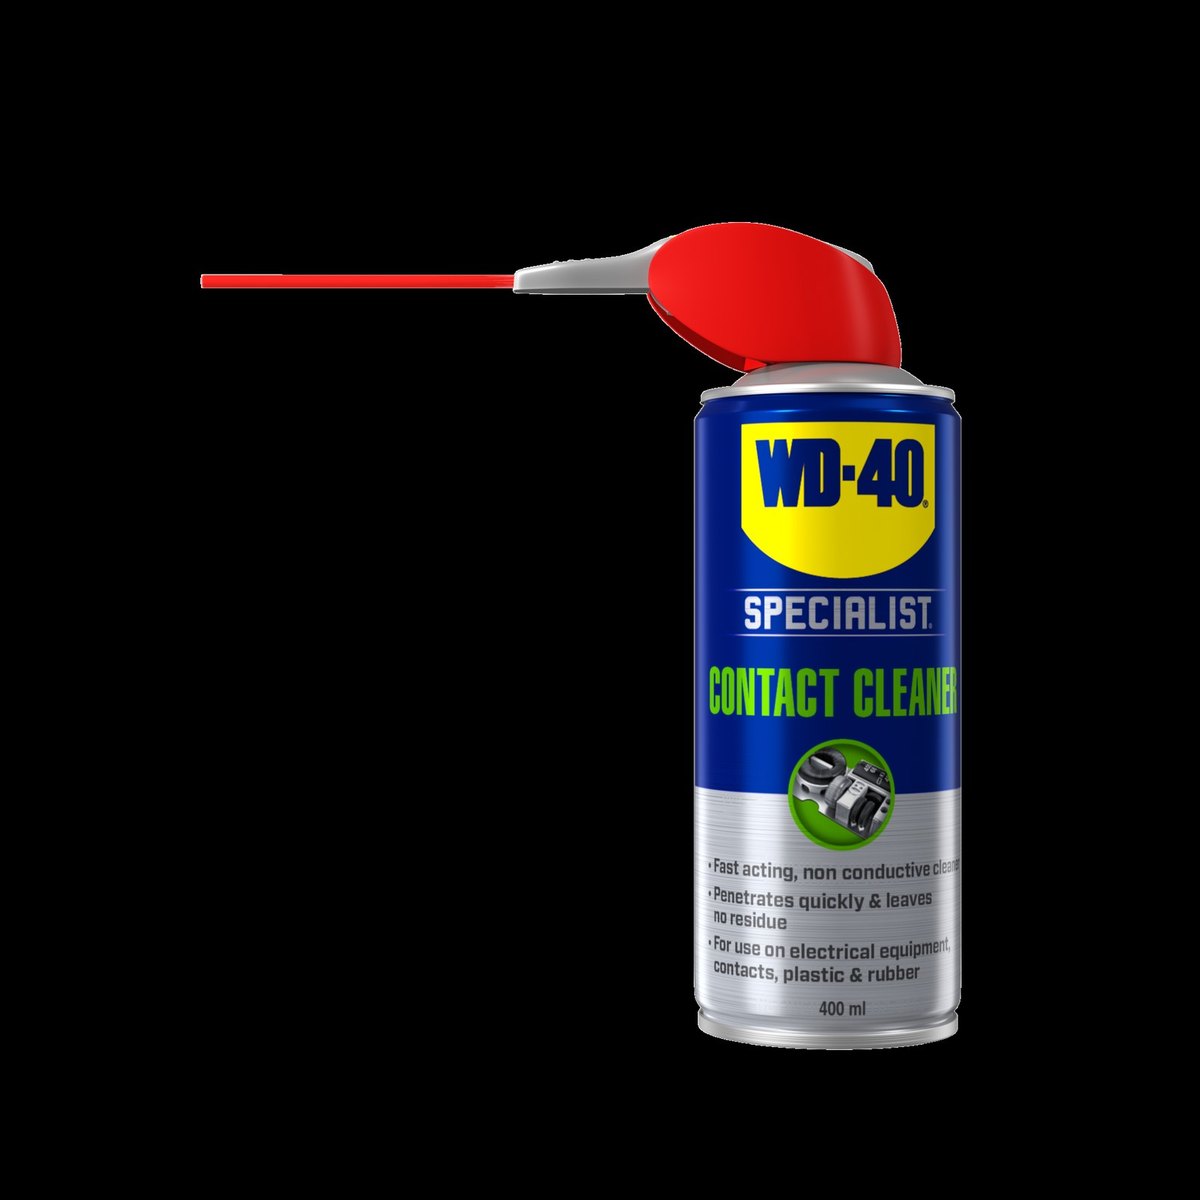
- WD-40 Specialist Contact Cleaner for plug wells and connectors
- WD-40 Specialist Penetrant for seized plugs
- spark plug socket, ratchet, extension
- torque wrench and feeler gauge
- spanners for the engine cover fixings
- compressed air, cloth
- safety glasses and gloves
Important: Switch off the engine, remove the key and let the engine cool completely. Never remove plugs from a hot aluminium cylinder head: the thread is easily stripped.
Step 1
Open the bonnet and remove the engine cover
Prop the bonnet securely. Engine covers are fixed differently on each model, with screws or simple clips. Undo any screws with a spanner; if it is clipped, pull the cover gently towards you.
Step 2
Disconnect the coils or leads
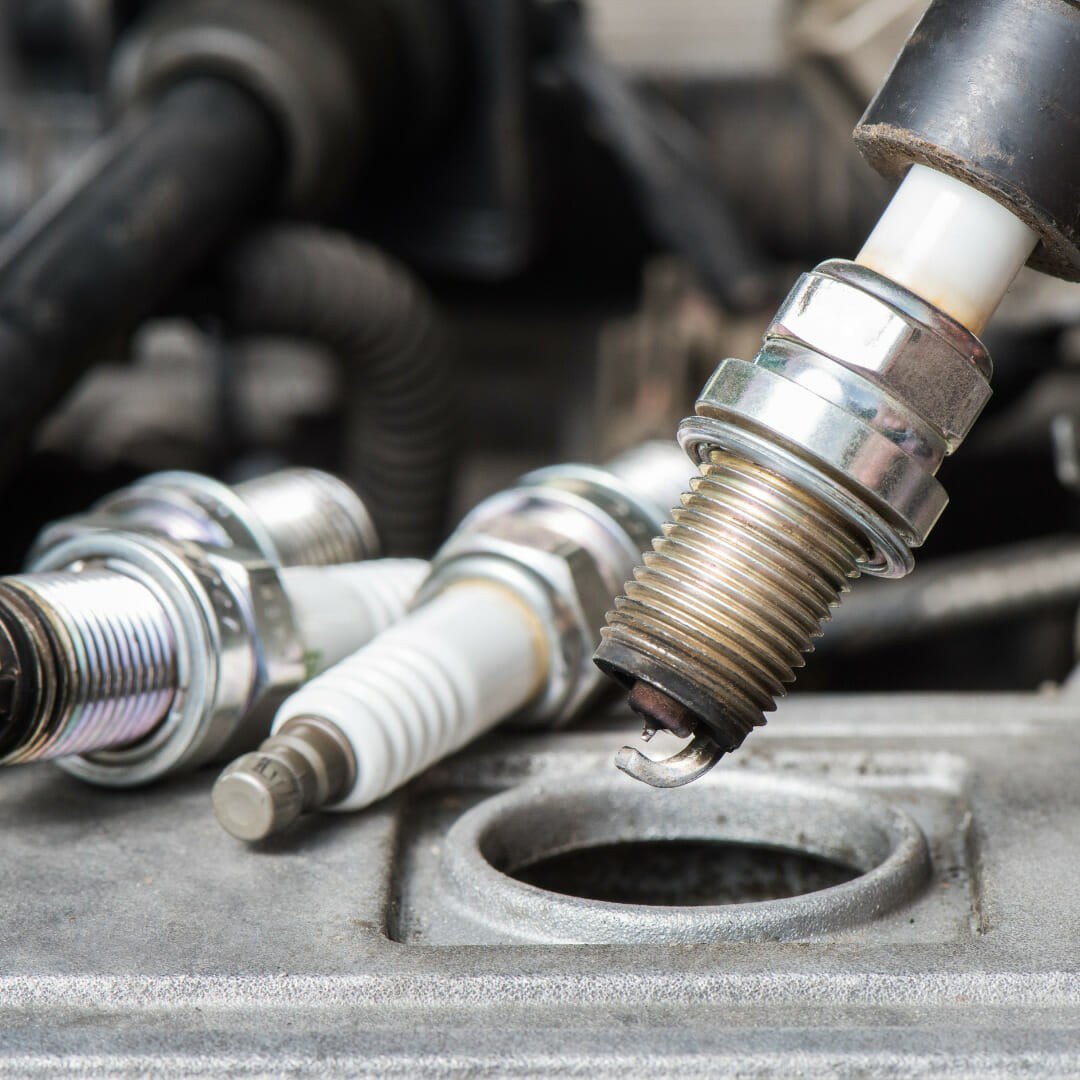
Under the cover you will see ignition coils or HT lead caps. Unplug the connector, undo the coil fixing and lift it straight up, holding the body rather than the wire.
Remember or mark which lead goes to which cylinder. On engines with leads, remove them one at a time.
Step 3
Clean the wells and unscrew the old plugs
Before removing a plug, blow out the well with compressed air and spray it with WD-40 Specialist Contact Cleaner: it dissolves dirt and grease and evaporates quickly without residue. Grit dropping into a cylinder can damage the engine.
Turn the plug anticlockwise with the socket and ratchet. If it has seized, apply a little WD-40 Specialist Penetrant, wait a few minutes and try again, without jerking.
Step 4
Check and fit the new plugs
Make sure the new plugs match the owner's manual. Check the gap with a feeler gauge against the manufacturer's figure. Do not bend the electrode on iridium or platinum plugs.
Put the plug in the socket and screw it in clockwise by hand, keeping it straight. Then tighten with a torque wrench to the value in the manual. Do not lubricate the threads of new plugs unless their maker says so: lubricant changes the effective tightening torque.

Step 5
Clean the contacts and reassemble
Spray WD-40 Specialist Contact Cleaner into the plug caps and onto the coil connectors. It removes greasy deposits and oxidation, dries in seconds and improves the connection.
Refit the coils or leads in their places, reconnect the plugs and secure the engine cover. Start the engine and check that it runs smoothly.
Tip: Look at the old plugs before throwing them away. If one differs from the others in colour or deposits, tell your mechanic: there may be a problem with that cylinder, injector or coil.
What next
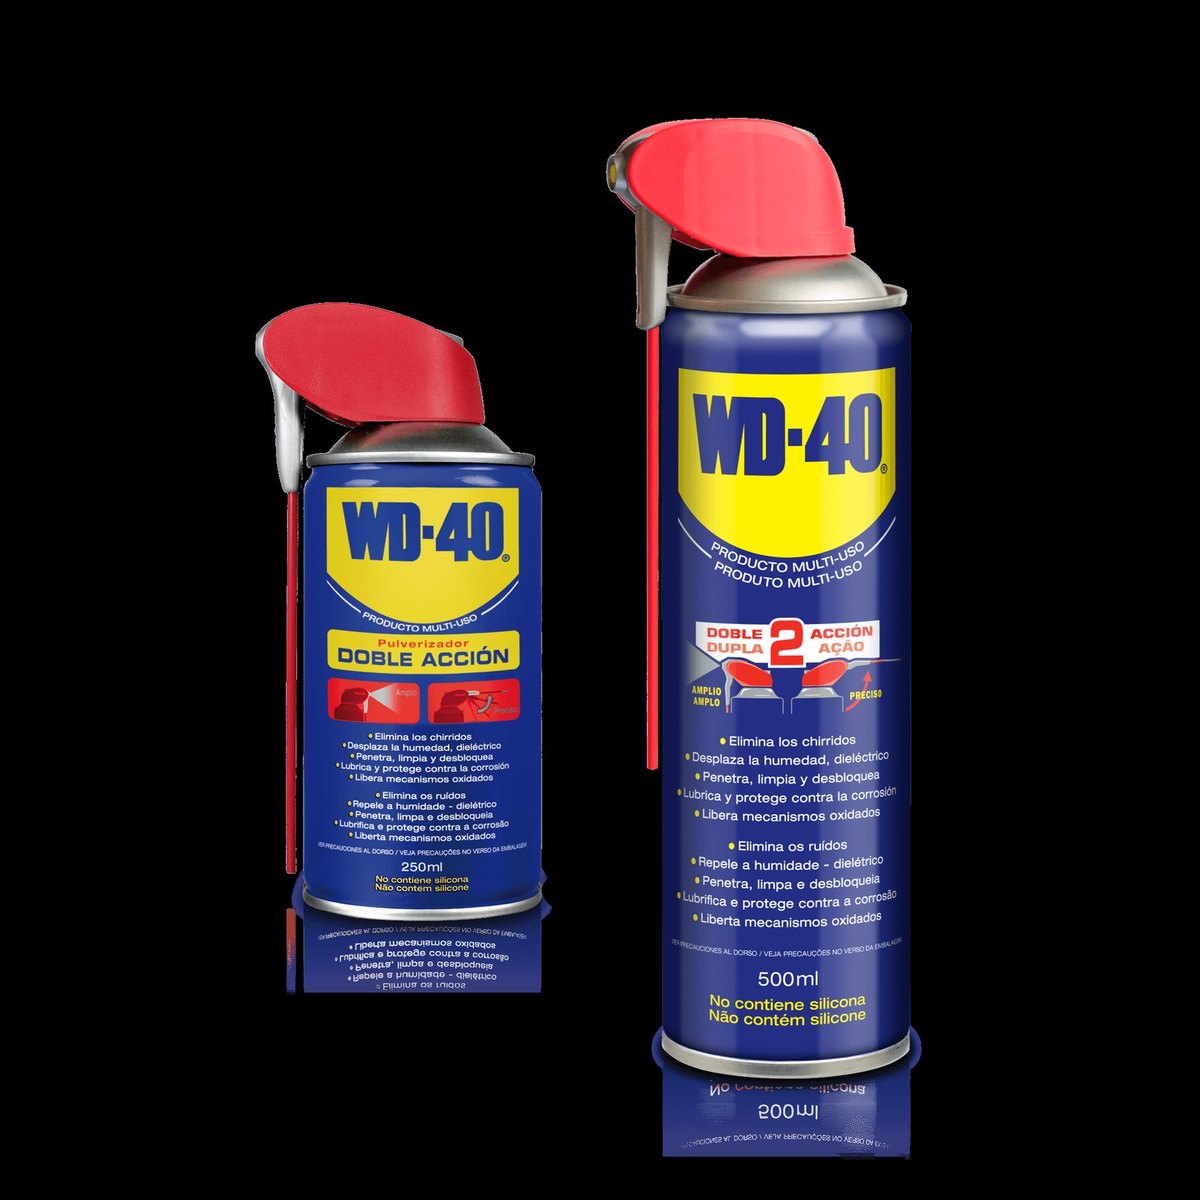
Replace plugs at the manufacturer's interval. With damp winters and frequent puddles, it is worth treating the plug wells and leads with WD-40 Multi-Use each autumn so moisture does not cause misfires.
These uses come from the experience of WD-40 users in many countries. Always follow the instructions and warnings on the product label.
More guides in «How to use».