Sliding patio and balcony doors secure the back of the house, so their lock needs to work perfectly. Yet this is exactly where dust, sand, pollen and rainwater get into the mechanism most easily. Over time the hook latch sticks, the key turns stiffly and the handle no longer holds the door shut.
Do not rush out for a new lock: cleaning and lubricating it is often enough. If the mechanism is broken, you can replace it yourself in about half an hour.
What you will need
Important: Before removing the lock, secure the sliding panel so it cannot roll, and make sure the door cannot lock behind you if you are working from the patio side. Buy a lock of the same type and size, otherwise the frame profile will need cutting.
Step 1
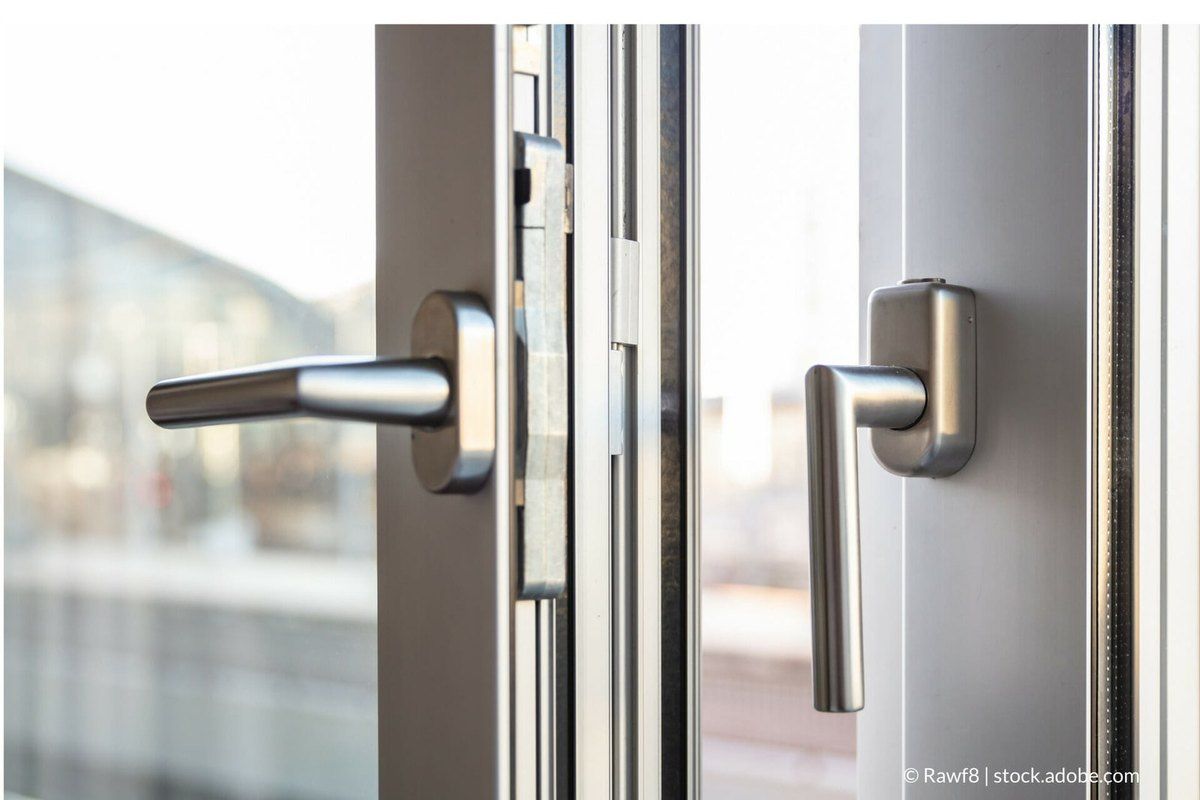
Inspect the lock
First find out what is not working: the key cylinder, the handle or the hook latch that engages the keeper on the frame. The cylinder in these locks has pins like an ordinary door lock, and dirt easily jams them. Spray WD-40 Multi-Use into the keyhole and onto the latch, turn the key a few times and wipe away the dirt that works out.
Step 2
Lubricate and see if that fixes it
Some patio door locks use a latch that moves up and down in slots. They suffer from the same dirt problems. Use the WD-40 Smart Straw to apply the product into the slots and onto the moving parts of the latch, brush them clean and lock and unlock several times.
If the key and handle now move freely and the latch holds the door securely, no replacement is needed.

Step 3
Remove the handle and lock body
If lubrication did not help, the mechanism is worn. Undo the screws on the handle and cover plates and remove them carefully. Then remove the mounting screws of the lock body in the edge of the panel and pull it out of the profile. Keep the screws together, as you will need them.
Step 4
Choose and fit the new lock
Measure the body, the centre distance between handle and cylinder and the position of the latch, or better still take the old lock to a DIY store. Insert the new mechanism into the profile, tighten the mounting screws and, before fitting the handle, check that the lever and key work properly. Then fix the handle and cover plates.
Step 5
Test the door
Lock the door and try to slide it open: it should not move. If the latch misses the keeper on the frame, adjust the keeper slightly. Lock and unlock several times to make sure it operates smoothly.
Step 6
Service the tracks and seals
The lock works best when the door slides easily. Clear sand and leaves from the bottom track, treat the rollers with WD-40 Multi-Use and the tracks and rubber seals with WD-40 Specialist Silicone. Silicone does not attract dust and keeps rubber supple in winter.
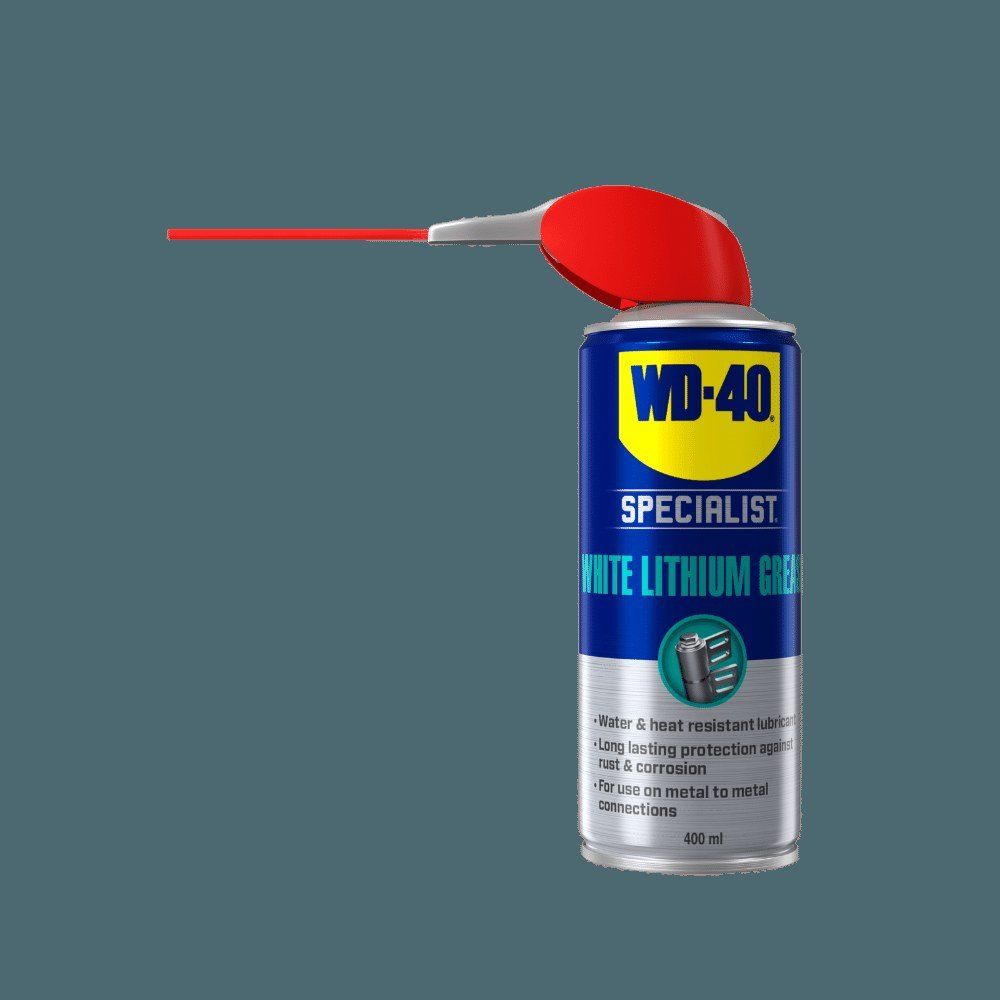
Tip: Treat a new lock with WD-40 through the keyhole straight away: there is very little factory lubricant inside, and the protective film guards the mechanism against moisture from day one.
What next
Clean and lubricate the lock and rollers of a sliding door at the start and end of the warm season, more often in dusty or sandy areas. Before winter, treat the seals with silicone so the door does not freeze shut.
These uses come from the experience of WD-40 users in many countries. Always follow the instructions and warnings on the product label.
More guides in «How to use».