Interior doors are opened and closed all day, so after a few years the mortice lock wears out: the latch sticks, the key or privacy turn gets stiff and the handle wobbles. Sometimes you simply want new hardware to match a refurbished room.
You do not need a locksmith to replace the lock in an interior door. The key is to remove the old mechanism carefully, measure it accurately and buy a compatible model. The whole job takes under an hour.
What you will need
- New mortice lock and, if you like, a new handle
- Phillips screwdriver or drill driver
- Hex keys
- Tape measure or calipers
- Cloth, vacuum cleaner or can of compressed air
- Dust sheet to protect the floor
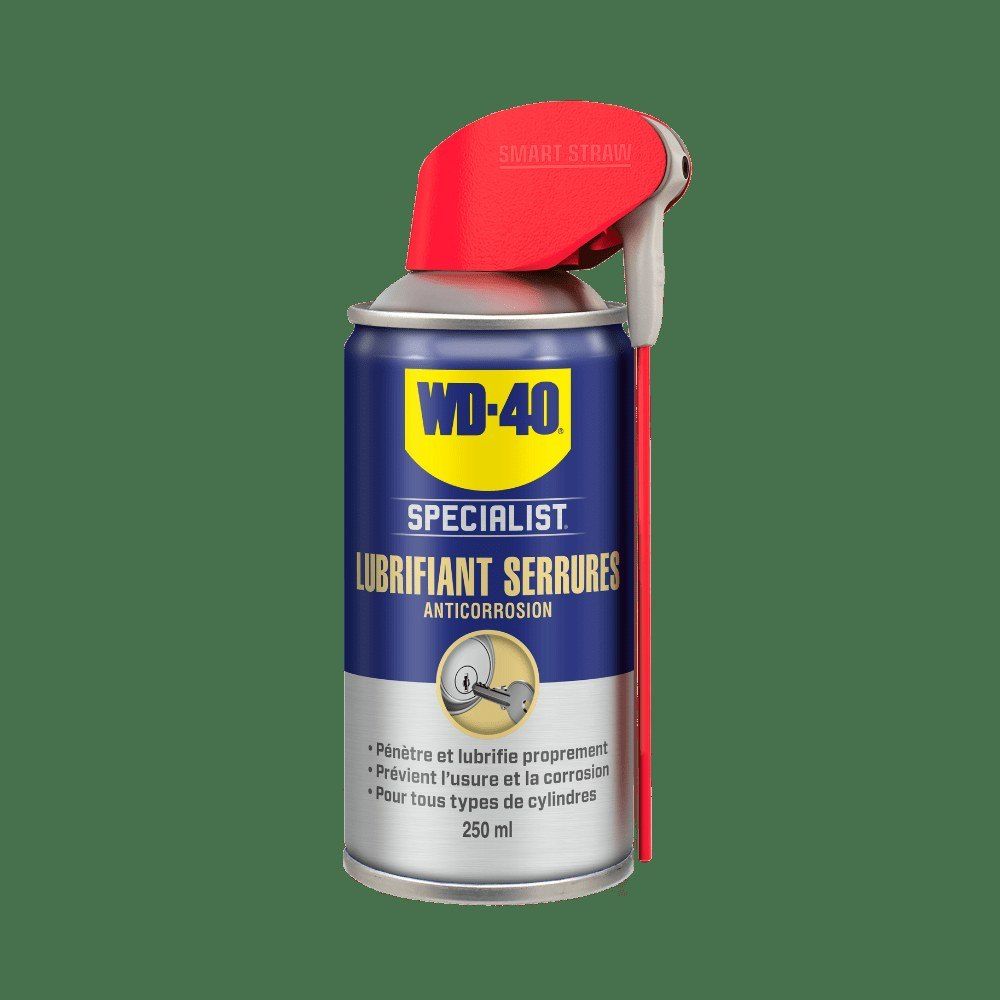
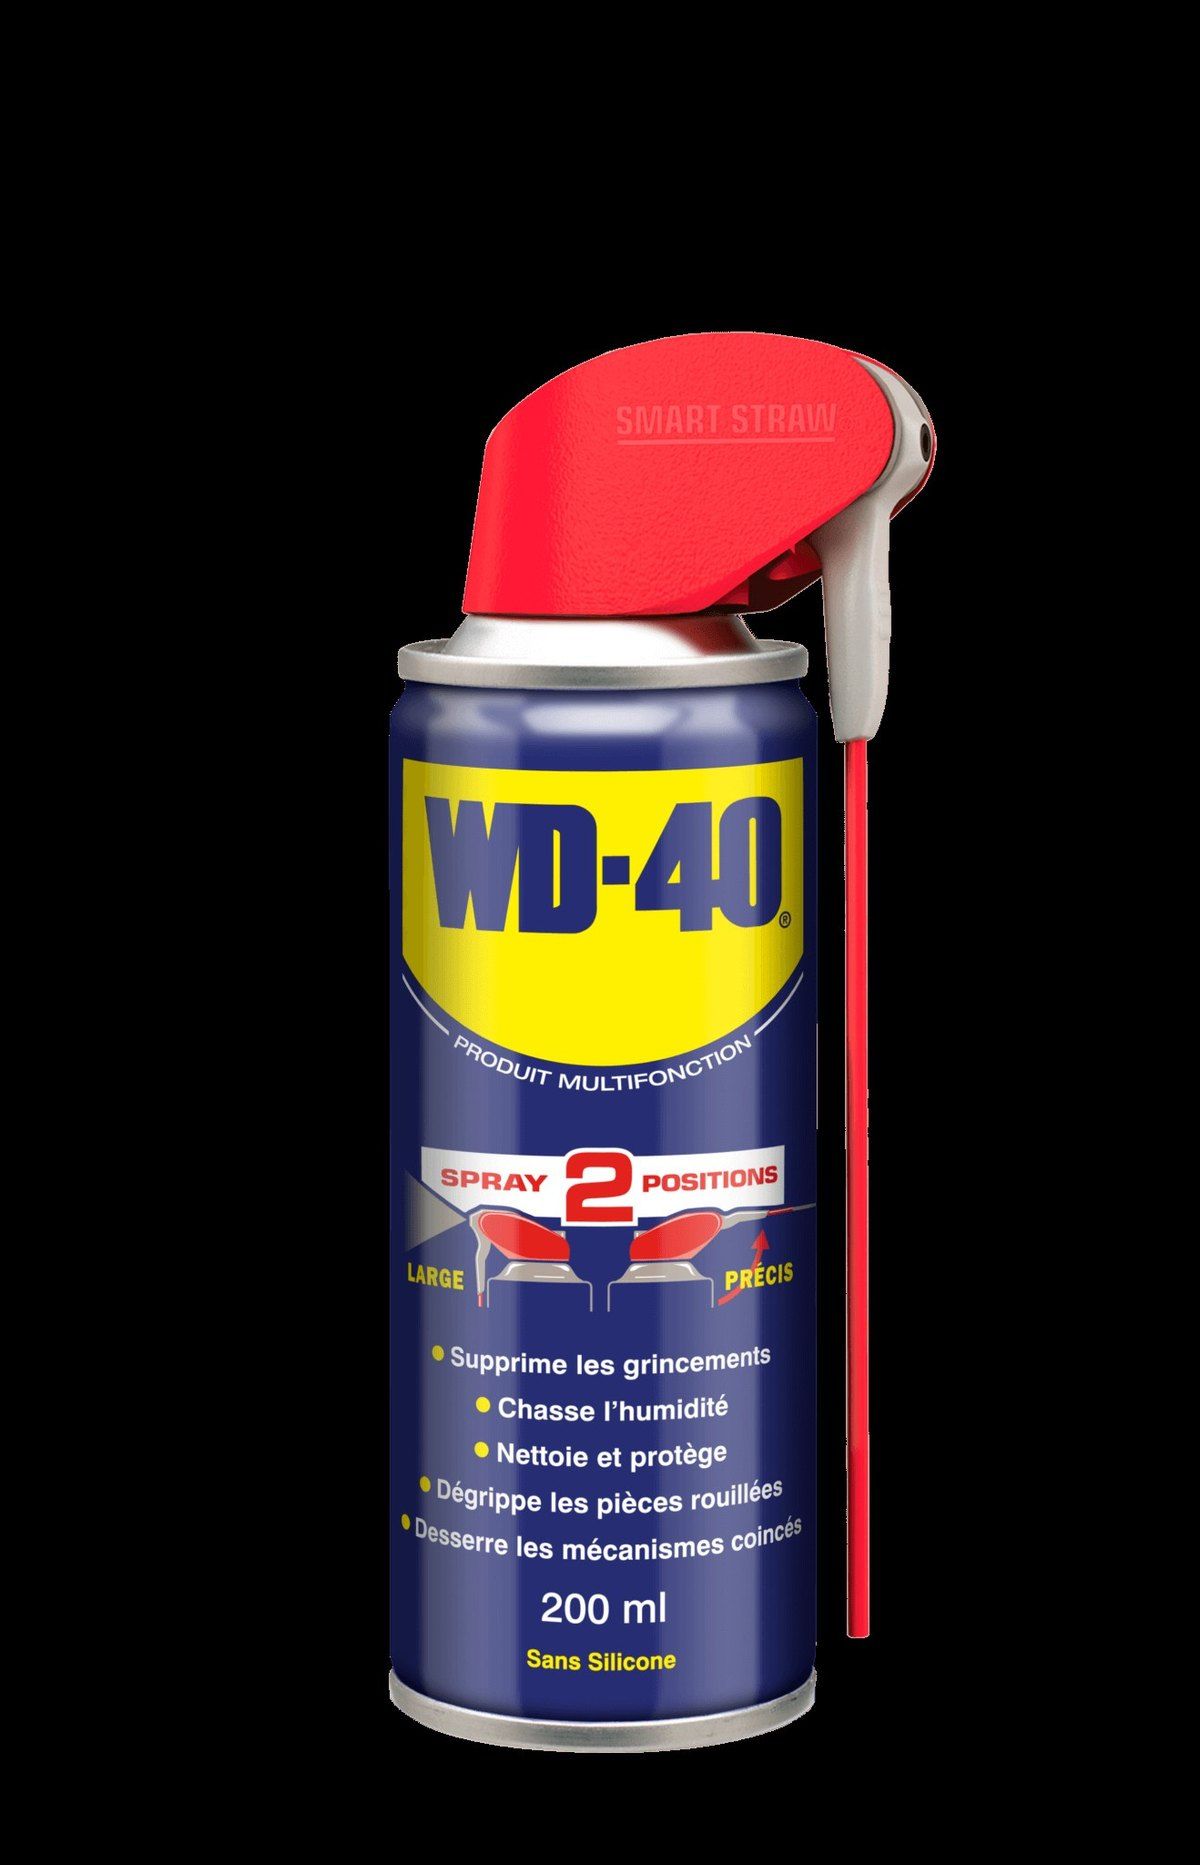
- WD-40 Smart Straw or WD-40 Multi-Use
Important: Wedge the door open while you work so you cannot get shut in a room with a dismantled lock. Do not overtighten the screws in the door edge: threads strip easily in chipboard or MDF.
Step 1
Remove the handles
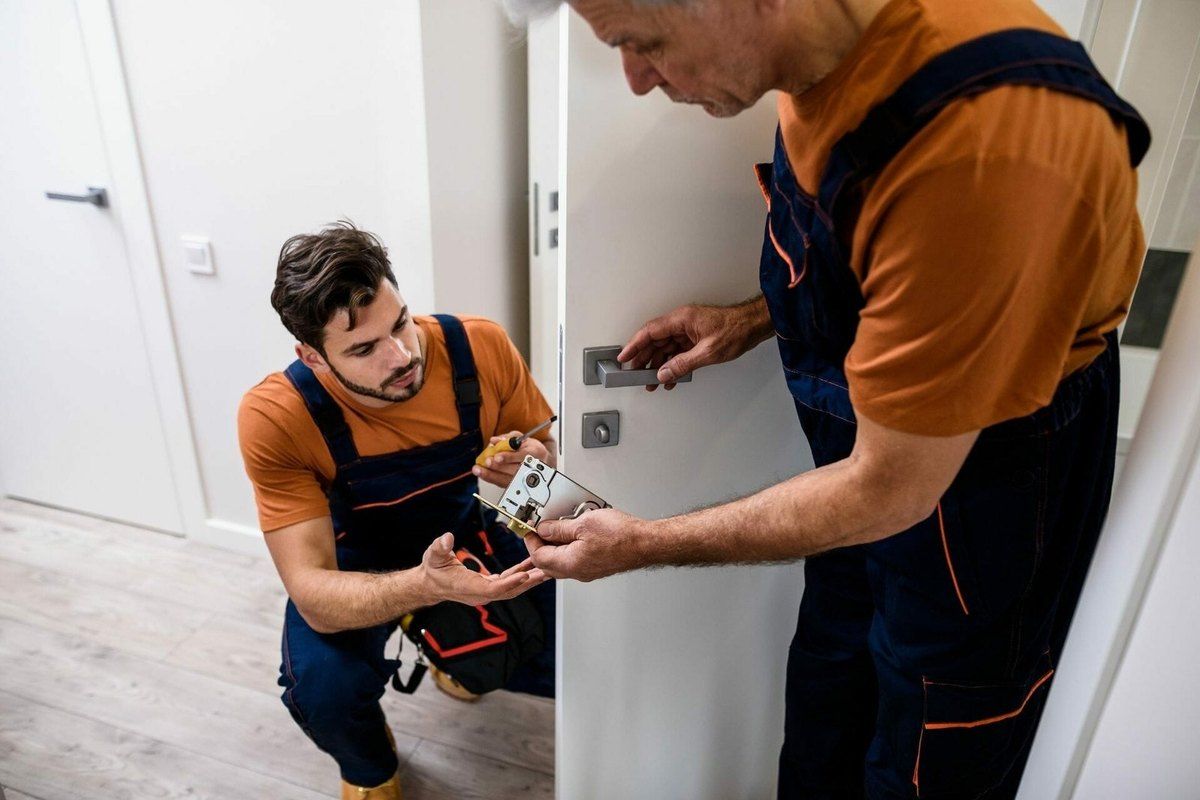
Lay a dust sheet under the door so you do not lose small parts. Find how the handle is fixed: usually a grub screw on the handle neck that takes a hex key, or two screws on the backplates. Undo them, remove both handles and pull out the square spindle.
Step 2
Take out the old lock
Remove the two screws on the forend plate in the door edge. The lock body is usually a tight fit, so put a screwdriver into the square hole in the mechanism and push gently to ease the lock out. Do not lever the forend plate or you may damage the edge of the door.
Step 3
Measure the lock and choose a new one
Take the key dimensions: body length and height, forend size, backset (distance from forend to the centre of the spindle hole) and the centre distance between handle and keyhole or privacy turn. These decide whether the holes in the door will line up.
If in doubt, take the old lock to the shop.
Step 4
Clean the pocket and fit the new lock
Remove dust and shavings from the pocket with a vacuum, compressed air or a cloth. Check the direction of the latch bevel: it should face the way the door closes. On most models you can reverse the latch by pressing it in and turning it 180 degrees.
Slide the lock into the pocket and screw the forend plate in place.
Step 5
Fit the handles and test
Insert the spindle, fit the handles on both sides and tighten the screws. Test the lock with the door open: the handle should press down and spring back easily, and the key or privacy turn should operate without sticking. Then close the door and test again. If the latch misses the strike plate on the frame, adjust the strike plate slightly.
Step 6
Lubricate the mechanism
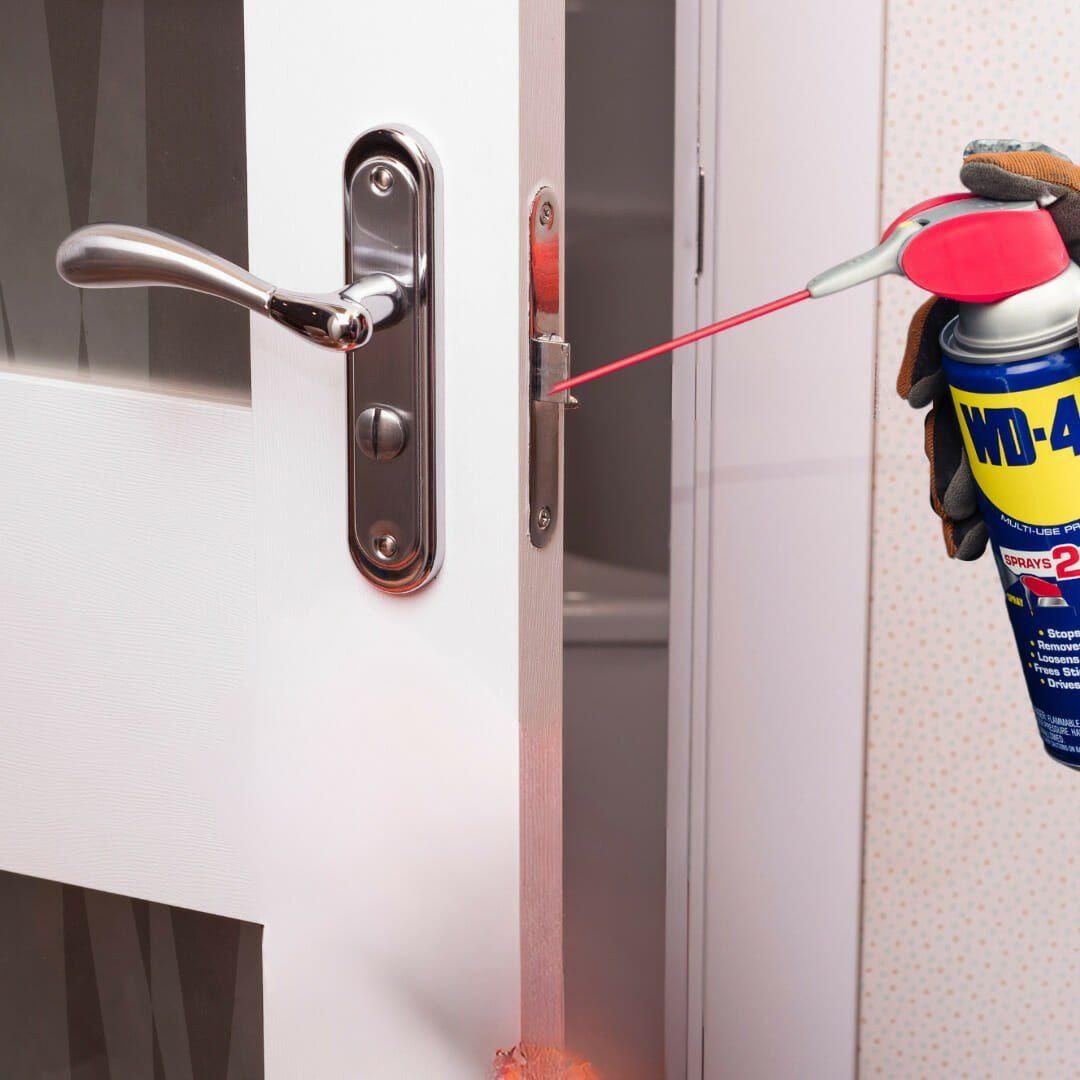
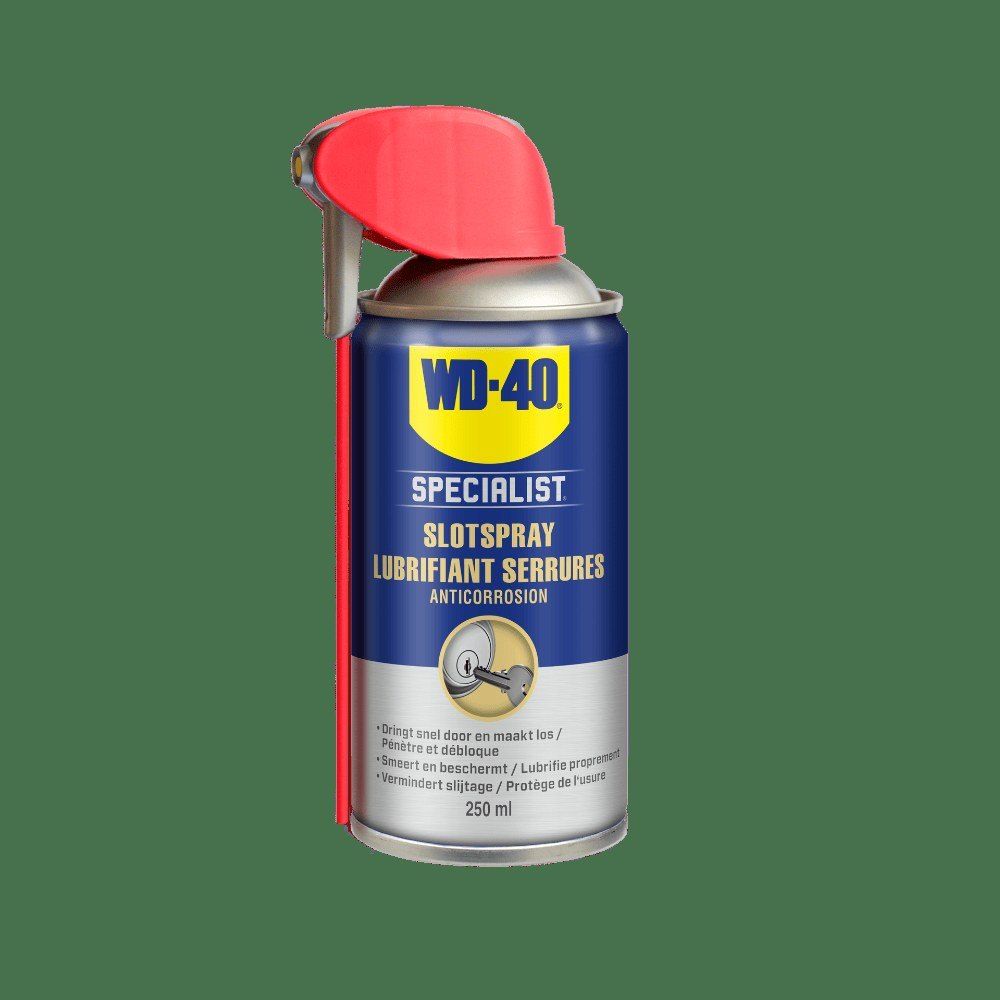
A new lock lasts longer if you lubricate it straight away. Using the WD-40 Smart Straw, spray the latch, the bolt and inside the mechanism through the keyhole. Lock and unlock several times and work the handle to spread the product, then wipe off the excess.
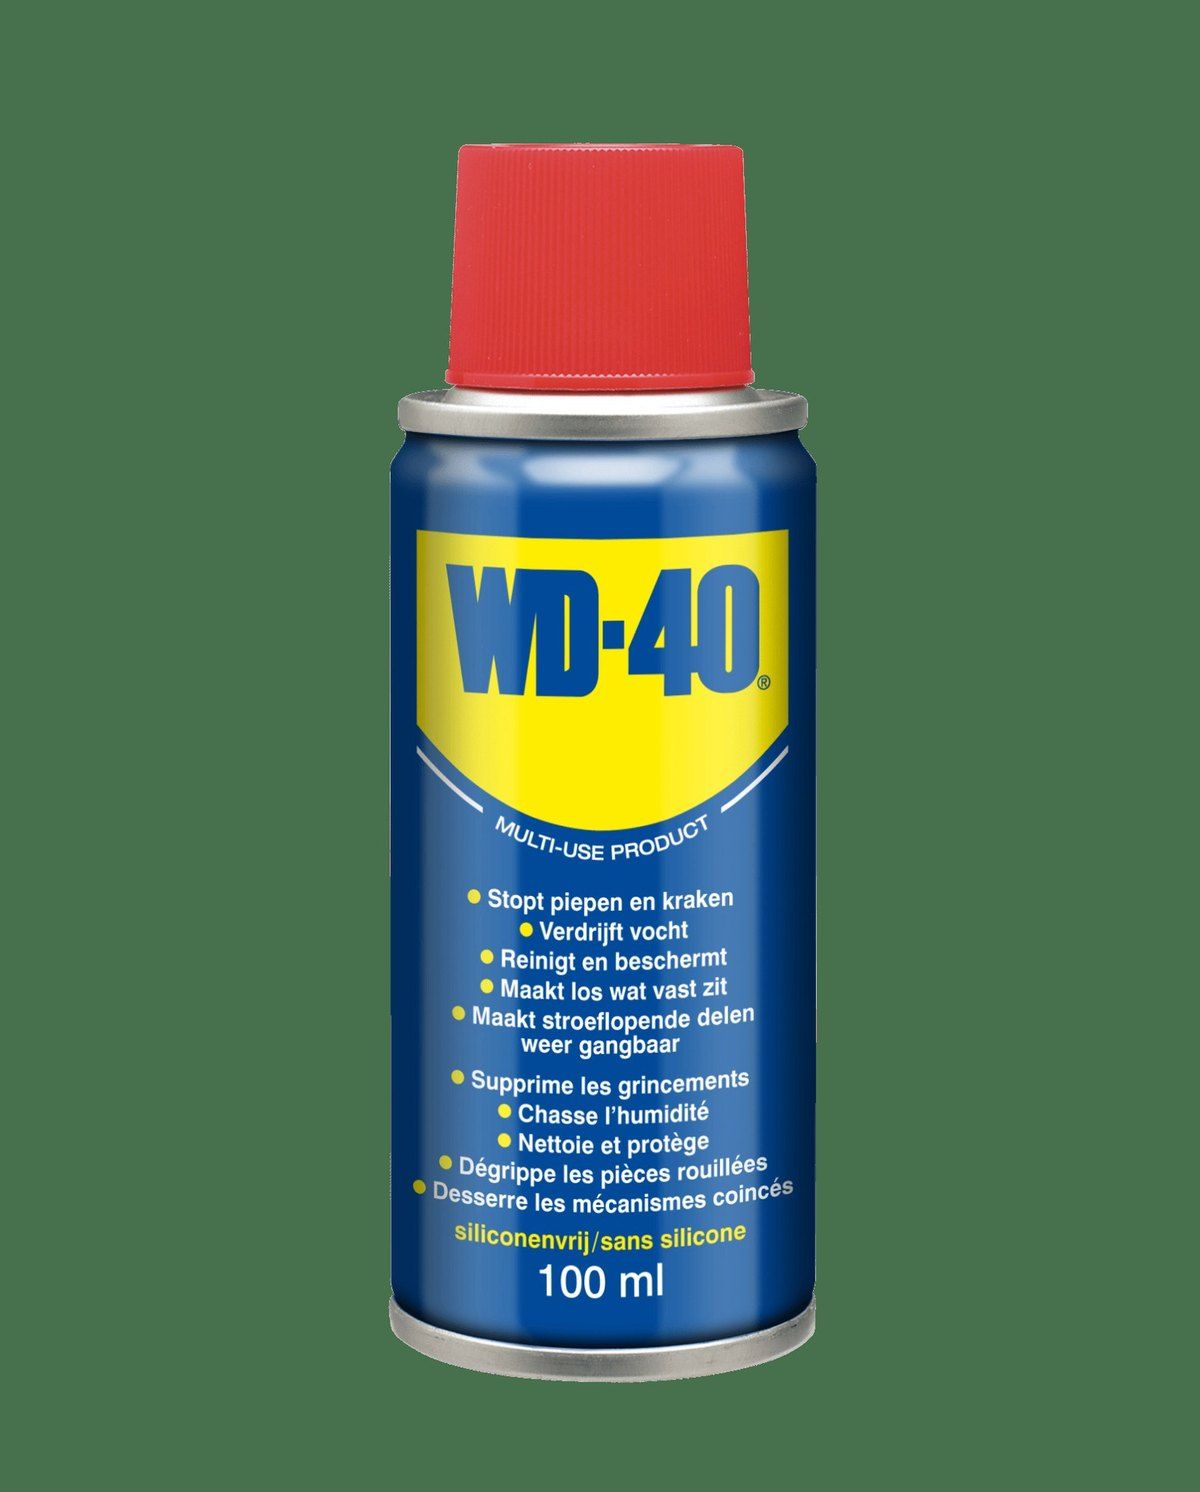
Treat the hinges with WD-40 Multi-Use so the door does not squeak.
Tip: If you are replacing locks in several doors, choose the same size throughout: each subsequent swap will take 15 minutes and you will not need to cut new holes in the doors.
What next
Lubricate interior door locks with WD-40 Multi-Use once a year, and those used most often (bathroom, toilet, children's room) every six months. This stops the latch sticking and extends the life of the mechanism.
These uses come from the experience of WD-40 users in many countries. Always follow the instructions and warnings on the product label.
More guides in «How to use».