A mailbox by the gate, on the front wall or in a stairwell gets soaked by rain and snow and goes through frosts and thaws. The steel body slowly rusts, but the lock usually gives up first: the key turns stiffly, the cam sticks and the fixing nut will not budge.
Mailbox locks are standard and inexpensive, and replacing one takes 15-20 minutes. The key is not to force seized parts but to let a penetrating lubricant do the work.
What you will need
- a new lock that fits your mailbox (diameter, length, cam shape)
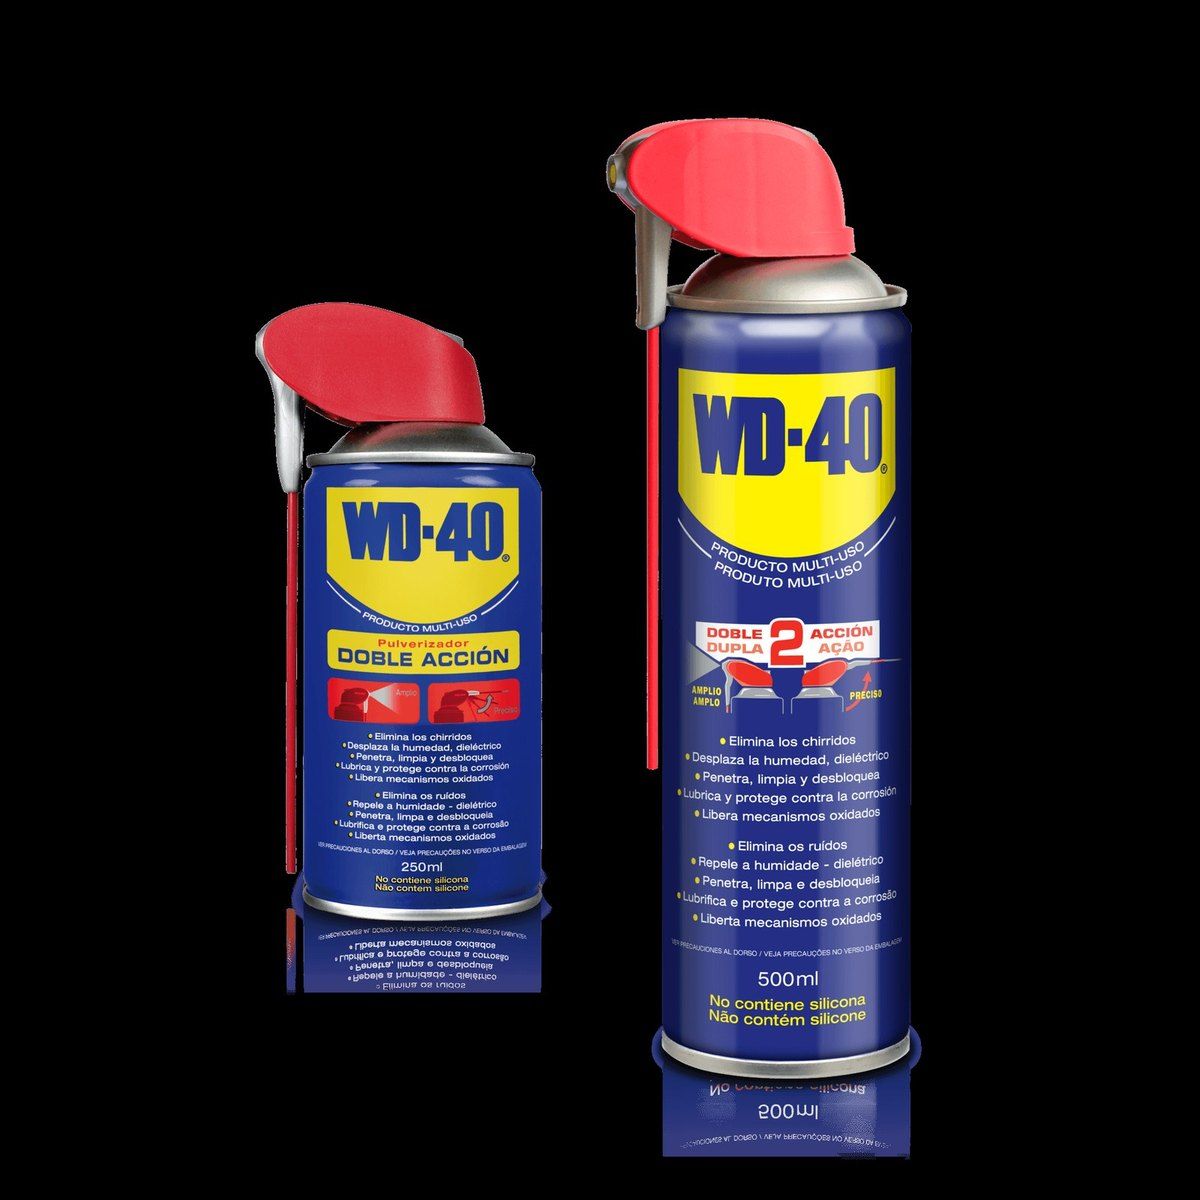
- WD-40 Multi-Use for small sticking mechanisms
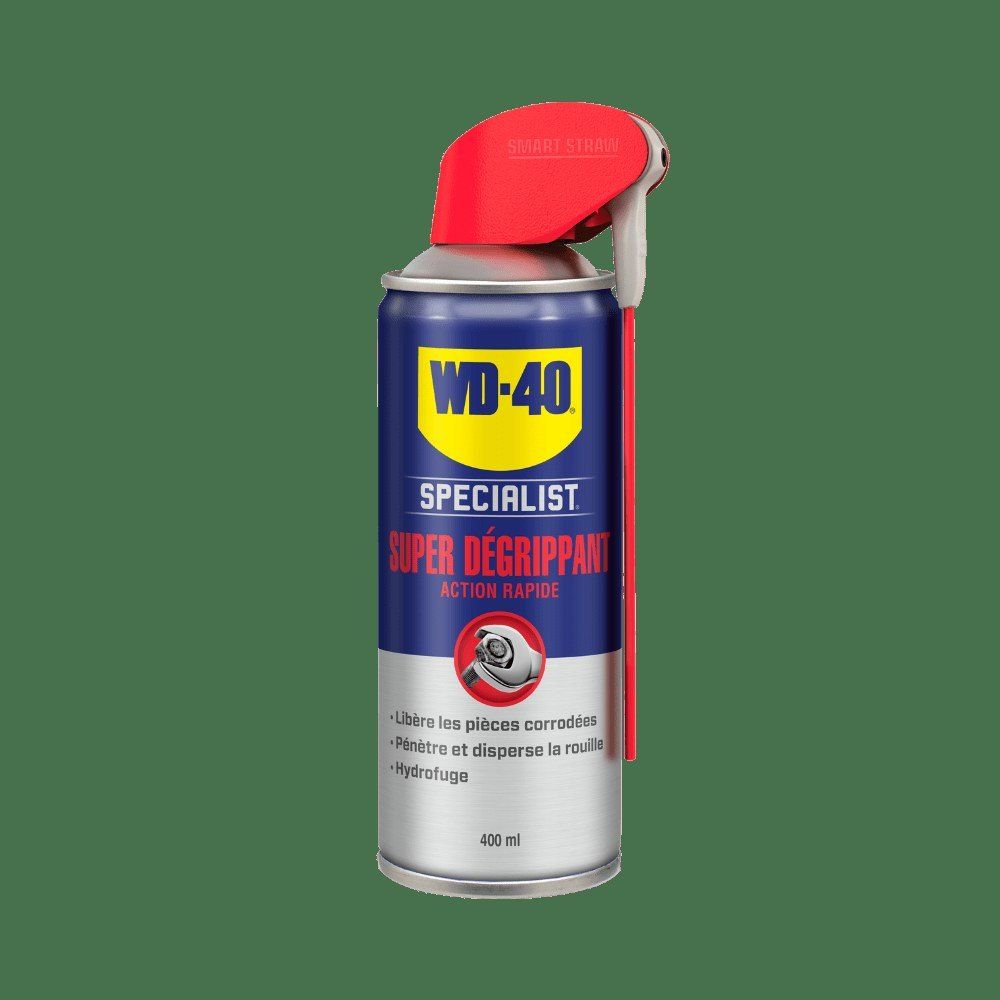
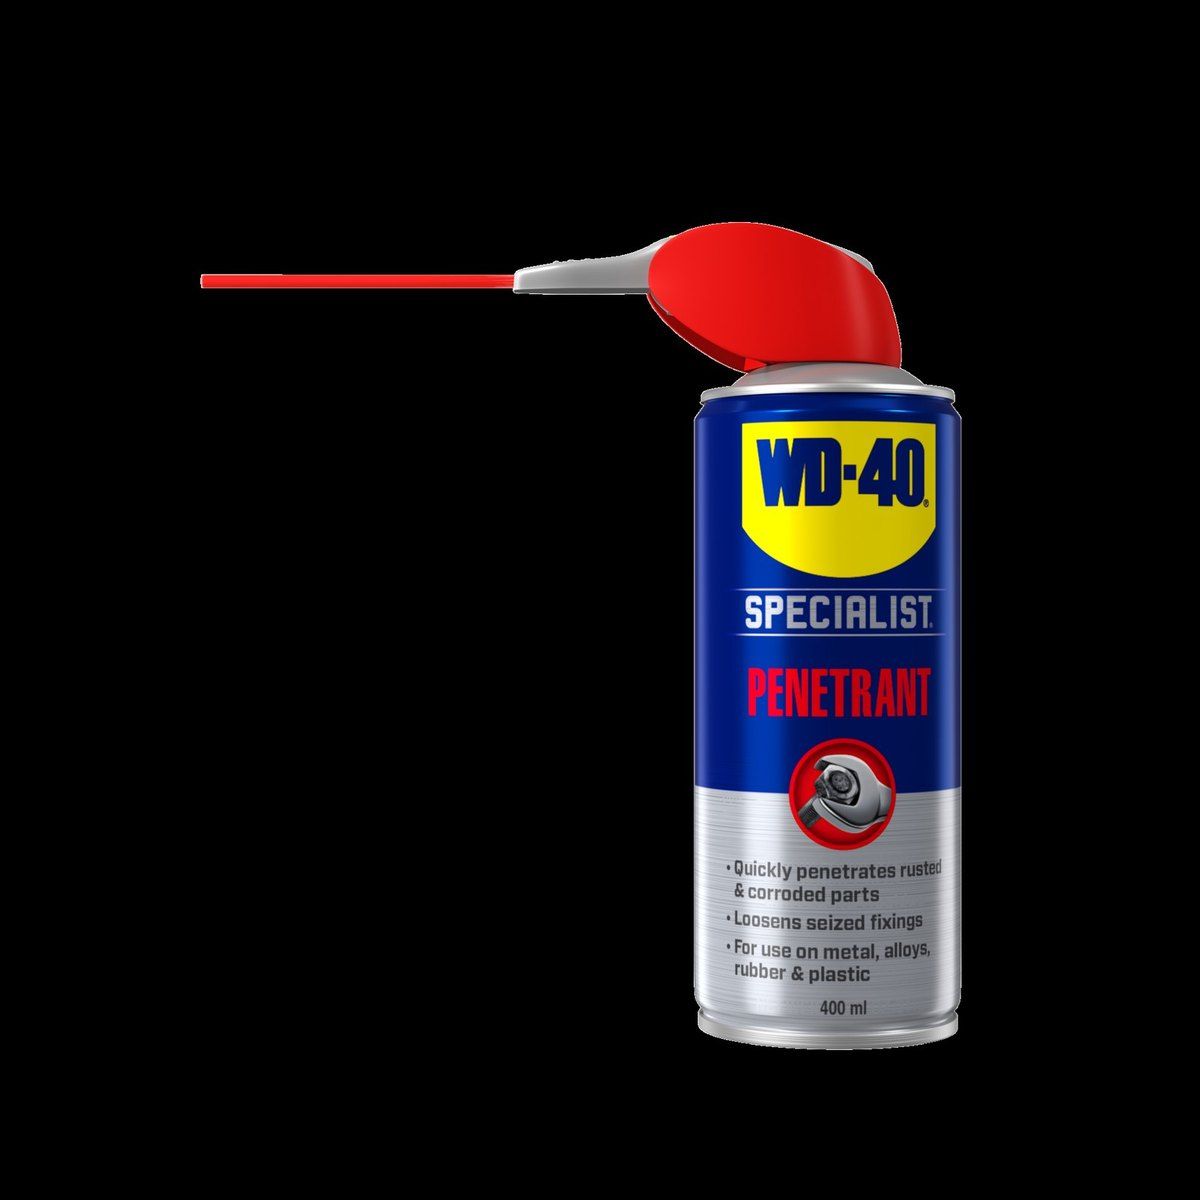
- WD-40 Specialist Penetrant for heavily rusted, seized parts
- WD-40 Smart Straw for precise application into the lock
- adjustable spanner, small screwdriver
- drill with a metal bit (if the key is missing)
- microfibre cloth, safety glasses
Important: Wear safety glasses when drilling. If the mailbox in a block of flats belongs to the building management, agree the lock change with them first.
Step 1
Open the mailbox and remove the door
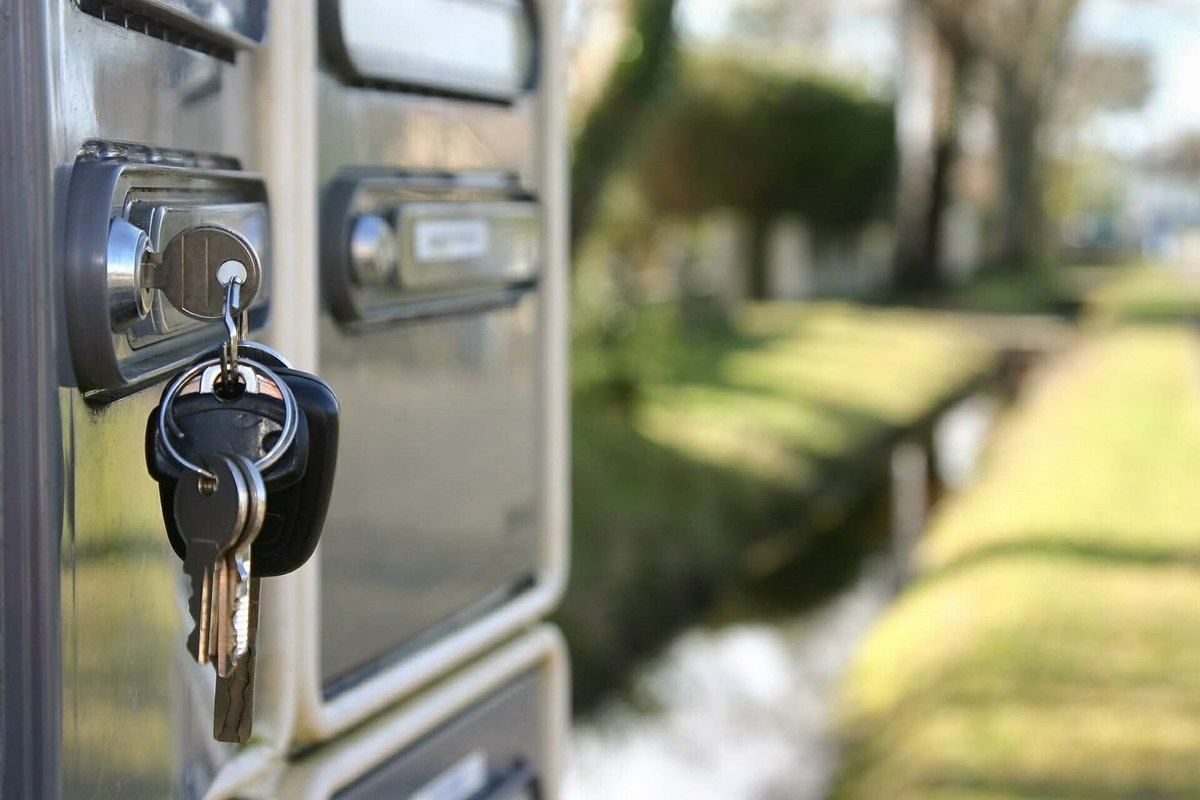
If the key still works, put a little WD-40 Smart Straw into the keyhole and on the key, turn it gently a few times and open the box. If the key is lost or the lock is broken, drill out the core through the centre of the keyway with a metal bit at low speed.
It is easier to work with the door lifted off its hinges and laid on a table. Inside you will see the standard assembly: a retaining clip, a nut and a rotating cam.
Step 2
Undo the fixing nut
The nut is almost always seized. Do not force it: apply WD-40 Multi-Use generously or, if the parts are rusty, WD-40 Specialist Penetrant, so it reaches every gap in the thread.
Wait a few minutes and try the spanner. If it will not move, repeat the treatment 3-4 times. After that you can lever the nut with a screwdriver between the lock body and the nut, and as a last resort cut the old lock off with a hacksaw.
Step 3
Remove the cam, clip and old lock
Unscrew the cam screw and take the cam off: this is the part that keeps the door shut. Then slide the retaining clip off the lock body with the spanner. If anything resists, give it another shot of penetrant.
Push the lock out through the front. Wipe the hole with a cloth and a drop of WD-40 to remove rust and dirt, and clean out the inside of the box while you are at it.
Step 4
Fit the new lock
Insert the new lock into the hole, slide on the clip and tighten the nut. Fit the cam in the same position as the old one and tighten its screw.
Before rehanging the door, insert the key and turn it a few times: the cam should move freely and stop against its limit. Then refit the door and check that the box locks properly.
Step 5
Protect the lock and mailbox
Treat the new lock with WD-40 Smart Straw: the thin straw delivers the product straight into the mechanism, where it displaces moisture and lubricates the pins. Turn the key a few times and wipe it.
Wipe the steel body and hinges with a cloth and a little WD-40 Multi-Use: the thin film protects the metal from corrosion and freshens up the box.
Tip: Winter is hardest on mailboxes: moisture in the lock freezes, and salt and road grime speed up rust. Treat the lock in autumn before the frosts and you will not need to warm the key with a lighter in January.
What next
Service the mailbox lock once a year, or twice if it hangs outdoors: in spring and autumn. The same WD-40 Multi-Use is handy for gate locks, padlocks and gate hinges.
These uses come from the experience of WD-40 users in many countries. Always follow the instructions and warnings on the product label.
More guides in «How to use».