A fridge is opened dozens of times a day, and the rubber door seal takes most of the strain. Over the years it cracks, deforms, hardens or grows mould. Signs of trouble include frost or ice on the back wall, condensation inside, a compressor that hardly ever stops and rising electricity bills.
A simple test: close the door on a sheet of paper at several points around the edge. If it slides out without resistance, the seal is not doing its job. On most modern fridges the seal pushes into a groove and can be changed without tools in about half an hour.
What you will need
- new door seal matched to your fridge model
- WD-40 Specialist Silicone to ease fitting the seal and for the hinges
- WD-40 Multi-Use for metal hinges and rusty door edges
- warm water with washing-up liquid, vinegar, sponge
- old toothbrush, microfibre cloths
- hairdryer (to straighten the new seal)
Important: Unplug the fridge before you start. Do not apply lubricants inside the compartment or on shelves where food is stored.
Step 1
Check the seal and order a replacement
Inspect the seal all the way round: tears, cracks, flattened sections or mould that will not wash off mean it needs replacing. Note the model and serial number from the rating plate inside the fridge and order an original or compatible seal of the right size. If the seal is very dirty but intact, try cleaning it first with warm water and vinegar.
Step 2
Remove the old seal
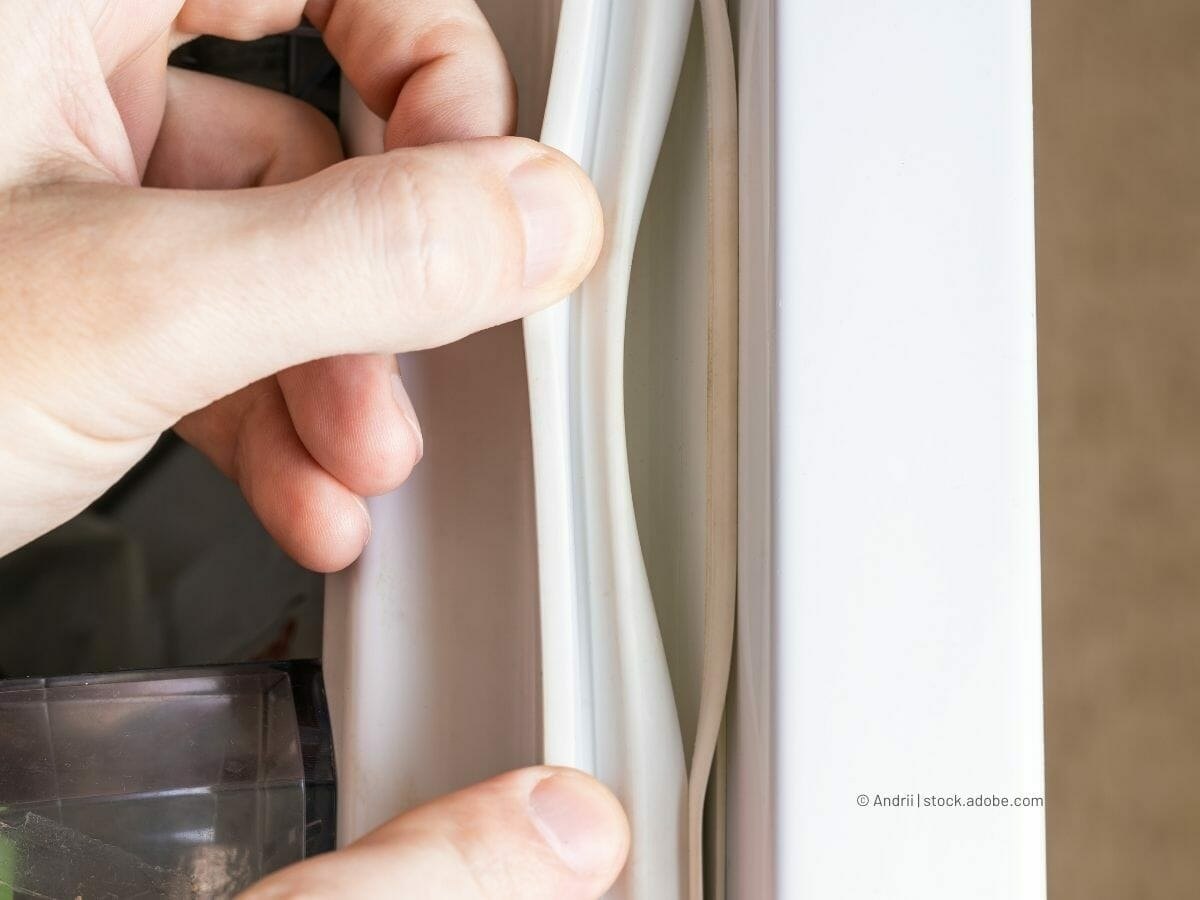
Unplug the fridge, open the door and take hold of a corner of the seal. On most models it simply sits in a groove around the door: pull and it comes out without tools. If the seal is held by screws hidden under a fold of rubber, loosen them but do not remove them completely, so the door panel stays aligned.
Step 3
Clean the groove and the door
With the seal removed, wash the groove and inner door panel thoroughly with warm soapy water. Crumbs, dust and mould gather in the corners, where an old toothbrush helps. Finish by wiping with diluted vinegar, which helps remove odours, and dry everything.
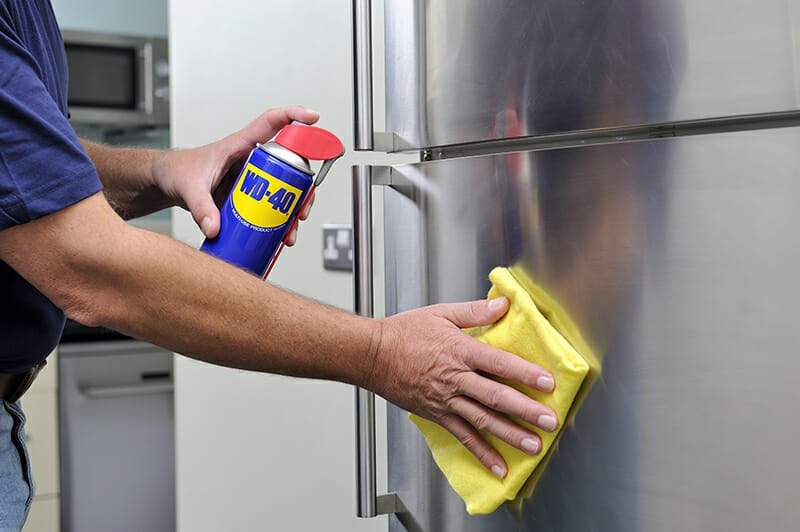
If rust has appeared on the metal edges of the door or cabinet near the hinges, clean it off, wipe the area and treat it with WD-40 Multi-Use, then wipe off the excess. Only do this on the outside, away from any contact with food.
Step 4
Fit the new seal
Start at a top corner of the door and press the seal into the groove with your thumb, working round the edge. To help the rubber slide in, lightly treat the edge that goes into the groove with WD-40 Specialist Silicone and wipe off the excess. Silicone is safe on rubber and plastic, keeps them supple and stops the seal sticking to the cabinet. Go all the way round and make sure the seal sits evenly and the corners are tucked in firmly.
Step 5
Straighten any creases
A new seal often arrives creased from its packaging, which does not mean it is faulty. Close the door and look for gaps. Warm waves and kinks with a hairdryer on a low setting held at a distance, and hold the rubber in the right position until it cools. Repeat the paper test all the way round.
Step 6
Lubricate the hinges and check the freezer
Treat squeaky hinges with a few short bursts of WD-40 Specialist Silicone and open and close the door a few times. Check the freezer seal the same way: if it lets air in, ice builds up quickly on the walls. It is replaced in exactly the same way. Plug the fridge back in and check after a few hours that the temperature has settled.
Tip: To make the seal last longer, wipe it monthly with warm soapy water and dry it. Twice a year, lightly treat the outer face of the rubber that touches the cabinet with silicone, so it does not crack or stick.
What next
With the new seal in place, take the opportunity to wash the whole compartment and shelves and clean the condenser grille at the back. See our separate guide for a full clean of the fridge and freezer.
These uses come from the experience of WD-40 users in many countries. Always follow the instructions and warnings on the product label.
More guides in «How to use».