A room thermostat tells the boiler when to run so your home stays at the right temperature: warm when you are in, a little cooler when nobody is home, with no gas wasted. If the thermostat has failed, reads the wrong temperature or is simply out of date, you can replace it yourself.
Modern units can be mechanical, electronic, seven-day programmable or controlled over Wi-Fi. Swapping a standard wall thermostat for a compatible one is usually no harder than changing a socket, but working with electrics demands care.
What you will need
- New thermostat compatible with your boiler (check both manuals)
- Insulated screwdrivers and a voltage tester
- Drill and bit for wall plugs if the holes do not line up
- Masking tape and a pen for labelling wires
- WD-40 Specialist Contact Cleaner for oxidised terminals
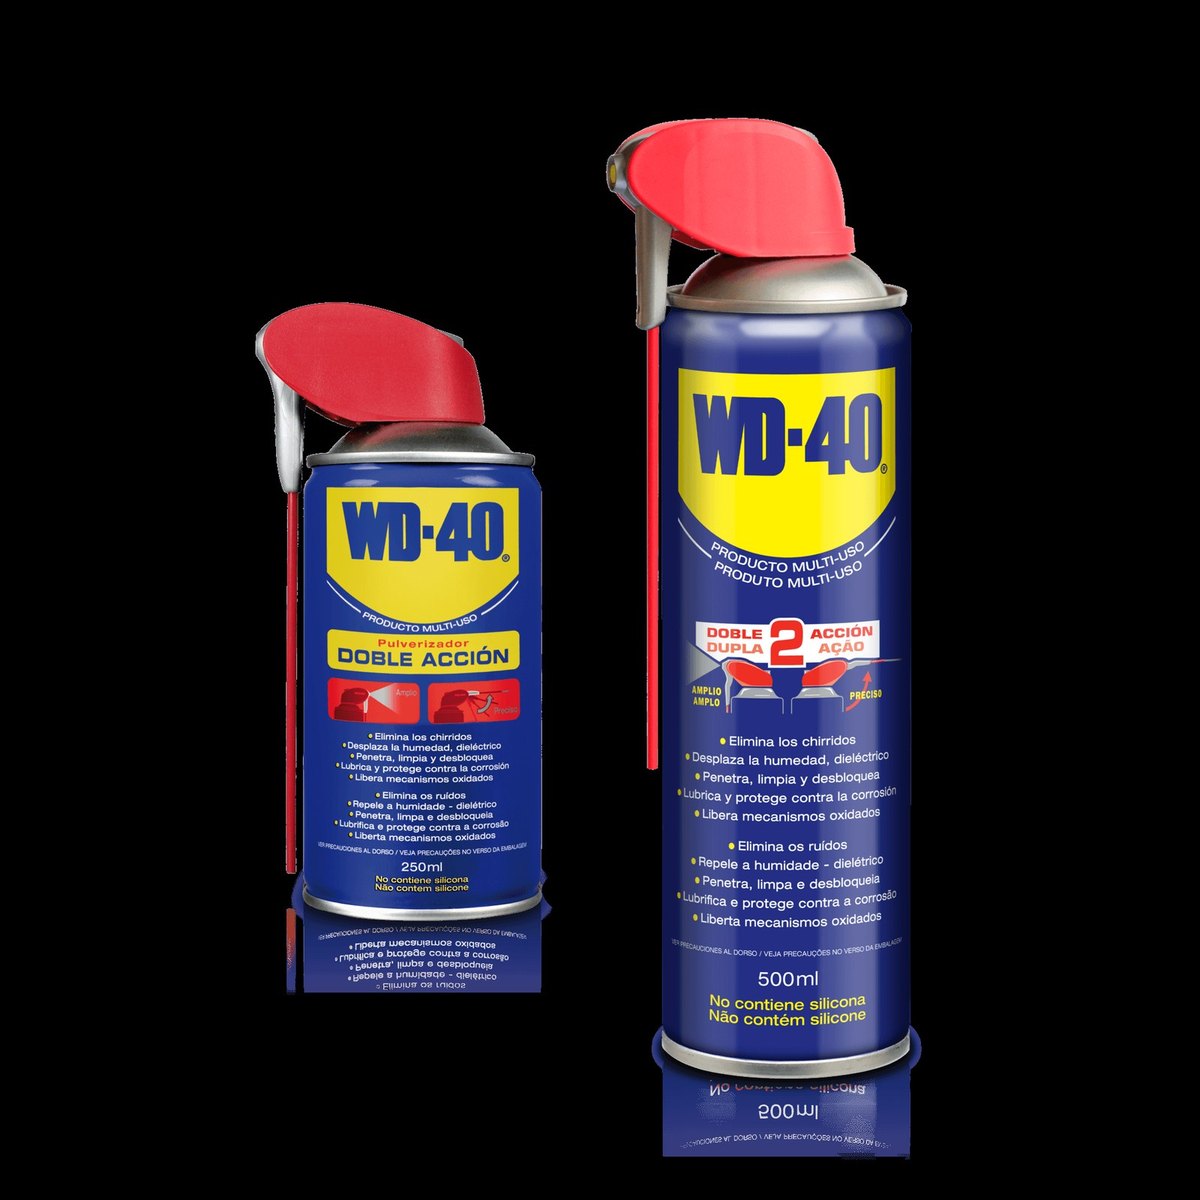
- WD-40 Multi-Use for stuck screws
Important: Always switch off the boiler and the circuit breaker supplying the thermostat and confirm with a tester that there is no voltage. If the thermostat runs on 230 V and you are not confident, have an electrician make the connection.
Step 1
Isolate the boiler and thermostat
Switch off the boiler, then the circuit breaker in the consumer unit that supplies it. Use a voltage tester to confirm the thermostat terminals are dead. Keep using insulated tools even with the power off.
Step 2
Remove the old thermostat
Take off the cover or front panel (it often clips on) and undo the screws holding the backplate to the wall. If a screw is rusty or stuck, apply a drop of WD-40 Multi-Use, wait a minute and try again.
Before disconnecting the wires, photograph the wiring and label each wire with a piece of masking tape showing its terminal, so there is no confusion when fitting the new unit. Check the wires: if the insulation is cracked or the cores are broken, trim and strip them again.
Step 3
Clean the contacts
Oxidised or darkened wire ends conduct poorly and can make the new thermostat behave erratically. Spray them with WD-40 Specialist Contact Cleaner: it evaporates quickly, leaves no residue and is safe on most plastics. Let the contacts dry completely.
Step 4
Fit the new thermostat
Double-check in the manual that the model suits your boiler and supports the required connection type. Fix the backplate to the wall; if the holes do not line up, mark new ones, drill and insert wall plugs.
Connect the wires to the terminals following the manufacturer's diagram, tighten the screws without overdoing it and refit the front panel. Mount the thermostat on an inside wall, away from radiators, direct sunlight, draughts and the cooker, or it will read the wrong temperature.
Step 5
Power up and test
Switch the breaker and boiler back on and set the date, time and temperature schedules. Raise the set temperature above room temperature: the boiler should fire. Lower it: the boiler should stop.
Check the weekly programme if there is one, and for a Wi-Fi model connect the app and make sure commands from your phone get through.
Tip: Keep the old thermostat's manual until the new one has run for a few days: it makes it easy to return to the original wiring if something goes wrong.
What next
Once the thermostat is in, get the rest of the system ready for the season by bleeding the radiators and freeing the valves. For small jobs around the house, a pocket-size WD-40 100 ml is handy to keep nearby.
These uses come from the experience of WD-40 users in many countries. Always follow the instructions and warnings on the product label.
More guides in «How to use».