Years of limescale and ordinary wear eventually take their toll on a shower mixer: the flow weakens, the handles get stiff and leaks appear. Replacing a wall-mounted mixer is straightforward, and you can do it yourself in about half an hour without calling a plumber.
Before buying a new mixer, measure the distance between the centres of the two water outlets in the wall. Standard spacing is common, but the offset connectors only have limited adjustment, so the new mixer must match.
What you will need
Important: Always shut off the water before you start. Tighten nuts on chrome parts through a cloth to avoid scratching the finish.
Step 1
Turn off the water
Close the hot and cold isolation valves or the main stopcock. Open the old mixer to make sure no water flows and to release any pressure left in the pipes. Lay a cloth in the bath or shower tray: it catches residual water and protects the enamel if the spanner slips.
Step 2
Disconnect the shower hose
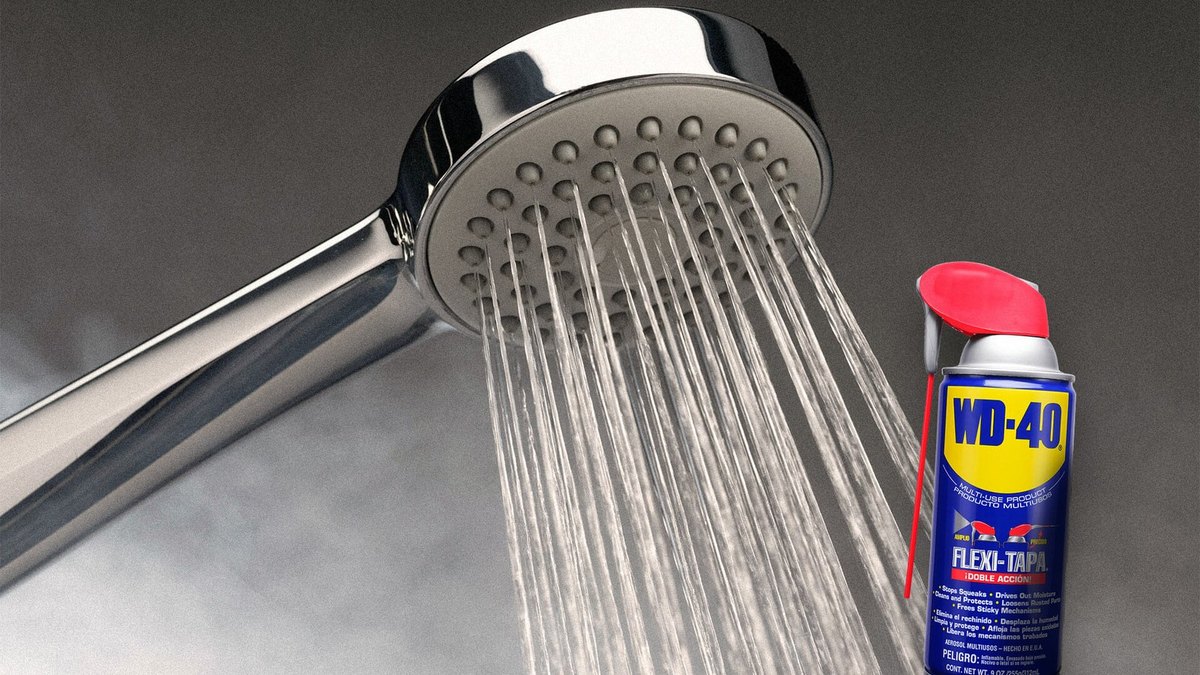
Unscrew the nuts of the hose that connects the mixer to the shower head and remove it. There is usually a little water left inside. If the nuts are stuck with limescale, apply WD-40 Multi-Use to the thread and wait a few minutes.
Step 3
Remove the old mixer
Use the adjustable spanner to loosen the two union nuts joining the mixer to the offset connectors in the wall. If they will not move, treat them with WD-40 Specialist Penetrant, let it work under the scale and try again. Once the nuts are off, remove the mixer and the cover plates.
Step 4
Prepare the offset connectors
Inspect the offset connectors: if the threads are sound and they do not leak, they can stay. Clean scale and old sealant from the threads with a brush or cloth and wipe them with a drop of lubricant. Set the connectors so their spacing and height match the new mixer exactly.
Step 5
Fit the new mixer
Place the supplied washers in the union nuts of the new mixer. Fit the cover plates and screw the nuts on by hand as far as they go, then nip them up with the spanner through a cloth, without excessive force, so as not to damage the washers.
Refit the shower hose and head, again remembering the washers.
Step 6
Check that it works
Turn the water back on and test the mixer in every mode: spout, shower, hot and cold. Inspect the wall joints and hose nuts. If any drips appear, tighten the nut a quarter turn.
Tip: The O-rings of the shower diverter and rubber washers last longer if you give them a light coat of
WD-40 Specialist Silicone when fitting: silicone keeps rubber supple.
What next
Your new mixer is ready. To keep it free of limescale, wipe the nuts and joints with WD-40 Multi-Use every few months and descale the shower head regularly.
These uses come from the experience of WD-40 users in many countries. Always follow the instructions and warnings on the product label.
More guides in «How to use».