Few people think about the toilet seat, yet it is one of the hardest-working items in the home. Cracks, scratches and loose or squeaky hinges are all good reasons to replace it, and you can do the job yourself in about five minutes.
Usually no tools are needed, as most seats are held by wing nuts. You only need a spanner for ordinary nuts or when the fixings have seized with damp. We also explain how to look after the new seat so the hinges do not squeak.
What you will need
- new seat with fixings (measure the distance between the holes in the pan)
- spanner, if the nuts are not wing nuts
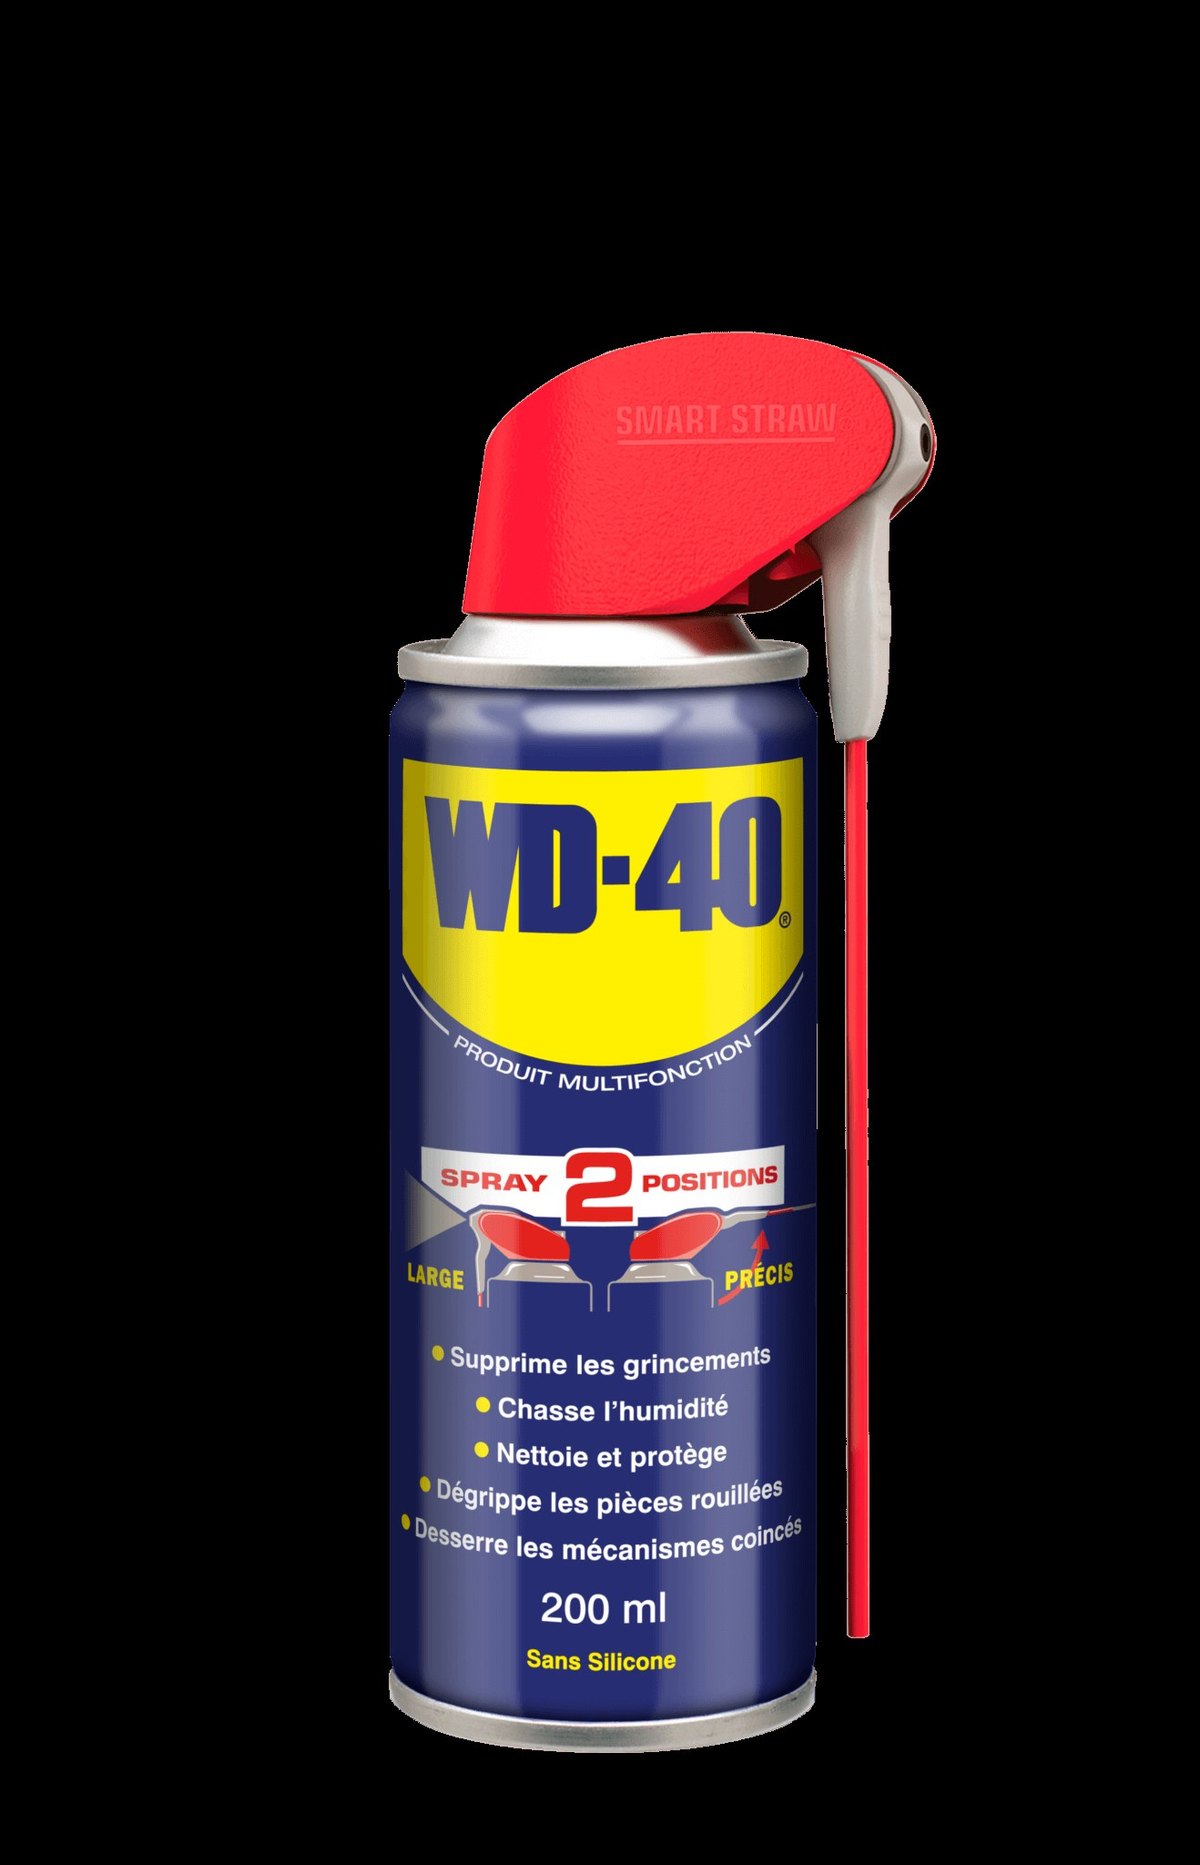
- WD-40 Multi-Use
- toilet cleaner, gloves, cloth
Important: Do not spray lubricant into the toilet bowl or use it to remove limescale there: it pollutes the waste water. Use ordinary bathroom cleaners, bicarbonate of soda or vinegar for the bowl.
Step 1
Remove the old seat
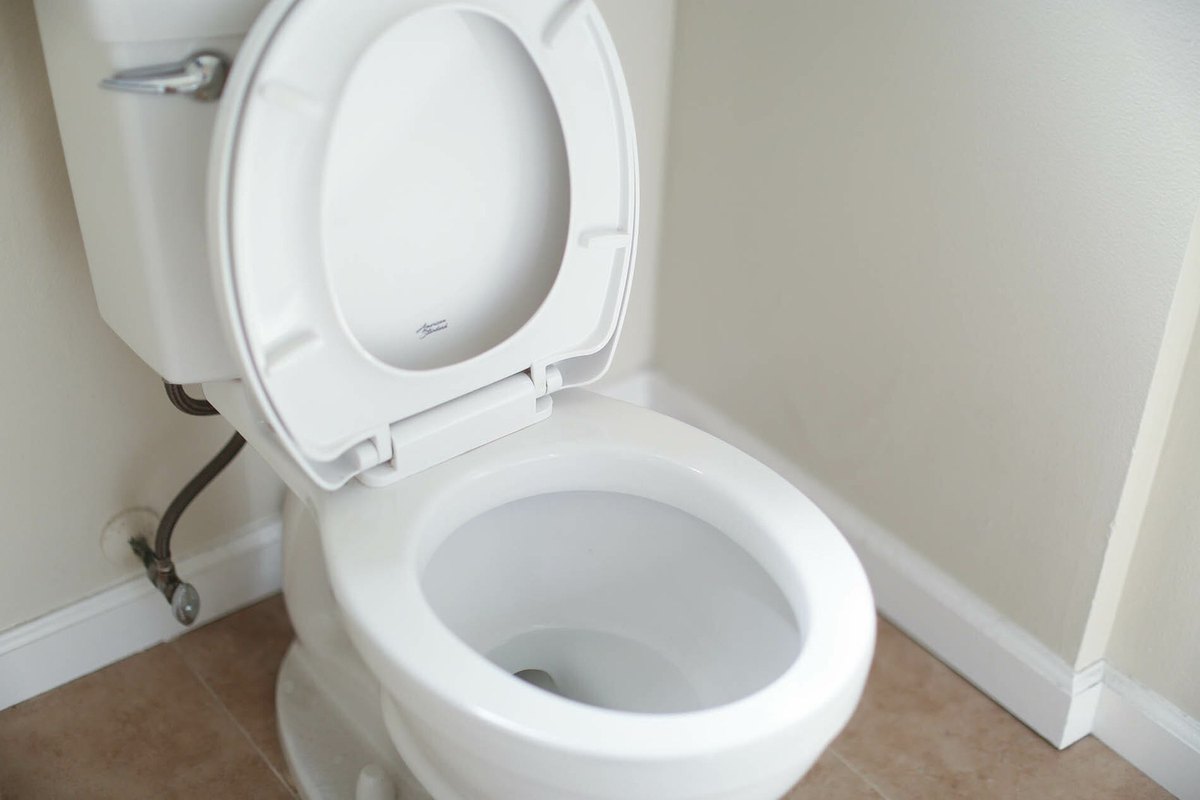
Under the back of the pan, find the two nuts holding the hinge bolts. Wing nuts undo by hand, ordinary nuts with a spanner. If a nut is stuck with rust or limescale, apply WD-40 Multi-Use, wait a few minutes and undo it. Lift the seat away together with its bolts.
Step 2
Clean the toilet thoroughly
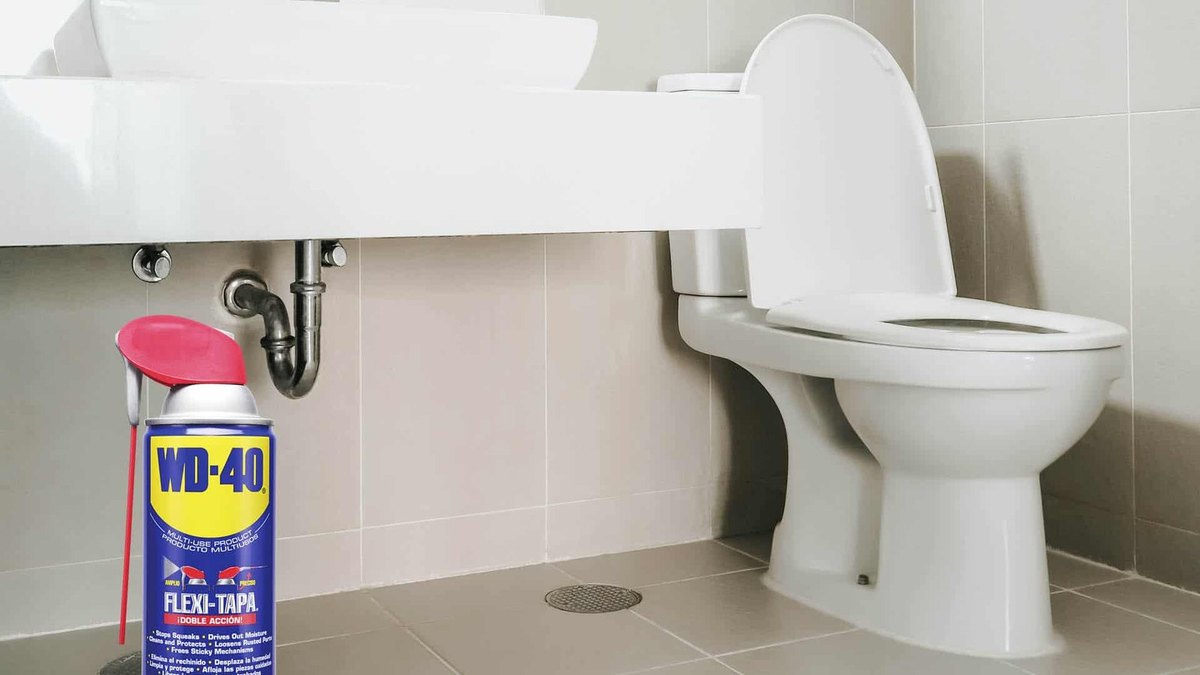
With the seat off, it is easy to wash and disinfect areas you normally cannot reach: around the fixing holes, the back of the rim and the cistern lid. Use ordinary bathroom cleaners, wear gloves and keep the room ventilated.
Step 3
Fit the new seat
Insert the two bolts of the new seat into the holes in the pan. Fit the washers and nuts underneath: you can reuse the old ones, but if they are rusty, use the new ones from the kit. Wing nuts are more convenient, as you will not need a spanner next time.
Step 4
Align and secure
Before final tightening, line the seat up so it sits exactly on the rim without overhanging. Tighten the nuts firmly but not excessively: ceramic can crack and plastic bolts can strip. Rock the seat from side to side to make sure it does not move.
Step 5
Look after the hinges
Over time the hinges start to squeak from constant lifting and lowering. Apply a little WD-40 Multi-Use, raise and lower the lid a few times and always wipe off the excess with a cloth so no product is left on the seat. On plastic parts, test the product on a hidden area first.
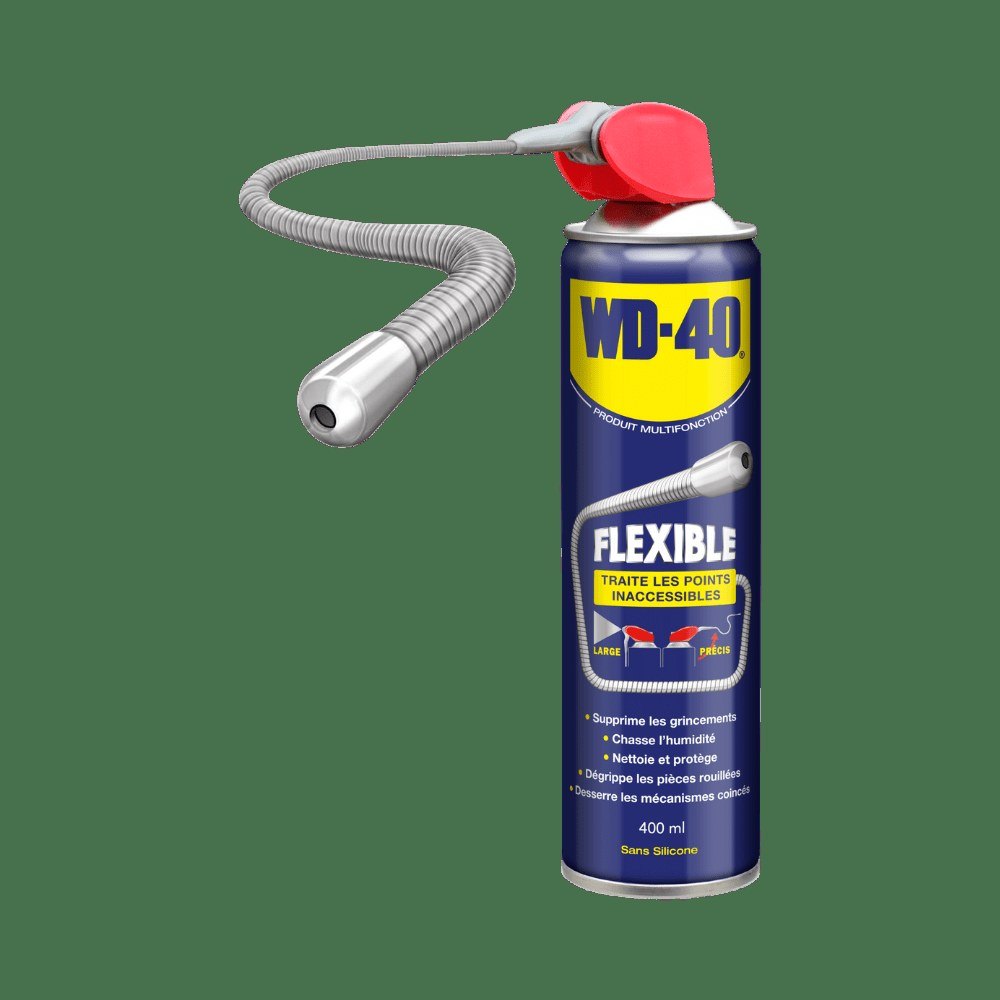
Tip: Seat hinges sit close to the ceramic and the wall, so applying lubricant through
WD-40 Smart Straw is easiest: the fine jet goes into the hinge, not onto the toilet.
What next
Your new seat is ready. Clean it along with the bowl and check the nuts and hinges every few months so the seat stays firm and quiet.
These uses come from the experience of WD-40 users in many countries. Always follow the instructions and warnings on the product label.
More guides in «How to use».