The bottom bracket is the assembly at the base of the frame in which the crank axle turns. It consists of the axle, two bearings or ball retainers and two threaded cups screwed into the frame shell. Designs vary widely, so the steps below cover a classic serviceable bottom bracket on a standard bike.
The bottom bracket takes a constant hit of water, grit and road salt. Once you hear creaks, clicks under load or feel play in the cranks, it is time to strip, clean and grease it.
What you will need
Important: Cup thread direction depends on the standard: on the common English (BSA) standard the drive side cup has a left hand thread. Check your standard so you do not strip the threads in the frame.
Step 1
Remove the cranks
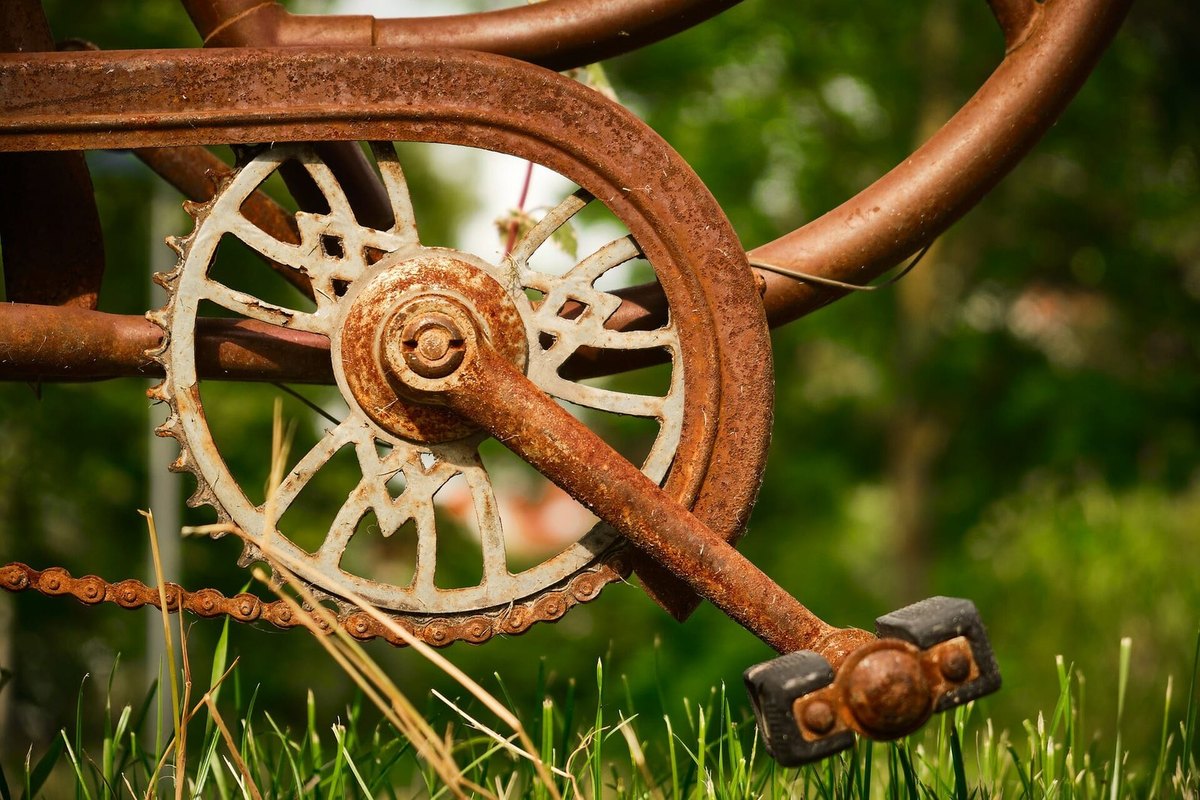
To reach the bottom bracket, loosen and remove the crank bolts. The cranks sit tight on the axle, so thread the puller into the crank and turn it with a spanner until the crank comes off. Remove both cranks; the drive side comes off with the chainrings.
Step 2
Loosen the cups
Wipe the axle ends and cup edges clean. First undo the lockrings that secure the cups: they usually have notches for a dedicated tool, but a pipe wrench will do. Then unscrew the cups themselves.
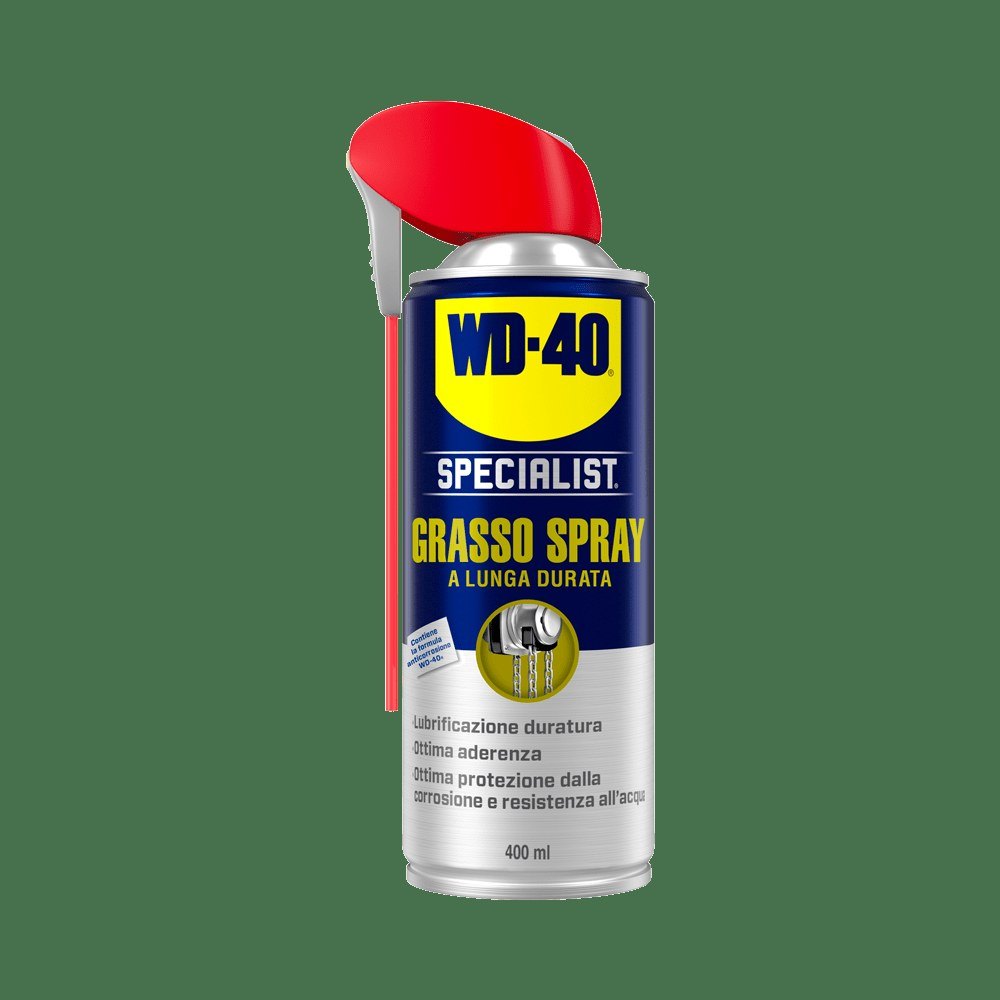
If the threads have seized over winter, spray the joints with WD-40 Specialist Penetrant, wait 10 minutes and try again with steady force, no jerking.
Step 3
Take out the axle and inspect
Remove the axle with its bearings and check the cup threads, wear on the axle ends where the cranks fit, and the ball retainers. An oval or distorted retainer is a common source of noise.
If parts are damaged or a bearing feels gritty, replace the unit with an identical one. Sealed cartridge bottom brackets are not serviced but replaced as a whole.
Step 4
Clean every part thoroughly
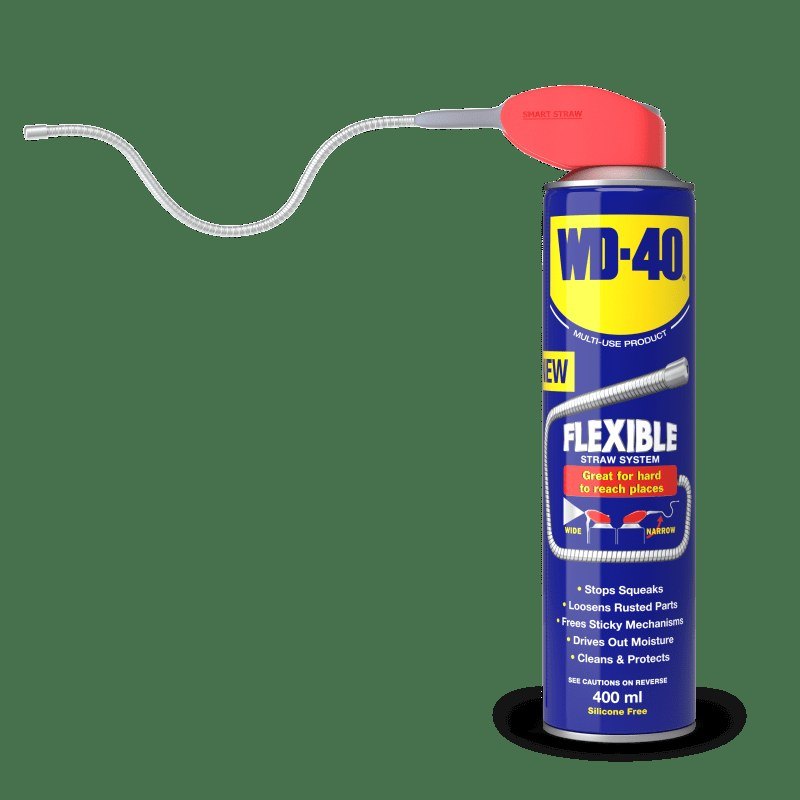
Spray WD-40 Multi-Use onto the axle, cups, retainers and inside the frame shell, let it dissolve old grease and dirt, then wipe everything with microfibre. Pay special attention to the threads at both ends of the shell: grit in the threads will spoil reassembly.
Step 5
Grease the assembly
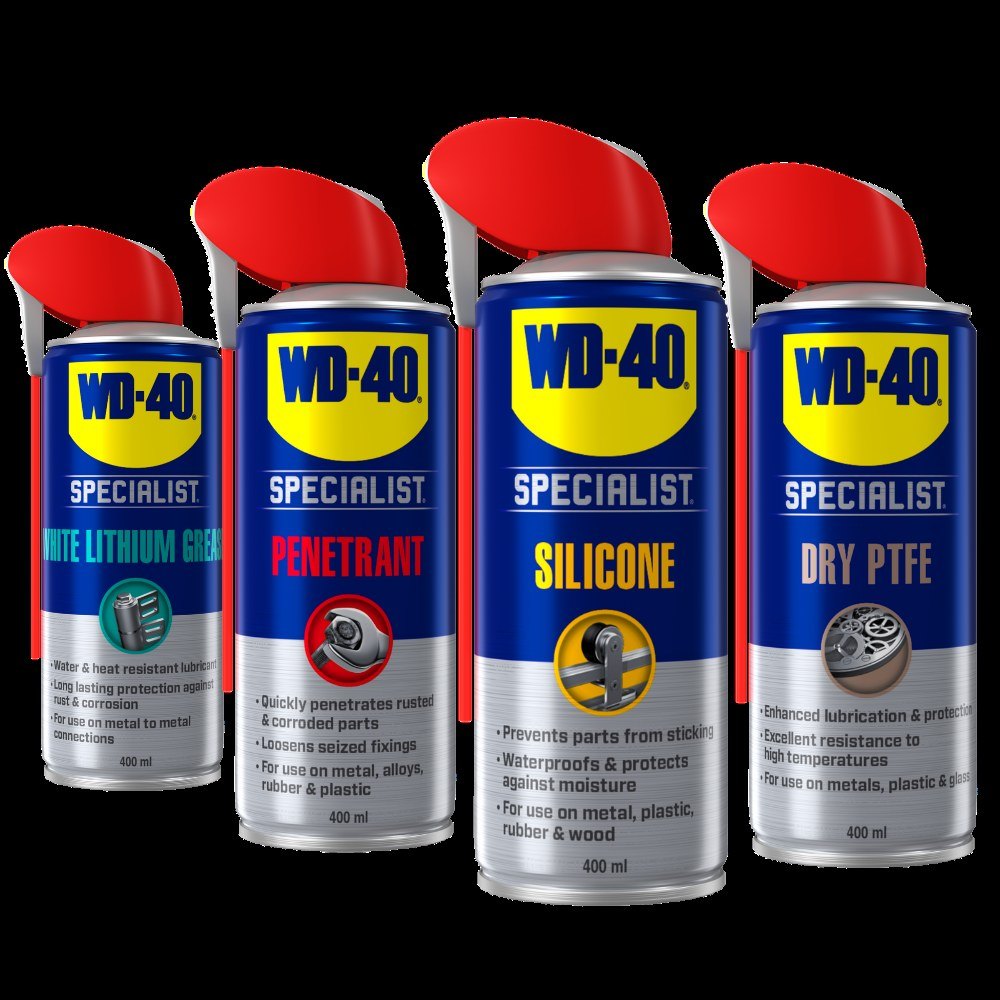
Apply a generous coat of WD-40 Specialist White Lithium Grease to the ball retainers, cup races and threads, including those inside the frame shell. It does not run, stays on the parts and protects against moisture and corrosion, which matters for a component that catches the first spray off the road.
Step 6
Reassemble the bottom bracket and cranks
Thread in the cups and tighten them so the axle spins freely with no sideways play. Fit the lockrings while holding the cups so they do not turn. Refit the cranks, tighten the bolts to the manufacturer's torque and check again for play.
Tip: To check the bottom bracket without dismantling, drop the chain and spin the cranks by hand: grinding, uneven rotation or side to side movement are clear signs it needs servicing.
What next
Service the bottom bracket once a season, and more often if you ride in rain or on muddy tracks. Between services clean the crankset area regularly and protect metal parts from damp with WD-40 Multi-Use.
These uses come from the experience of WD-40 users in many countries. Always follow the instructions and warnings on the product label.
More guides in «How to use».