In hydraulic brakes the lever does not pull a cable; it pushes a small master cylinder. The fluid in the system cannot be compressed, so it passes the pressure to the caliper pistons, which press the pads onto the rotor. These brakes respond quickly, are reliable and offer fine control, which is why mountain bikers love them.
Maintenance comes down to two jobs: replacing pads and bleeding the system with fresh fluid. With hard use the fluid degrades and air bubbles appear in the circuit, making the lever spongy.
What you will need
- a bleed kit for your exact brake model: two syringes or a syringe and a cup, hoses with adapters
- brake fluid of the correct type (mineral or DOT, as marked on the brakes)
- bleed block (plastic spacer), Allen keys, hose clamp
- WD-40 Specialist Bike Degreaser
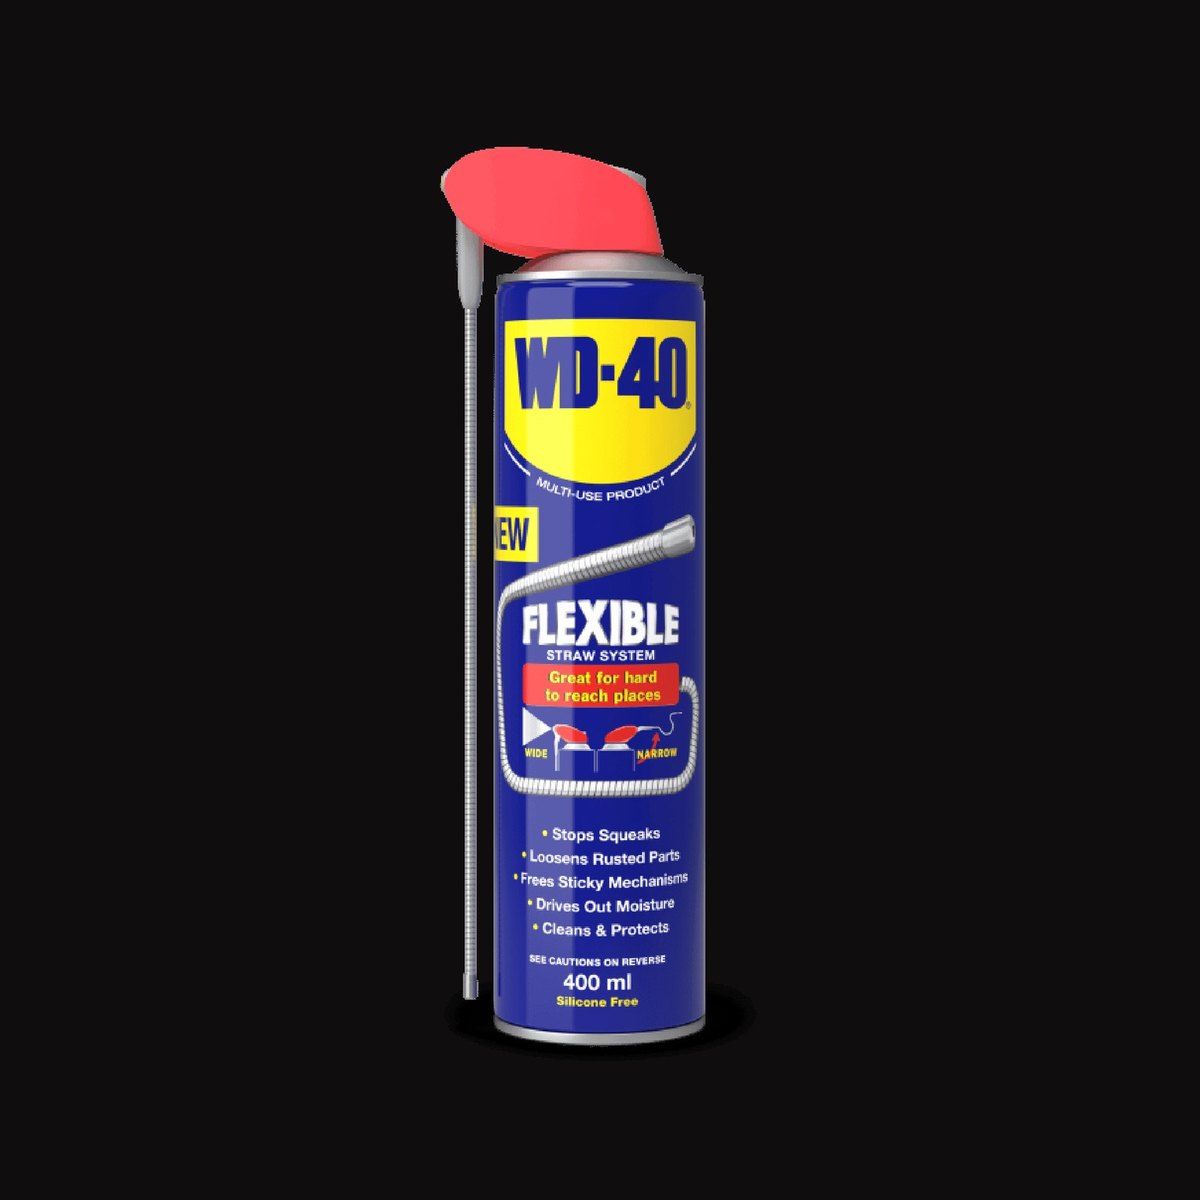
- WD-40 Multi-Use
- nitrile gloves, safety glasses, paper towels
Important: Never mix mineral fluid and DOT, as this destroys the seals. DOT fluid damages paint, so wipe up drips immediately. Always remove the pads before bleeding, and keep fluid and any lubricant off the rotor and pads.
Step 1
Get the right kit
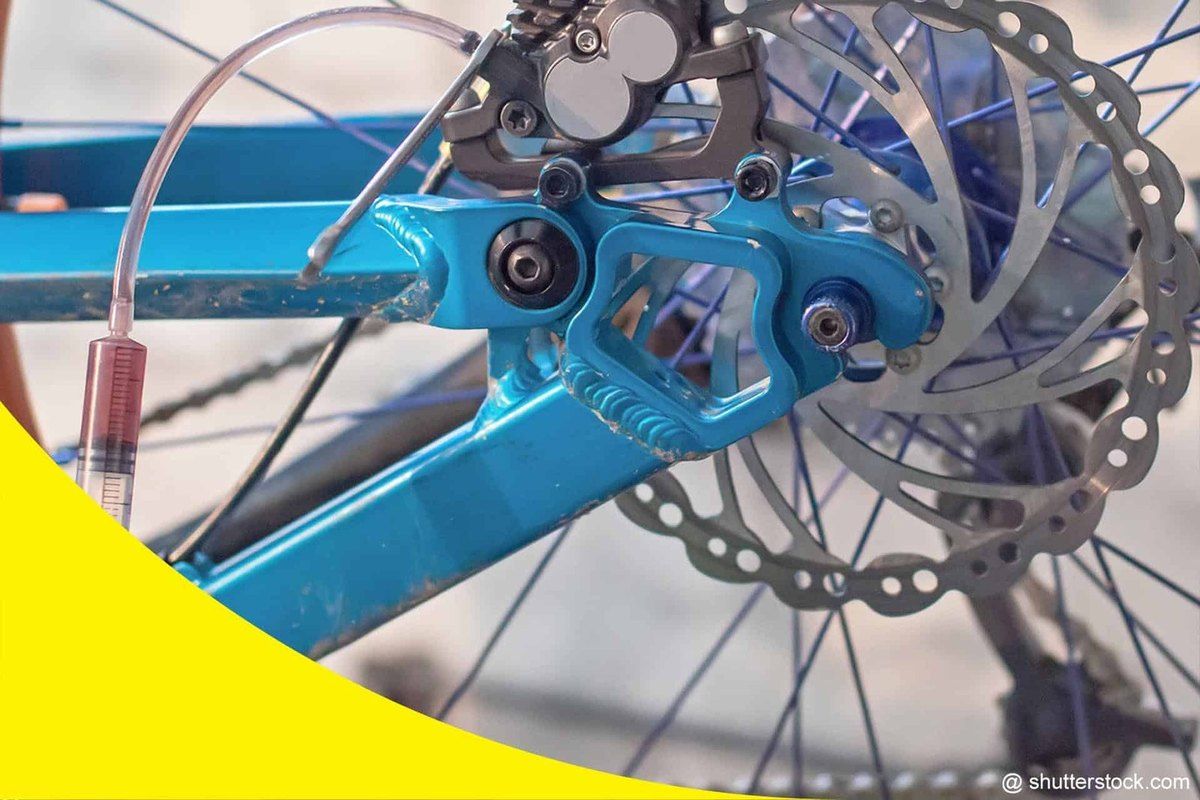
Buy a bleed kit that matches your brake model, as adapters and fluid type differ. A kit usually contains two syringes or a syringe and a cup, hoses with threaded adapters for the bleed ports and the necessary keys.
Step 2
Prepare the bike
Clamp the bike in a stand so the brake hose runs as vertically as possible, which helps bubbles rise. Loosen the lever clamp and rotate the lever and its reservoir to horizontal.
Remove the wheel, take out the pads and insert the bleed block into the caliper to hold the pistons in place. Remove the bleed port screws on the caliper and the lever.
Step 3
Connect the syringes
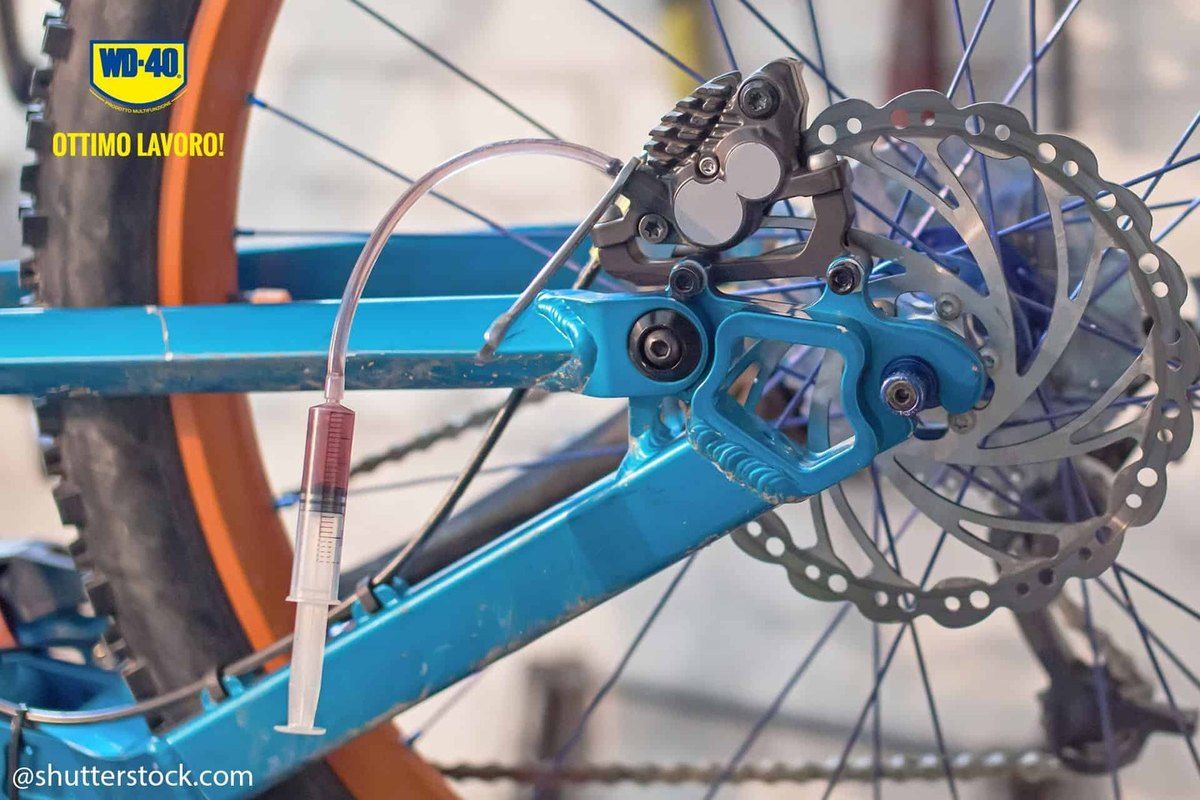
Screw the empty syringe without its plunger, or the cup from the kit, onto the lever bleed port. Fill the other syringe three-quarters with fresh fluid, push out any air and screw it onto the caliper bleed port.
Step 4
Replace the fluid
Open the caliper bleed valve about a quarter turn and slowly push the plunger of the lower syringe. New fluid enters the circuit from below and the old fluid exits through the lever into the upper syringe or cup, which you keep upright.
Carry on until clean fluid with no bubbles appears in the upper container.
Step 5
Remove the air
While pushing fluid through and at the end, gently tap the hose to help bubbles rise. Even more effective: first pull back slightly on the lower syringe plunger. The vacuum draws air out of the circuit and it floats up into the syringe.
Step 6
Close the circuit
Once the old fluid has been fully replaced, pinch the upper syringe hose with a clamp, remove it and refit the lever screw. Close the caliper valve, remove the lower syringe and refit its screw.
Work over paper towels so no fluid lands on the bike.
Step 7
Reassemble and clean the bike
Remove the bleed block, fit the pads and secure them with the cross pin. Refit the wheel and return the lever to its riding position. Squeeze the lever several times and test the brakes standing still and then rolling slowly.
Remove any drops of fluid from the frame with WD-40 Specialist Bike Degreaser and a clean rag, staying clear of the rotor. After washing, protect lever and shifter clamp bolts with WD-40 Multi-Use applied precisely to the threads.
Tip: If a drop of fluid gets on the pads, cleaning will not save them: simply fit new ones. That is why it pays to keep the pads in a clean bag away from the work area while bleeding.
What next
Bleed your brakes once a year, or more often if you ride a lot in the mountains or the lever feels spongy. Between bleeds, check pad thickness and rotor condition, and give the lever pivots a drop of WD-40 Multi-Use.
These uses come from the experience of WD-40 users in many countries. Always follow the instructions and warnings on the product label.
More guides in «How to use».