A petrol mower is powerful and free of a power cord, which makes it the choice for large lawns and slopes. It also has a lot of mechanisms: the engine, carburettor, control cables and, on self-propelled models, the wheel drive. Without regular care they clog with grass and dust and start to rust.
Most checks are easy to do yourself. Follow the manufacturer's instructions and use only the recommended spare parts and consumables.
What you will need
Important: Always work on a switched-off, cool mower with the spark plug cap removed. Only tilt the mower with the carburettor and air filter facing up, otherwise fuel and oil will soak the filter.
Step 1
Check the air filter
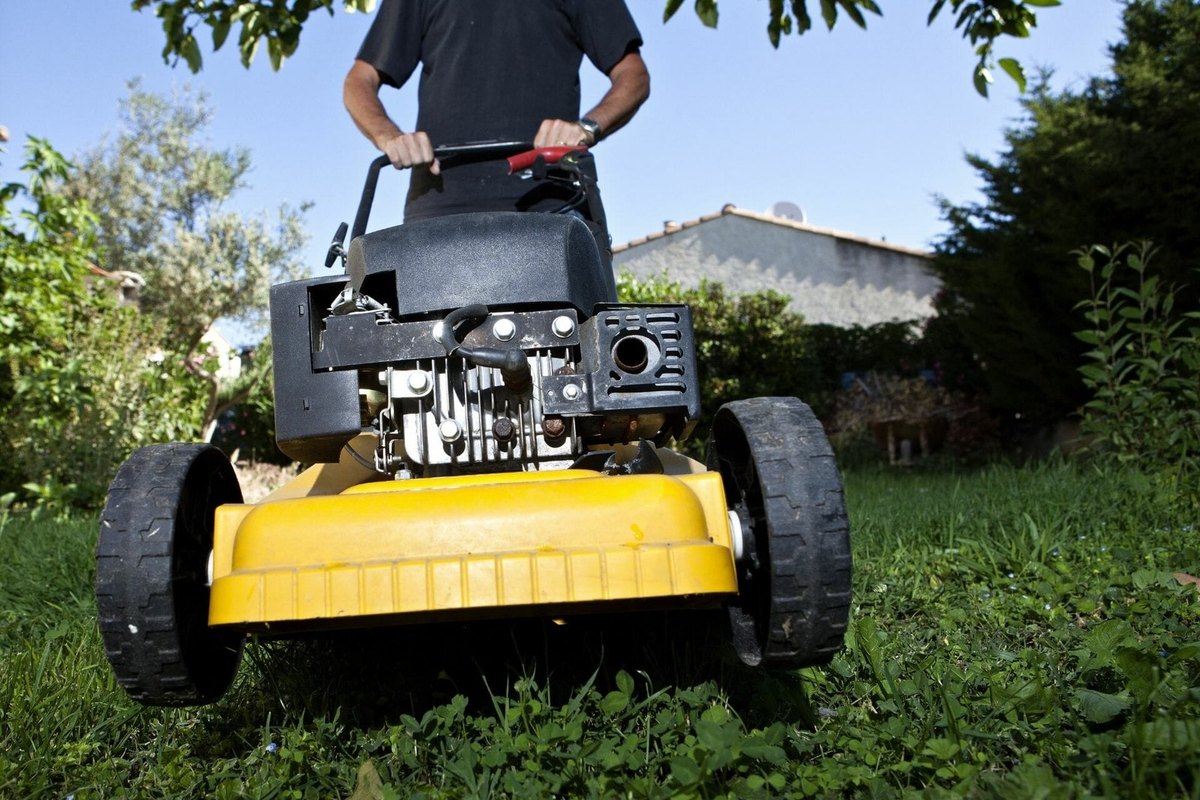
The filter keeps out the dust and grass thrown up while mowing. It usually sits on top of the engine under a plastic or metal cover held by a screw or clips.
Foam filters can be washed, paper ones can only be blown out from the inside or replaced, and hybrid filters have both elements. A clogged filter costs power and increases fuel use.
Step 2
Clean the carburettor
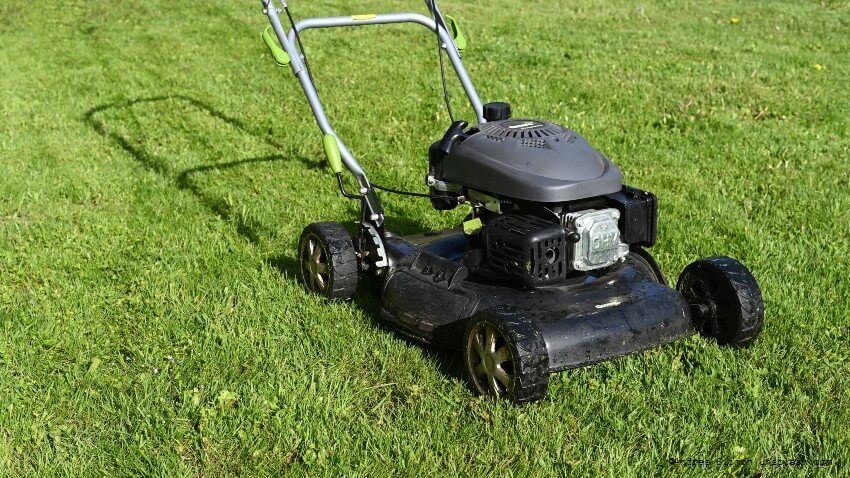
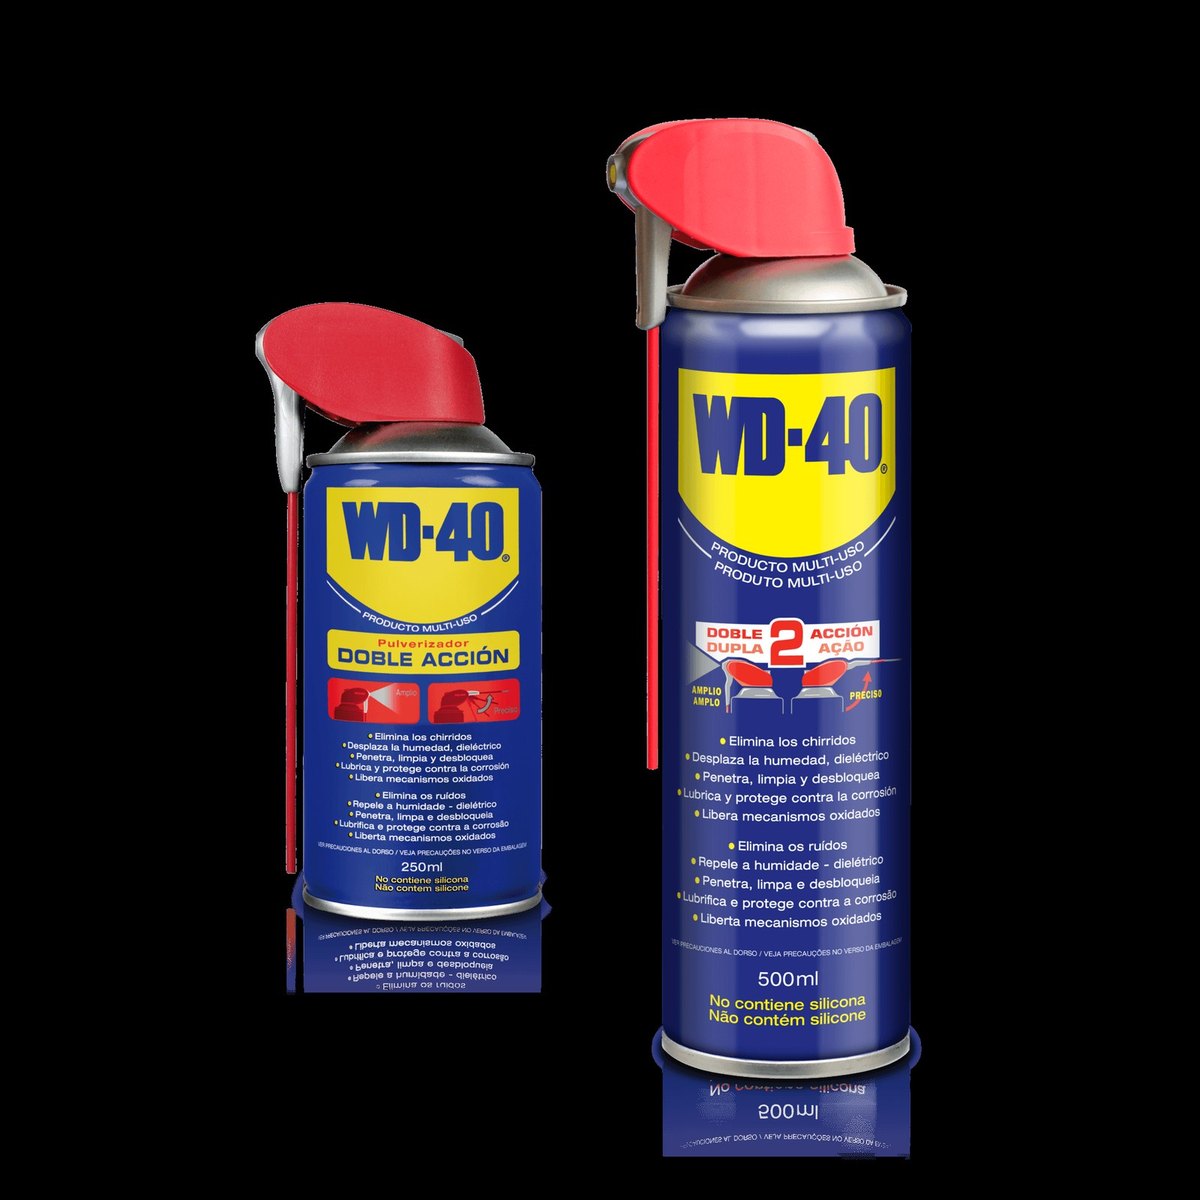
If the engine starts badly or stalls, clogged jets are a common cause. Carefully unscrew them, soak them with WD-40 Smart Straw through the thin straw to soften deposits, clear them with a small brush and blow through with compressed air.
Step 3
Check the oil level
Pull out the dipstick, wipe it, reinsert it and pull it out again. The level should be between the marks, ideally near the top one. Top up with garden machinery oil of the viscosity the manufacturer specifies.
Change the oil completely at least once a year, preferably in autumn. Drain the fuel or run it dry before winter.
Step 4
Set the cutting height
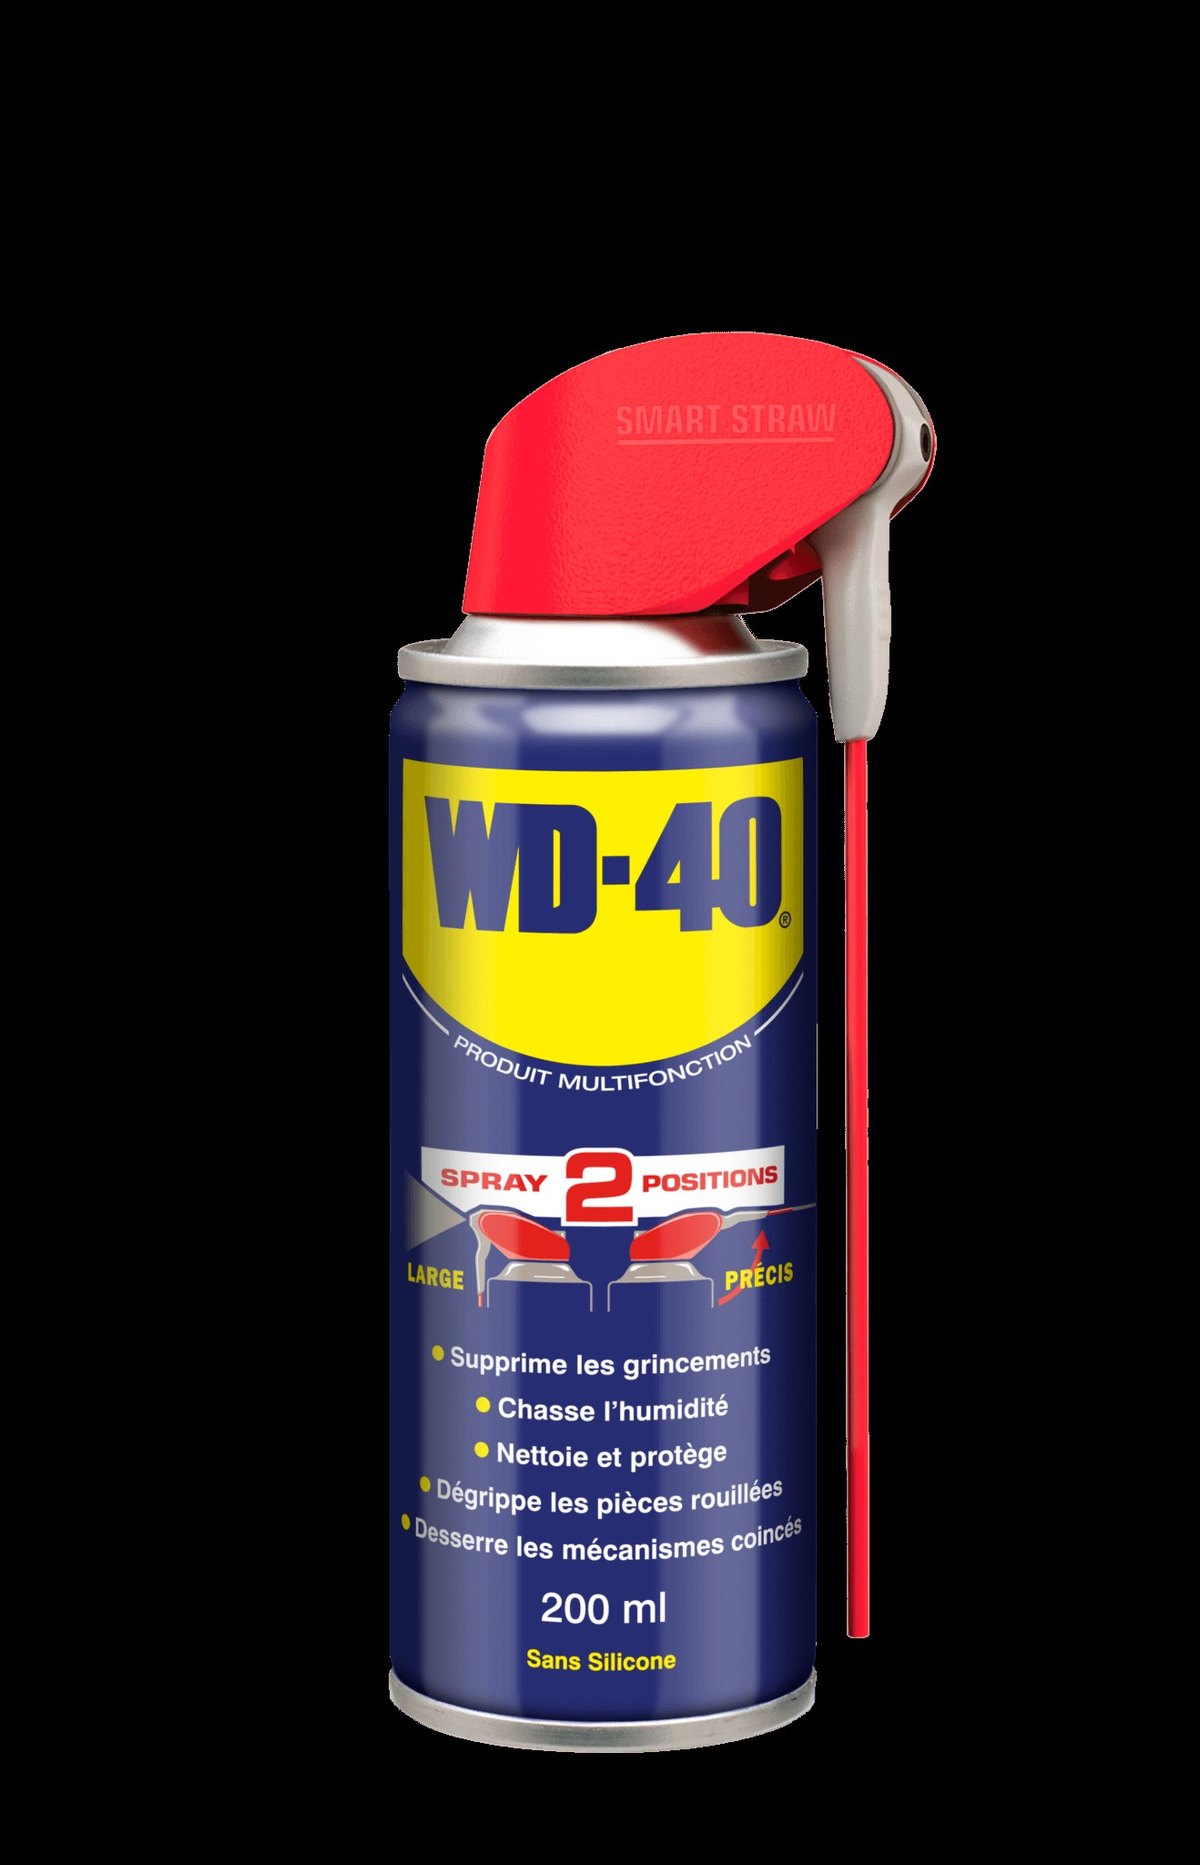
The height lever is usually near a rear wheel and offers several fixed positions. Clear grass out of the lifting mechanism and spray it with WD-40 Multi-Use so it moves freely.
Do not drop to the lowest setting early in spring: grass is weak after winter and cutting it too short damages it.
Step 5
Lubricate the controls and wheels
The engine stop lever on the handle, and the drive lever on self-propelled models, work through steel cables. After cleaning, treat the pivots and cables with WD-40 Smart Straw and work the levers a few times to spread it.
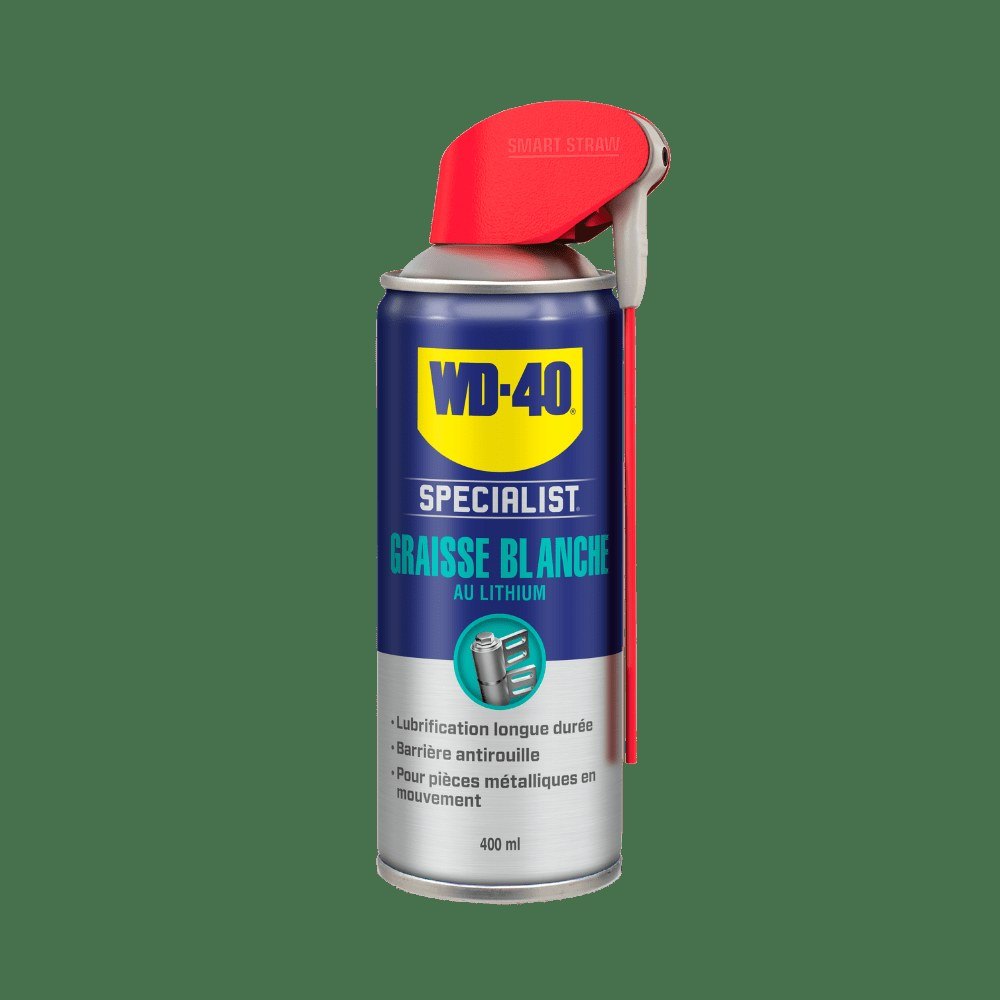
Clean mud, stones and grass off the wheels and axles after every mow. Once a season, grease the hubs with WD-40 Specialist White Lithium Grease, which is thick and resists being washed off.
Step 6
Inspect the blade and clean the deck
The blade takes the most punishment, so check it before every mow. Remove a bent or chipped blade by undoing the centre bolt and sharpen it at the original angle. If you lack the right grinder, have it done at a workshop.
Scrape grass from under the deck and rinse with a hose. Once dry, spray the blade, the inside of the deck and exposed engine metal with WD-40 Multi-Use against corrosion.
Tip: Before winter, spray
WD-40 Multi-Use on all metal parts and store the mower somewhere dry. It will start more easily in spring and the blade and deck will stay free of rust.
What next
Clean the deck and wheels after every mow, check the filter, cables and blade monthly and change the oil every year. It will then last for years.
These uses come from the experience of WD-40 users in many countries. Always follow the instructions and warnings on the product label.
More guides in «How to use».