A brush cutter or strimmer, petrol or electric, spins a head at the end of a long shaft. The head takes a nylon line spool, a pair of cord pieces or a metal blade for weeds, brambles and scrub. A plastic guard stops stones from being thrown.
Grass, sap and soil stick to the tool every time, and built up dirt is a common reason the engine will not start. Maintenance needs no special skills, but it should be done regularly, before and after use.
What you will need
Important: Service the cutter only with the engine off and cool, the spark plug cap removed or the battery taken out. A metal blade is sharp, so wear gloves.
Step 1
Clean after every job
As soon as you finish cutting, remove grass and soil stuck to the guard, head and shaft. Dried dirt is much harder to shift, and dirt packed around the engine hampers cooling and starting.

Step 2
Loosen stubborn dirt
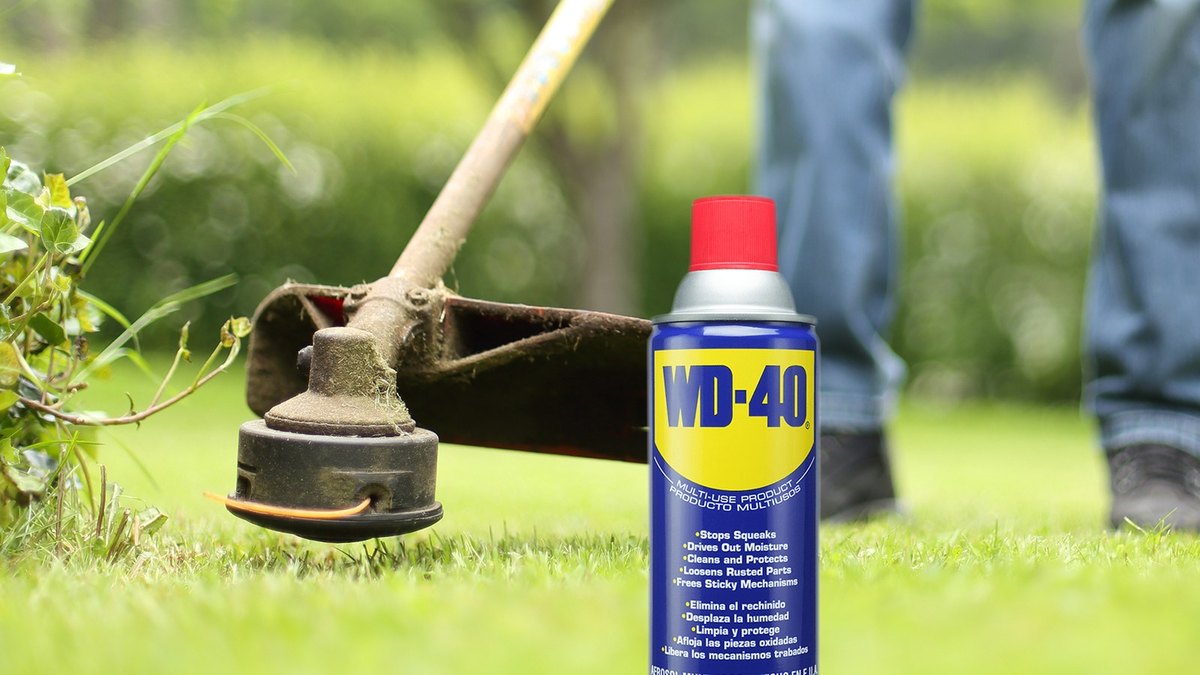
Spray WD-40 Multi-Use on dirty areas, leave it for a few minutes and wipe the grime away, using a brush for caked deposits. Clean the outside of the spark plug the same way. If you washed the tool with water, blow it dry with compressed air before putting it away.
Step 3
Grease the gear head and flexible shaft
The hardest working parts of the drive are the bevel gearbox in the head and the flexible steel cable inside the shaft. The gearbox usually has a plug screw: remove it and fill the cavity with the grease the manufacturer recommends. If you have none to hand, WD-40 Specialist White Lithium Grease reduces friction and wear.
The flexible cable comes out once you undo the screw or ring nut at the shaft clamp. Pull it out and grease it with the same product.
Step 4
Check the spool, cord and blade
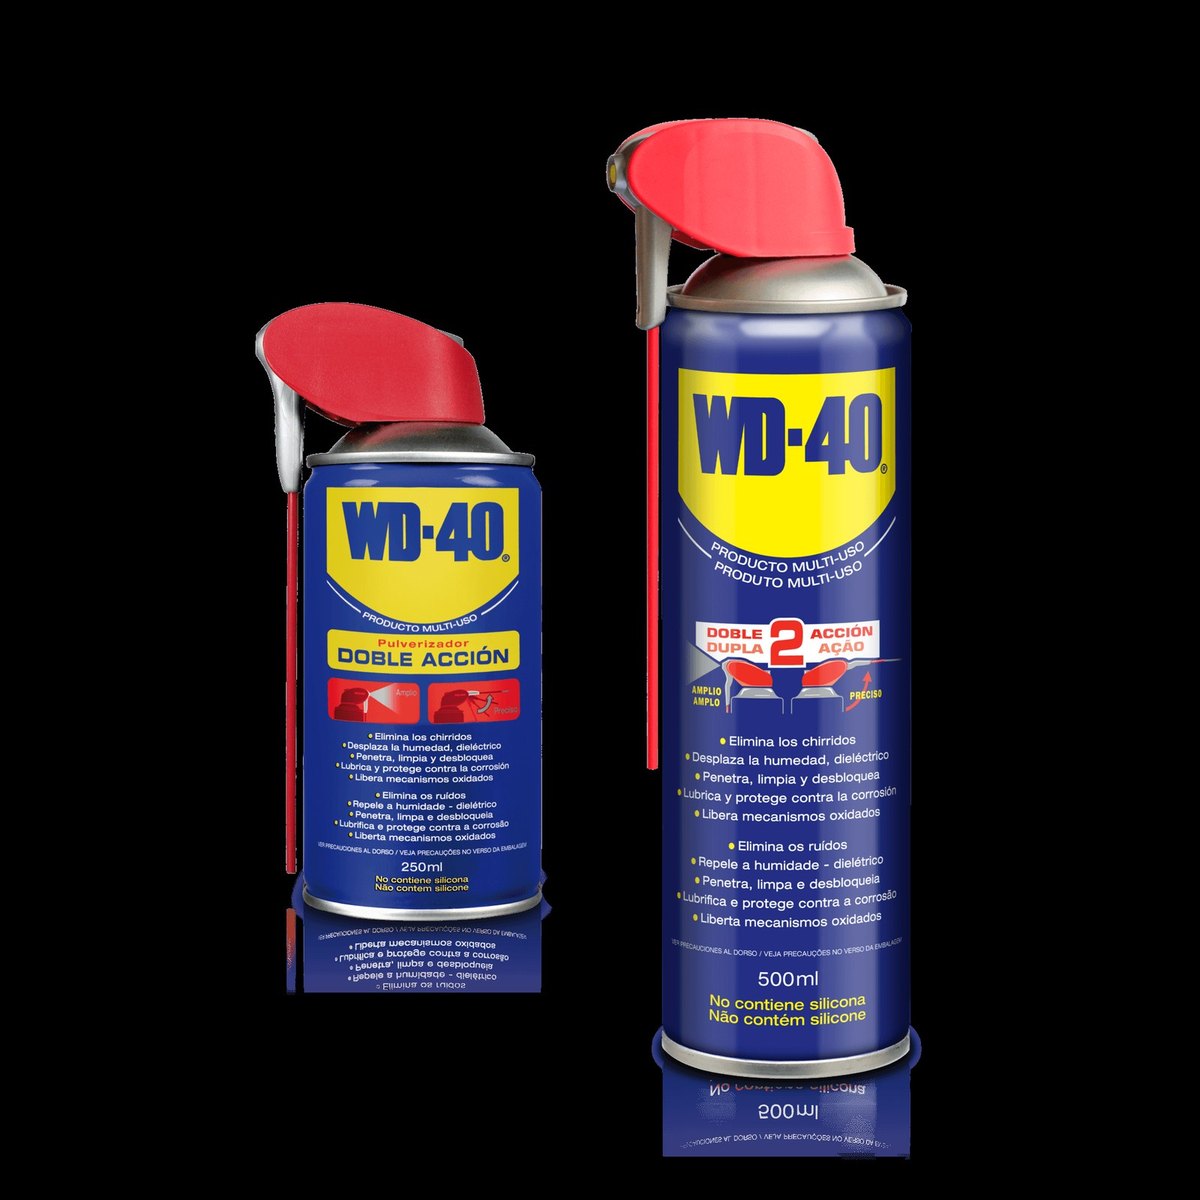
Clean the part protruding from the gearbox thoroughly and treat it with WD-40 Multi-Use. Replace a worn spool or one that has run out of line. On a head with two cord pieces, undo the screw, treat it with WD-40 Smart Straw, fit new pieces and tighten.
Inspect the blade for bends and chips. Touch up the edge with a file, keeping the original shape, and replace a badly distorted blade.

Step 5
Service the engine
Blow out the air filter with compressed air and replace it if it is cracked or soaked with fuel. Remove the spark plug, clean it with a brass brush and check the electrode gap with a feeler gauge. Worn electrodes mean it is time for a new plug.
Step 6
Controls and storage
Treat the switch, throttle trigger and safety lever with WD-40 Multi-Use, along with all joints and fasteners. Keep the shoulder harness clean, and periodically open, clean and inspect the housing for cracks.
Before winter, drain the tank and let the engine run until it stops, so the fuel mix does not gum up the carburettor. Store the cutter indoors in a dry place.
Tip: Keep a pot of cut line pieces and a can of WD-40 in the car or at the allotment. Treating screws and fasteners every few cuts means nothing seizes when you need to change a blade or spool in a hurry.
What next
Clean after every cut, and grease the gearbox and check the filter and plug at least once a season. Always follow the manufacturer's manual for your model.
These uses come from the experience of WD-40 users in many countries. Always follow the instructions and warnings on the product label.
More guides in «How to use».