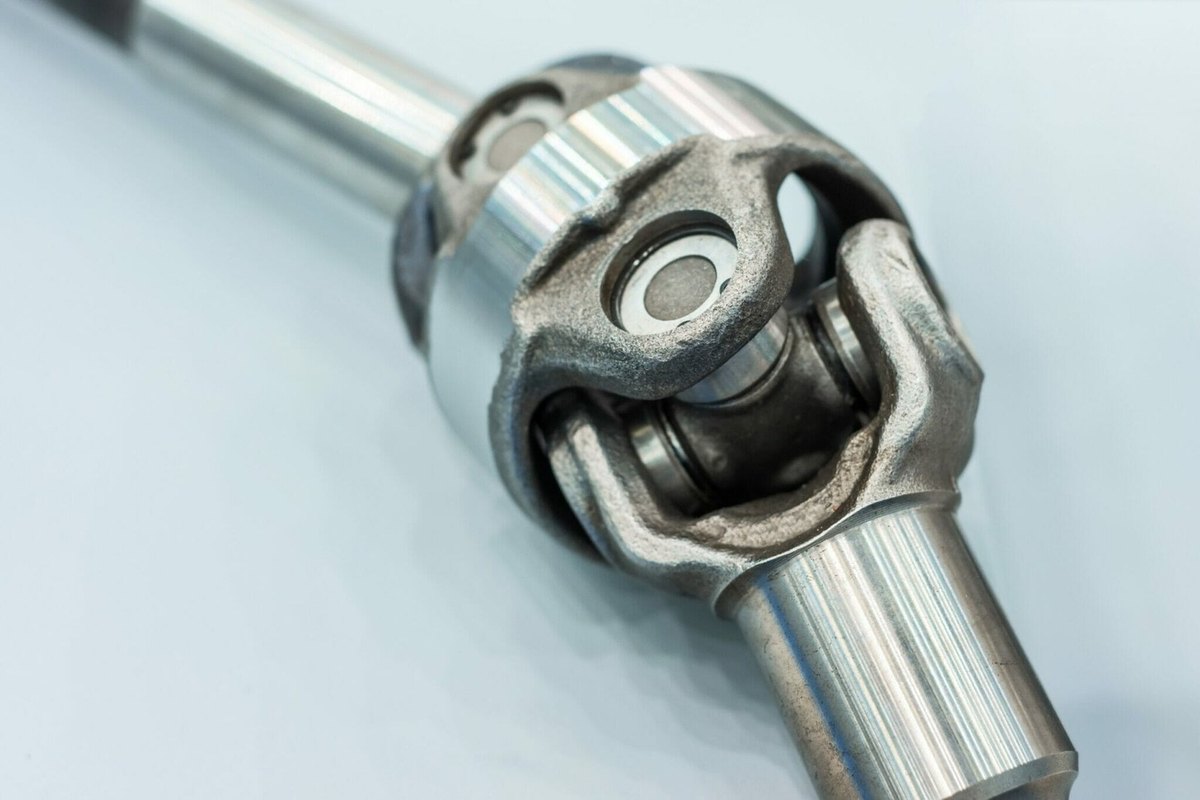
A universal joint transmits rotation between two shafts set at an angle with almost no loss of power. It is used in vehicle propshafts, tractor PTO shafts and many machines. It is very robust, but under prolonged load, mud and winter road salt the spider and its needle bearings wear first.
The first warning signs are a persistent squeak, which means the bearing cups have lost their grease, and knocks or vibration when the spider rattles in the yoke. Even slight play can eventually destroy not just the joint but the whole shaft, so regular inspection is worthwhile.
What you will need
Important: Work only with the engine off, a gear engaged and the handbrake on, the wheels chocked and the vehicle securely on axle stands, never on a jack alone. Before removal, mark the position of the shaft relative to the flanges with paint to preserve the balance. Keep products away from brake discs and hoses.
Step 1
Clean the joint and remove the shaft
To reach the spider, the shaft (telescopic or fixed) almost always has to come off the machine; how you do this depends on the vehicle. Dirt, old grease and grit build up on the spiders and yokes, so first clean the assembly with a brush and water.
Shift the remaining greasy dirt from the crevices with the WD-40 Smart Straw, aiming a fine jet into the gaps between the yoke and the cups, then wipe. Spray seized flange bolts with WD-40 Specialist Penetrant and wait a few minutes.
Step 2
Remove the spider
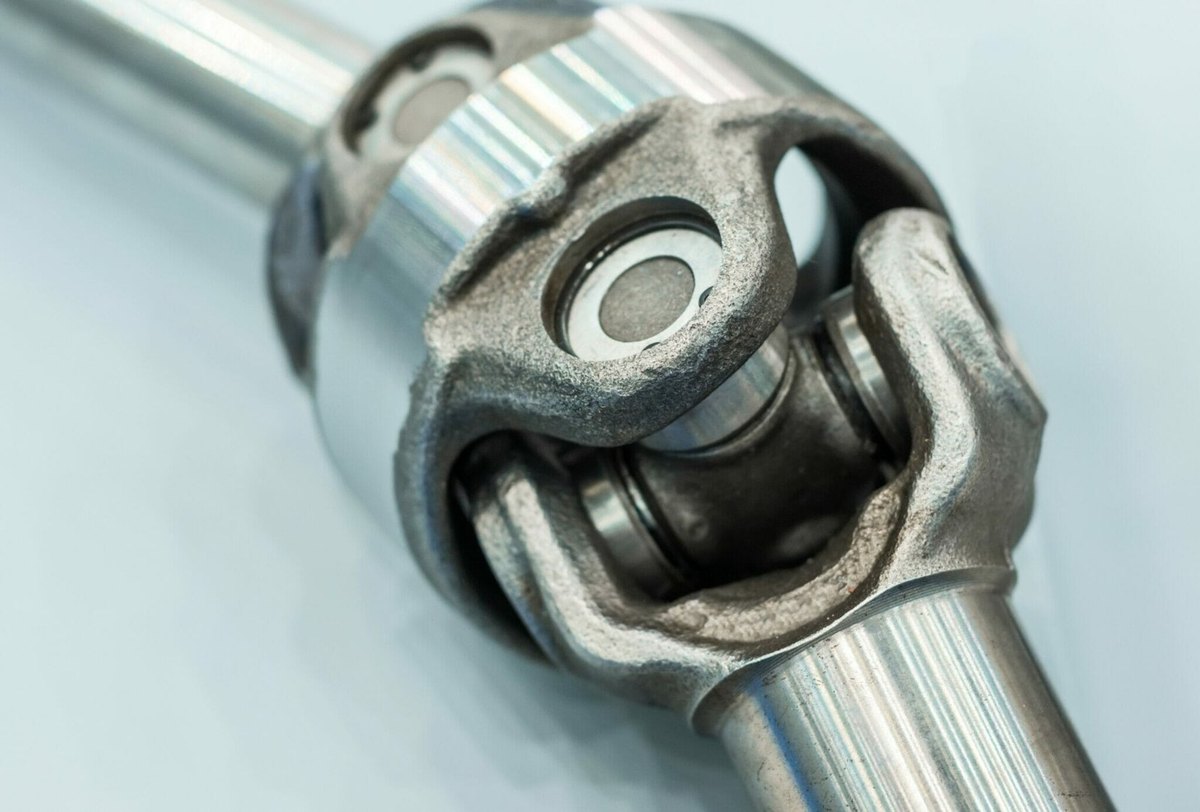
Support the shaft securely. Avoid a vice, which can distort the tube, especially on telescopic shafts. Remove the four circlips holding the bearing cups. If the circlips and cups are seized, treat them with WD-40 Specialist Penetrant.
Fit the press over one arm of the spider and turn the screw until the cup on the opposite side is pushed out of the yoke. Pull it out by hand, taking care not to spill or lose the needle rollers. Repeat on the other side and lift the spider out.
Step 3
Inspect, grease or replace the spider
Examine the spider trunnions and cups carefully: distortion, wear grooves, missing or discoloured needles mean the spider must be replaced.
If all is well, fill the cups with universal joint grease. Fit the spider without its cups into the yoke eyes, then place the cups from the outside and press them home with the tool. A thin film of WD-40 Multi-Use on the outside of the cups makes pressing easier. Refit all four circlips fully into their grooves.
Step 4
Check the shaft and reassemble
Shafts, especially telescopic ones, can bend if the joint seizes or if the angle between the PTO and the driven machine is too steep. Check the tube for bends and dents, and replace a distorted shaft with one of identical specification.
Refit the shaft using your marks, tighten the fixings and, if the spider has a grease nipple, pump in grease until fresh grease appears at the seals.
Tip: On vehicles used in mud or on salted roads, rock the propshaft by hand at every oil change. A noticeable knock or movement means the spider needs attention before the whole shaft suffers.
What next
Grease spiders with nipples at the intervals the manufacturer specifies, and never put off an inspection when you hear squeaks or knocks. Keep WD-40 Specialist Penetrant handy for seized chassis fixings and WD-40 Multi-Use to protect metal from moisture.
These uses come from the experience of WD-40 users in many countries. Always follow the instructions and warnings on the product label.
More guides in «How to use».