Regular washing preserves more than your car's looks. Sand, bird droppings, tree sap and winter road salt slowly eat into the lacquer and open the way to rust. Washing is also the best moment to spot fresh stone chips and the first rust spots.
Washing your car yourself is perfectly doable if you follow the right order and do not skimp on car shampoo. Here is the process from pre-wash to protecting metal and rubber.
What you will need
- pressure washer, hose or watering can
- car shampoo and a soft wash mitt
- bug sponge, microfibre cloths, chamois for drying
- polish (optional) and wax with an applicator
- glass cleaner
- WD-40 Multi-Use for rust protection and sticker removal
- WD-40 Specialist Silicone for rubber seals
- gloves
Important: Never wash a car with washing-up liquid: it strips the protective wax from the paint. Keep WD-40 and silicone off tyres, brake discs and pads, and off the windscreen: you lose grip, and the glass smears. Wash in the shade on a cool body.
Step 1
Pre-wash
Rinse off loose dirt, leaves and sand. Keep a pressure washer at least 30 cm from the bodywork so you do not damage the paint or lift decals. Pay extra attention to wheel arches and sills, where winter salt builds up and causes corrosion fastest.
Step 2
Remove droppings and insects
Bird droppings and insect remains attack the paint, so remove them as soon as possible. Apply a suitable cleaner, let it soak for a few minutes and lift the residue gently with a bug sponge, without hard rubbing.
Step 3
Shampoo the bodywork
Apply car shampoo with the mitt, working from top to bottom: roof, glass, bonnet, sides, and sills and bumpers last. Rinse off the foam with water. Do not forget the wheels, and clear leaves from the drain holes below the windscreen near the wipers: blocked drains let water into the cabin.
Step 4
Dry the car
Wipe the body with a chamois or large microfibre towel before the water dries on its own and leaves marks. Open the doors, bonnet and boot and wipe the shut lines. Lower the windows and wipe the top edge of the glass.
Step 5
Polish and wax
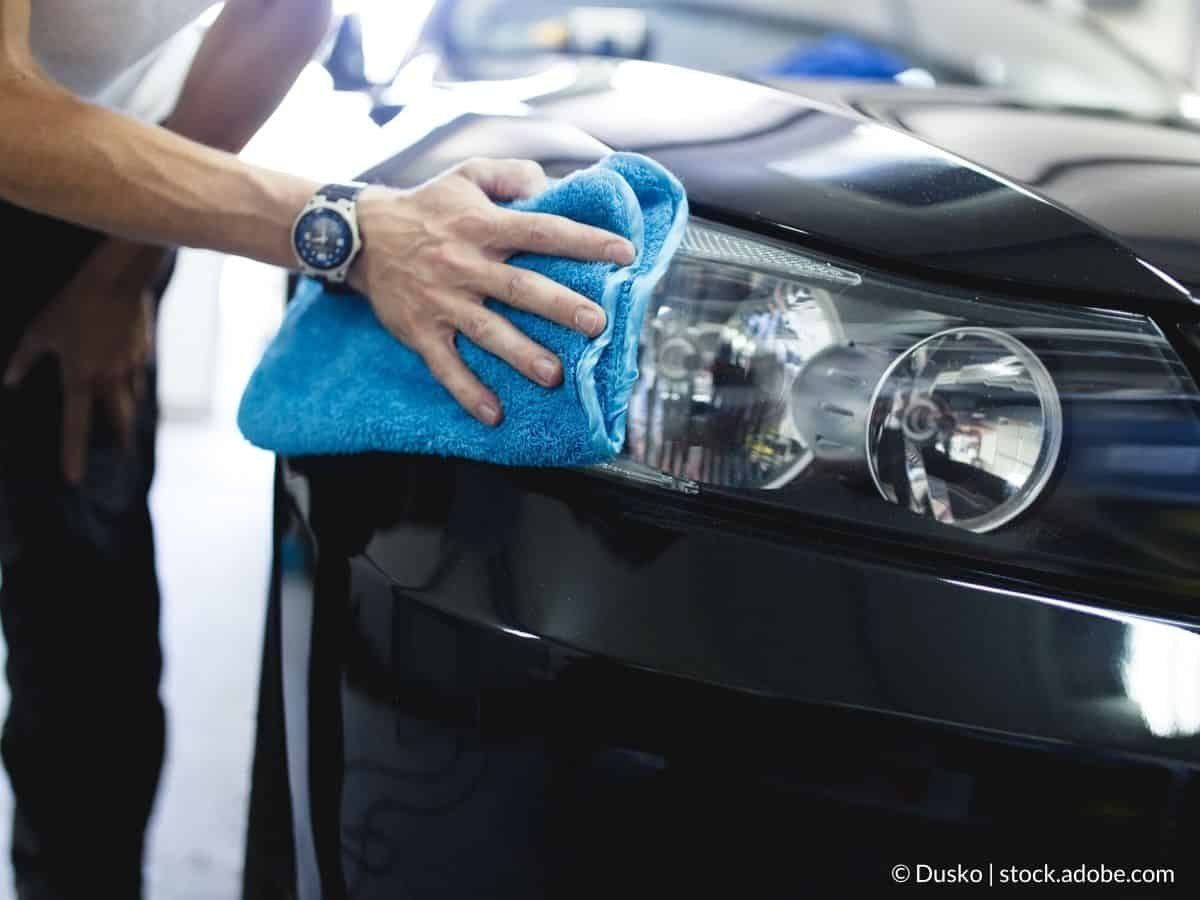
Polish (optional) removes fine scratches: put a little on a pad and work it in until no streaks remain. Wax protects the paint against UV, droppings and road salt: apply a thin layer in circles with an applicator and buff off once it hazes. Finish the glass with glass cleaner.
Step 6
Protect metal and rubber
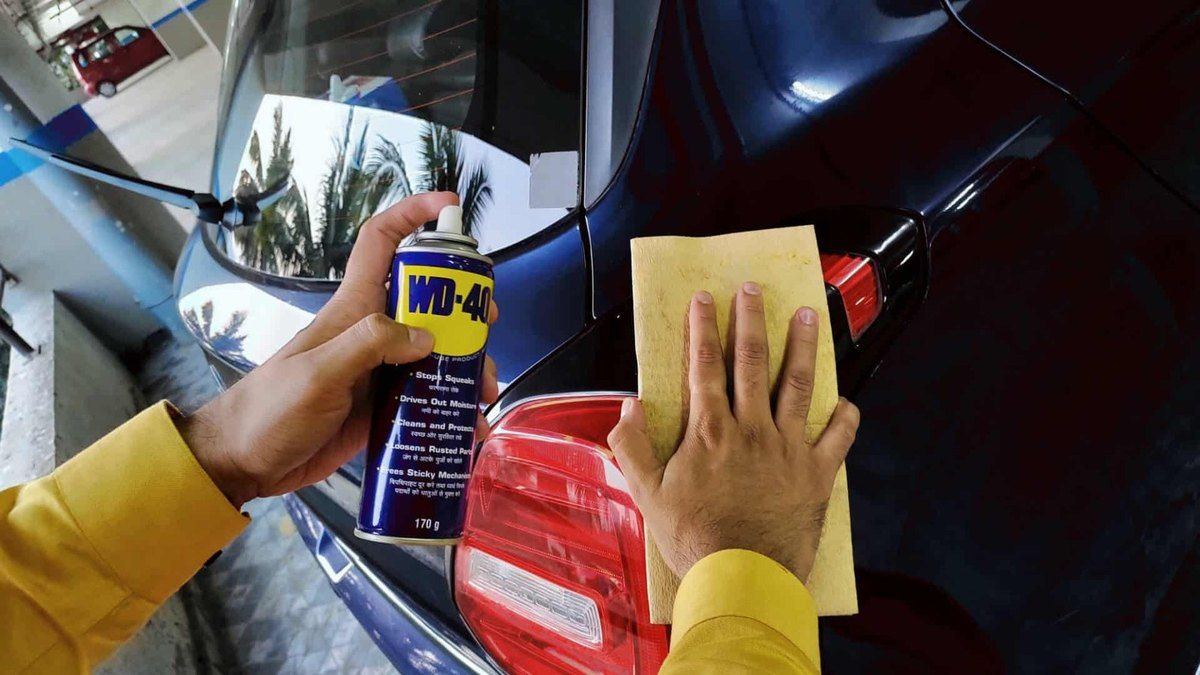
Inspect the sills, wheel arches, number plate fixings and hinges. Spray a little WD-40 Multi-Use on exposed metal parts, hinges, locks and bolts: it displaces moisture and protects against rust. WD-40 Smart Straw makes precise application easy. Keep a rag handy and wipe away drips.
Treat the rubber seals on the doors and boot with WD-40 Specialist Silicone so they do not dry out, crack or freeze shut in winter. Sticker glue on the body or side windows softens with WD-40 Multi-Use, after which the sticker comes off easily with a plastic scraper.
Tip: Use two buckets: one with shampoo and one with clean water to rinse the mitt. This keeps grit off the bodywork and stops it scratching the paint.
What next
Wash the car every 1-2 weeks and, in winter, rinse at least the sills and arches after every spell of salted roads. Refresh the wax every 2-3 months and treat the seals with silicone in autumn before the frosts. Engine bays and underbodies are best washed with professional equipment, while small jobs on hinges and locks are covered by WD-40 Multi-Use.
These uses come from the experience of WD-40 users in many countries. Always follow the instructions and warnings on the product label.
More guides in «How to use».