Brake levers matter for both safety and comfort. A lever set too far away or at an awkward angle forces you to bend your wrists, your hands tire faster and in a critical moment you brake later than you should.
You can fit levers yourself in half an hour. The key is choosing the right model and finding a natural hand position.
What you will need
Important: Do not put lubricant on the handlebar where the lever clamp sits or under the grips, as the lever or grip may then slip. Keep products away from the rotor and pads. Always test the brakes before riding after fitting.
Step 1
Identify your brake type
First establish what brakes the bike has: V-brakes, caliper rim brakes, mechanical discs or hydraulic discs. This decides which lever is compatible, because V-brake and caliper brake levers pull different amounts of cable. If unsure, ask a bike shop.
Step 2
Remove the grips and old levers
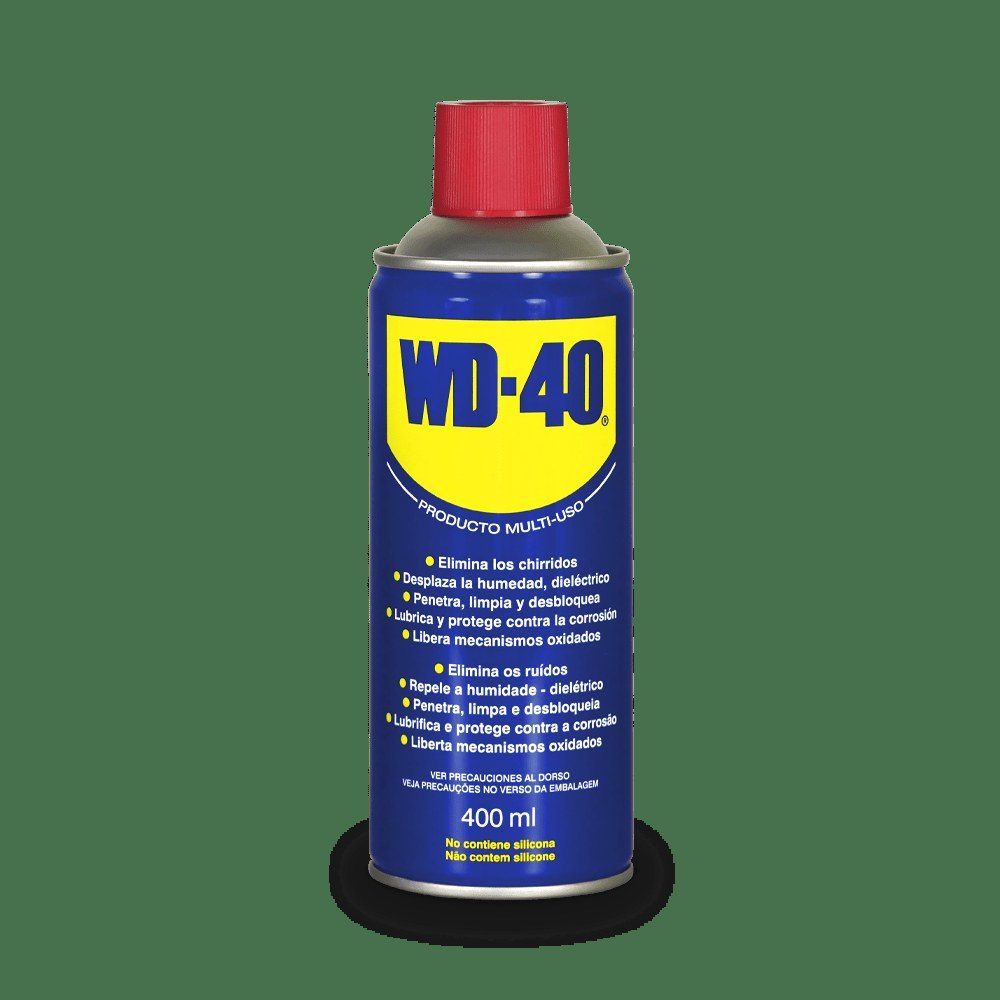
Take off the grips to free up the bar. Tight grips slide off easily if you lift the edge and spray a little WD-40 Multi-Use underneath. Disconnect the cable, undo the old lever clamp and remove it.
Before fitting new parts, degrease the handlebar with WD-40 Specialist Contact Cleaner: it evaporates quickly and leaves no film, so the new grips and clamps will hold securely.
Step 3
Find a natural hand position
Sit on the bike and rest your hands on the bar comfortably, with no strain in your wrists. The levers should feel like an extension of your fingers: most people brake with one or two fingers, so the blade should fall right under them.
Set the lever angle so that your hand and forearm form a straight line in your usual riding position.
Step 4
Fit the levers at the right distance
Slide the levers onto the bar and set the distance from the bar end so your fingers sit at the tip of the blade. Refit the grips. If the lever has a reach adjuster, set it to suit your hand.
Put a drop of WD-40 Multi-Use on the clamp bolt thread, not on the bar, and tighten to the recommended torque. The lever must not rotate under hard braking, but in a crash it is better if it can shift slightly rather than snap.
Step 5
Connect the brakes and test
Connect the cable or hydraulic line according to the brake instructions and adjust the tension so the pads bite before the lever touches the bar. Test the brakes while stationary, then ride a few slow laps and check that your position feels comfortable.
Tip: After your first ride, check the lever position again: you will often want to change the angle slightly. Adjusting by a few degrees takes a minute, but on a long ride the difference is noticeable.
What next
Once a season, put a drop of WD-40 Multi-Use on the lever pivots so they return smoothly, and check that the clamps are tight. After winter storage, inspect the levers and cables before your first ride.
These uses come from the experience of WD-40 users in many countries. Always follow the instructions and warnings on the product label.
More guides in «How to use».