Worn motorcycle pads show themselves in several ways: stopping distances get longer, lever or pedal travel increases, and the fluid level in the reservoir slowly drops as the pistons extend further. If the friction material is visible, check it by eye too.
On some motocross bikes the pads can be changed without removing the caliper, but usually, especially at the rear, the caliper has to come off. Details vary between models, so keep your bike's service manual to hand.
What you will need
Important: Lubricant or WD-40 on the pads or disc drastically reduces braking performance. Spray products only precisely onto bolts and pins with the disc covered by a rag, and always finish by cleaning the disc with brake cleaner.
Step 1
Clean the brakes thoroughly
Put the bike on a stand in a well-lit spot. Before dismantling, wash the caliper and disc so that no sand, dirt or grease gets inside. After riding on salted roads this matters even more.
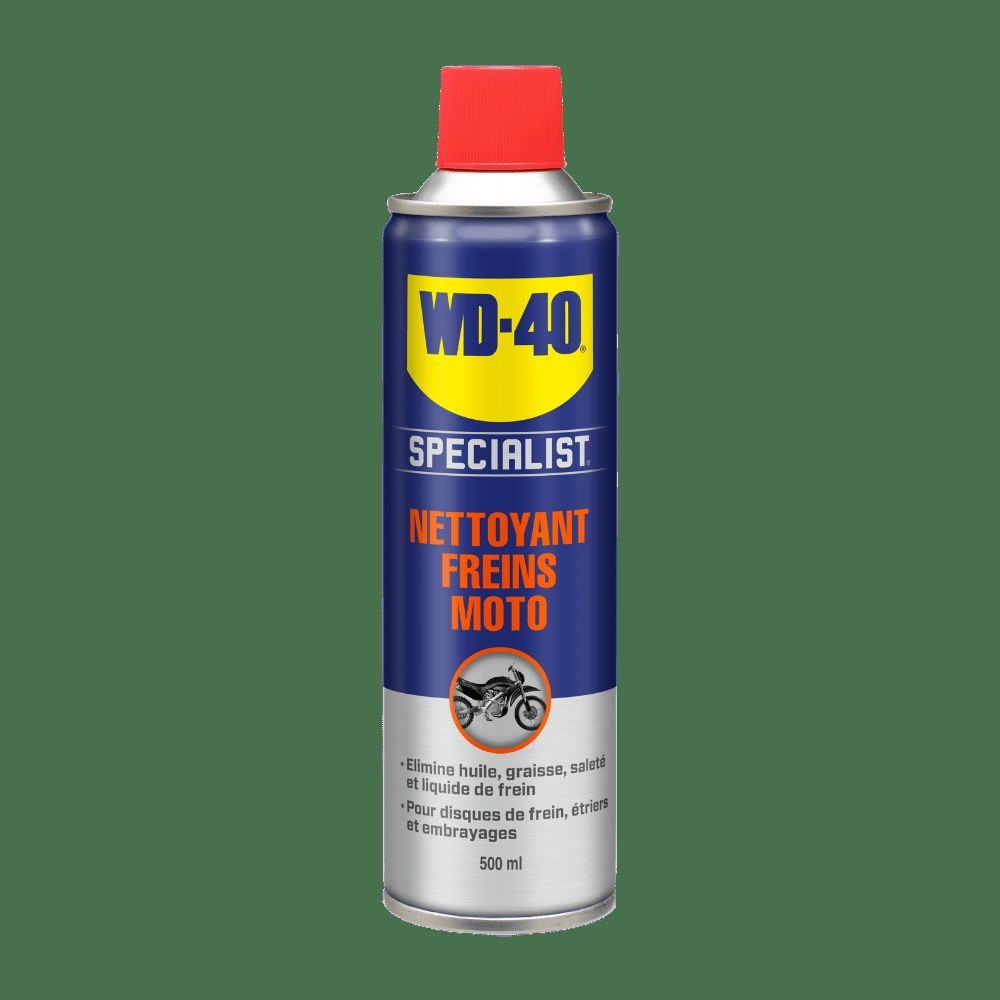
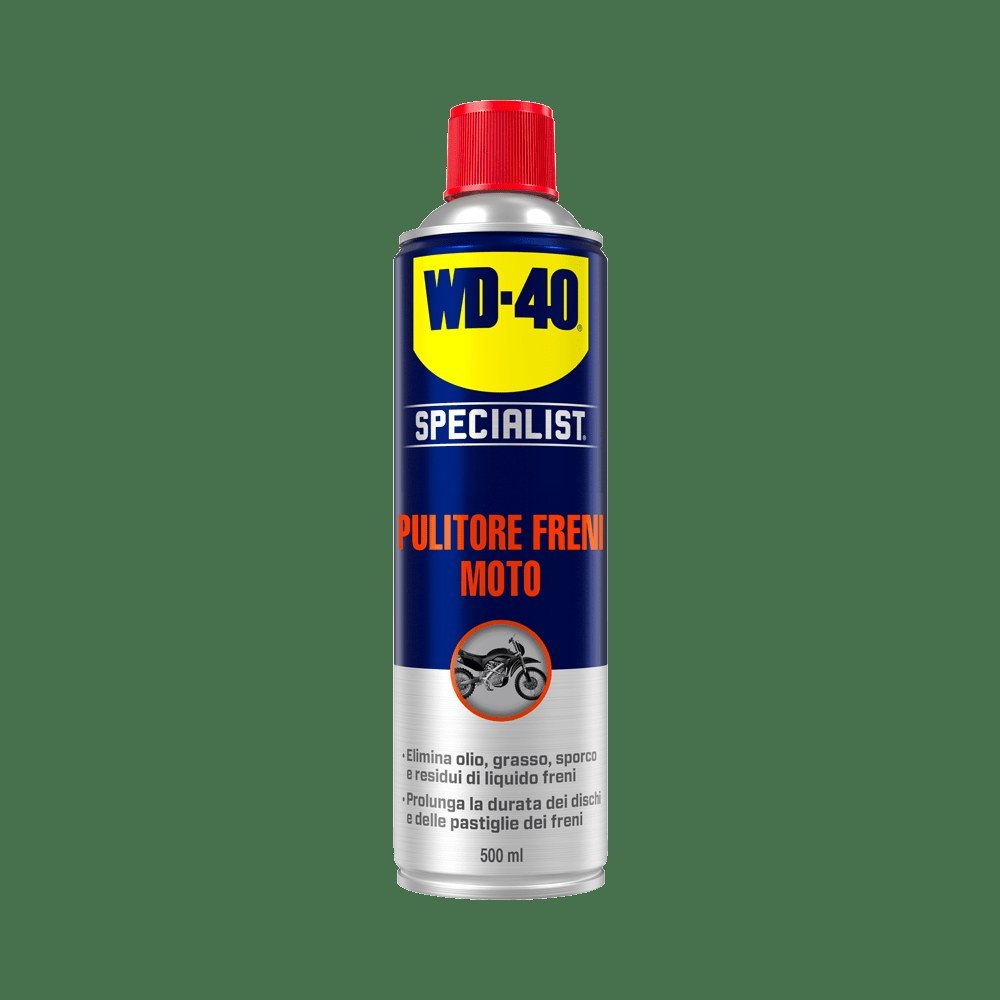
Then treat the caliper and disc with brake cleaner: it removes dust, dirt and fluid residue and dries in a few minutes without leaving a film.
Step 2
Undo the caliper
The caliper is bolted to the fork or swingarm. If the bolts are seized, apply WD-40 Specialist Penetrant precisely to the thread, leave it for a few minutes and undo them with the correct spanner. Wipe away any residue with a rag dampened with brake cleaner.
Step 3
Remove the old pads
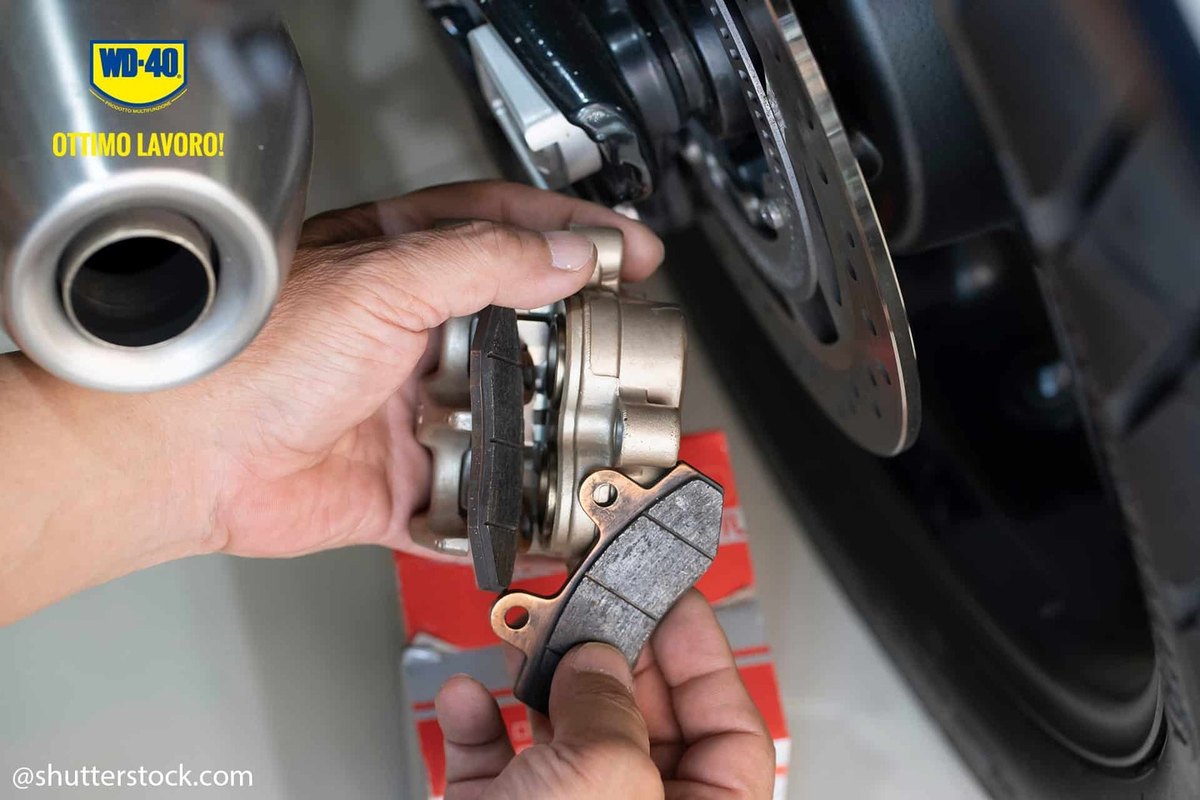
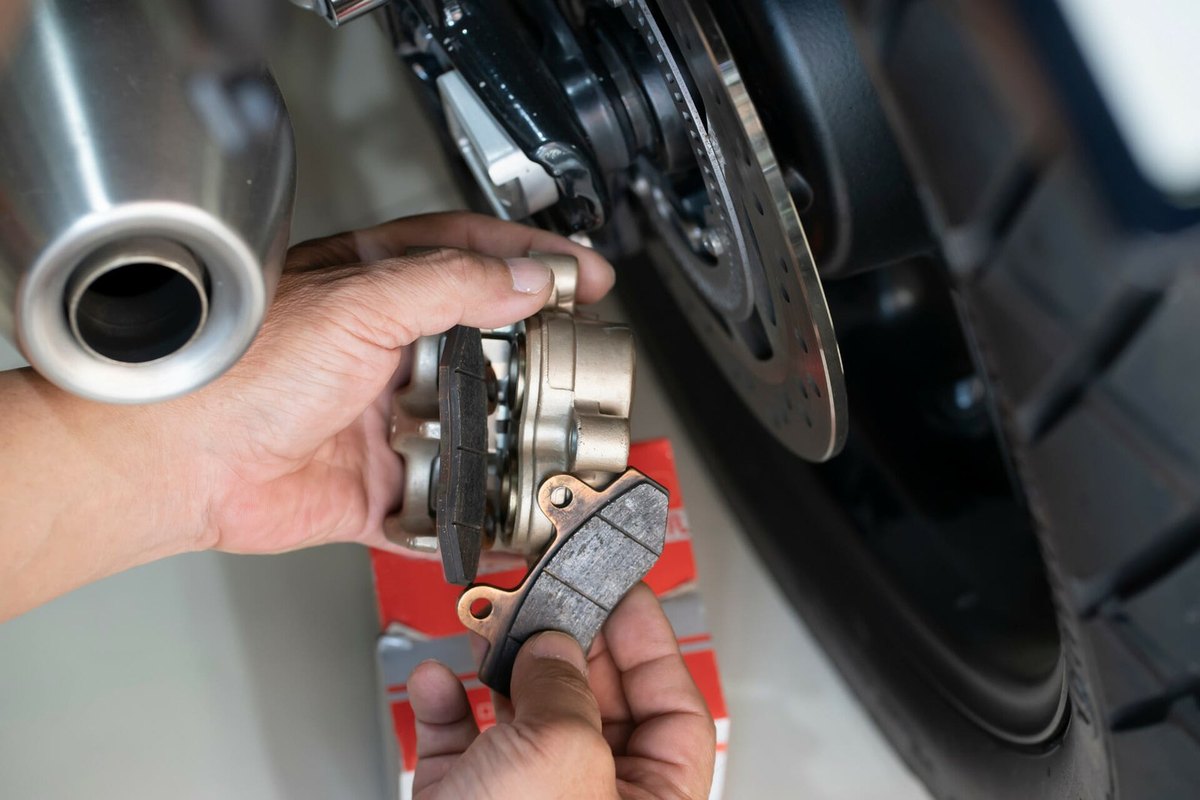
Lift the caliper off the disc. If the pads grip the disc tightly, gently ease them apart towards the pistons. Never lever against the disc, as you could score it.
The pads are held by a pin, sometimes secured with a split pin. Remove it and take out the pads. Clean a rusty, dirty pin with WD-40 Multi-Use and a brush, then wipe it dry. Treat the inside of the caliper with brake cleaner.
Step 4
Fit the new pads
Insert the new pads into the caliper so the pin holes line up with the holes in the body. Push the pin through the caliper and pads, put one drop of thread locker on the thread, no more, and tighten it.
Step 5
Refit the caliper
Slide the caliper over the disc so the disc sits exactly in the middle between the pads. Fit the mounting bolts with a drop of thread locker. The tightening torque is in the service manual, so use a torque wrench.
If the caliper had a protective cover, refit it.
Step 6
Check the brakes work properly
Pump the lever or pedal several times until the pads meet the disc. Check that the reservoir level is back to normal. Spin the wheel by hand: the pads must not touch the disc while the brake is released.
Finally, wipe the disc with brake cleaner. New pads brake less sharply until they bed in, so make gentle stops at moderate speed for the first few kilometres.
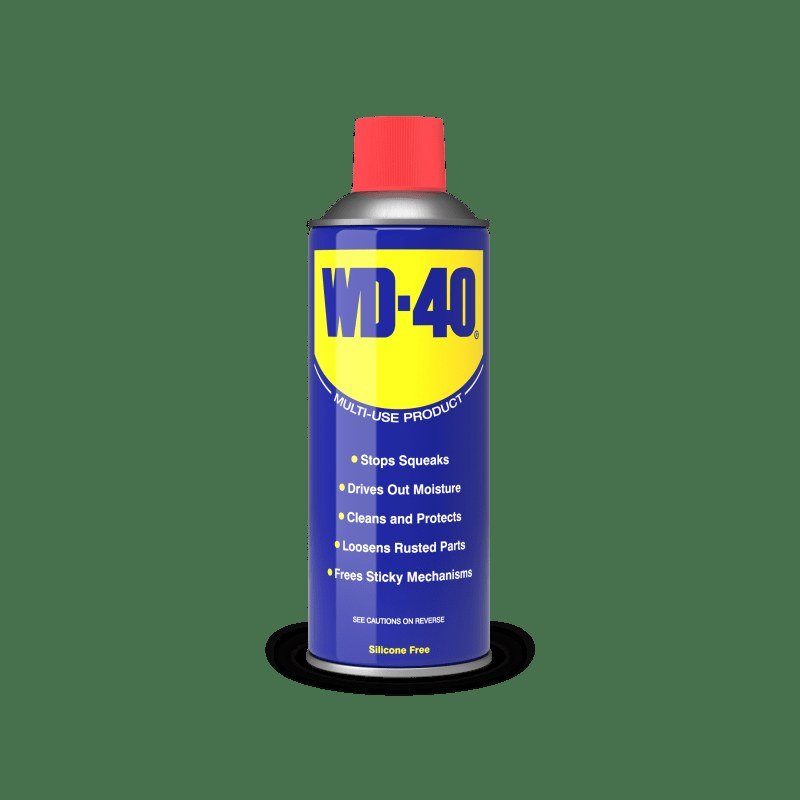
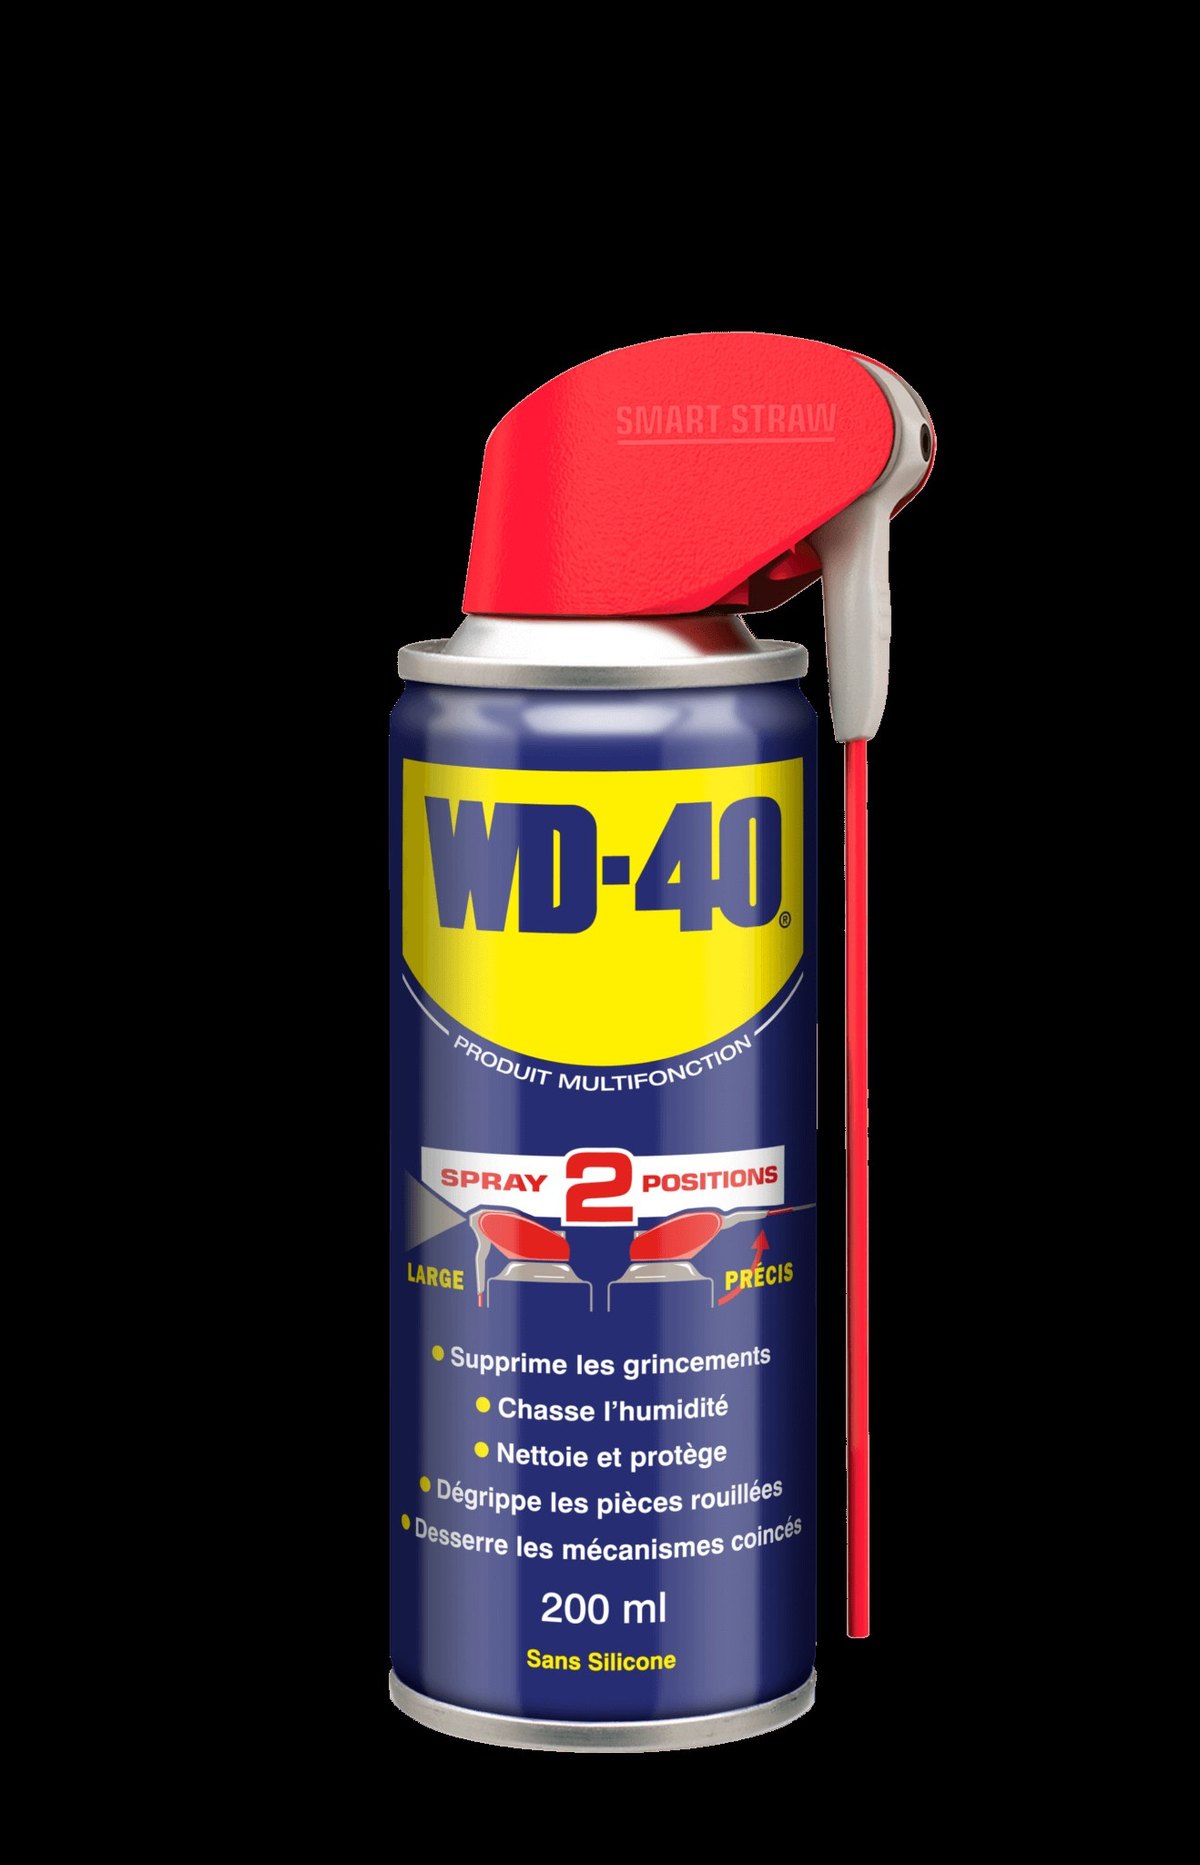
Tip: For precise treatment of bolts near the brakes,
WD-40 Smart Straw is handy: the thin straw puts product only on the thread without reaching the disc.
What next
Check pad thickness and fluid level before every season and after long trips. Keep WD-40 Specialist Penetrant for seized fasteners and WD-40 Multi-Use to protect bolts and lever pivots from moisture.
These uses come from the experience of WD-40 users in many countries. Always follow the instructions and warnings on the product label.
More guides in «How to use».