A motorcycle indicator breaks with the slightest drop or knock in the garage. You can replace it yourself without a trip to the workshop: all it takes is basic tools and some care with the wiring.
Many riders switch to LED indicators at the same time, as they are brighter, draw less power and last longer. They need a small addition to the wiring, covered below.
What you will need
Important: Disconnect the negative battery terminal before you start. If you are replacing both front indicators, do not disconnect them at the same time or you may swap the wires. Take a photo of the wiring before dismantling.
Step 1
Remove the old front indicator
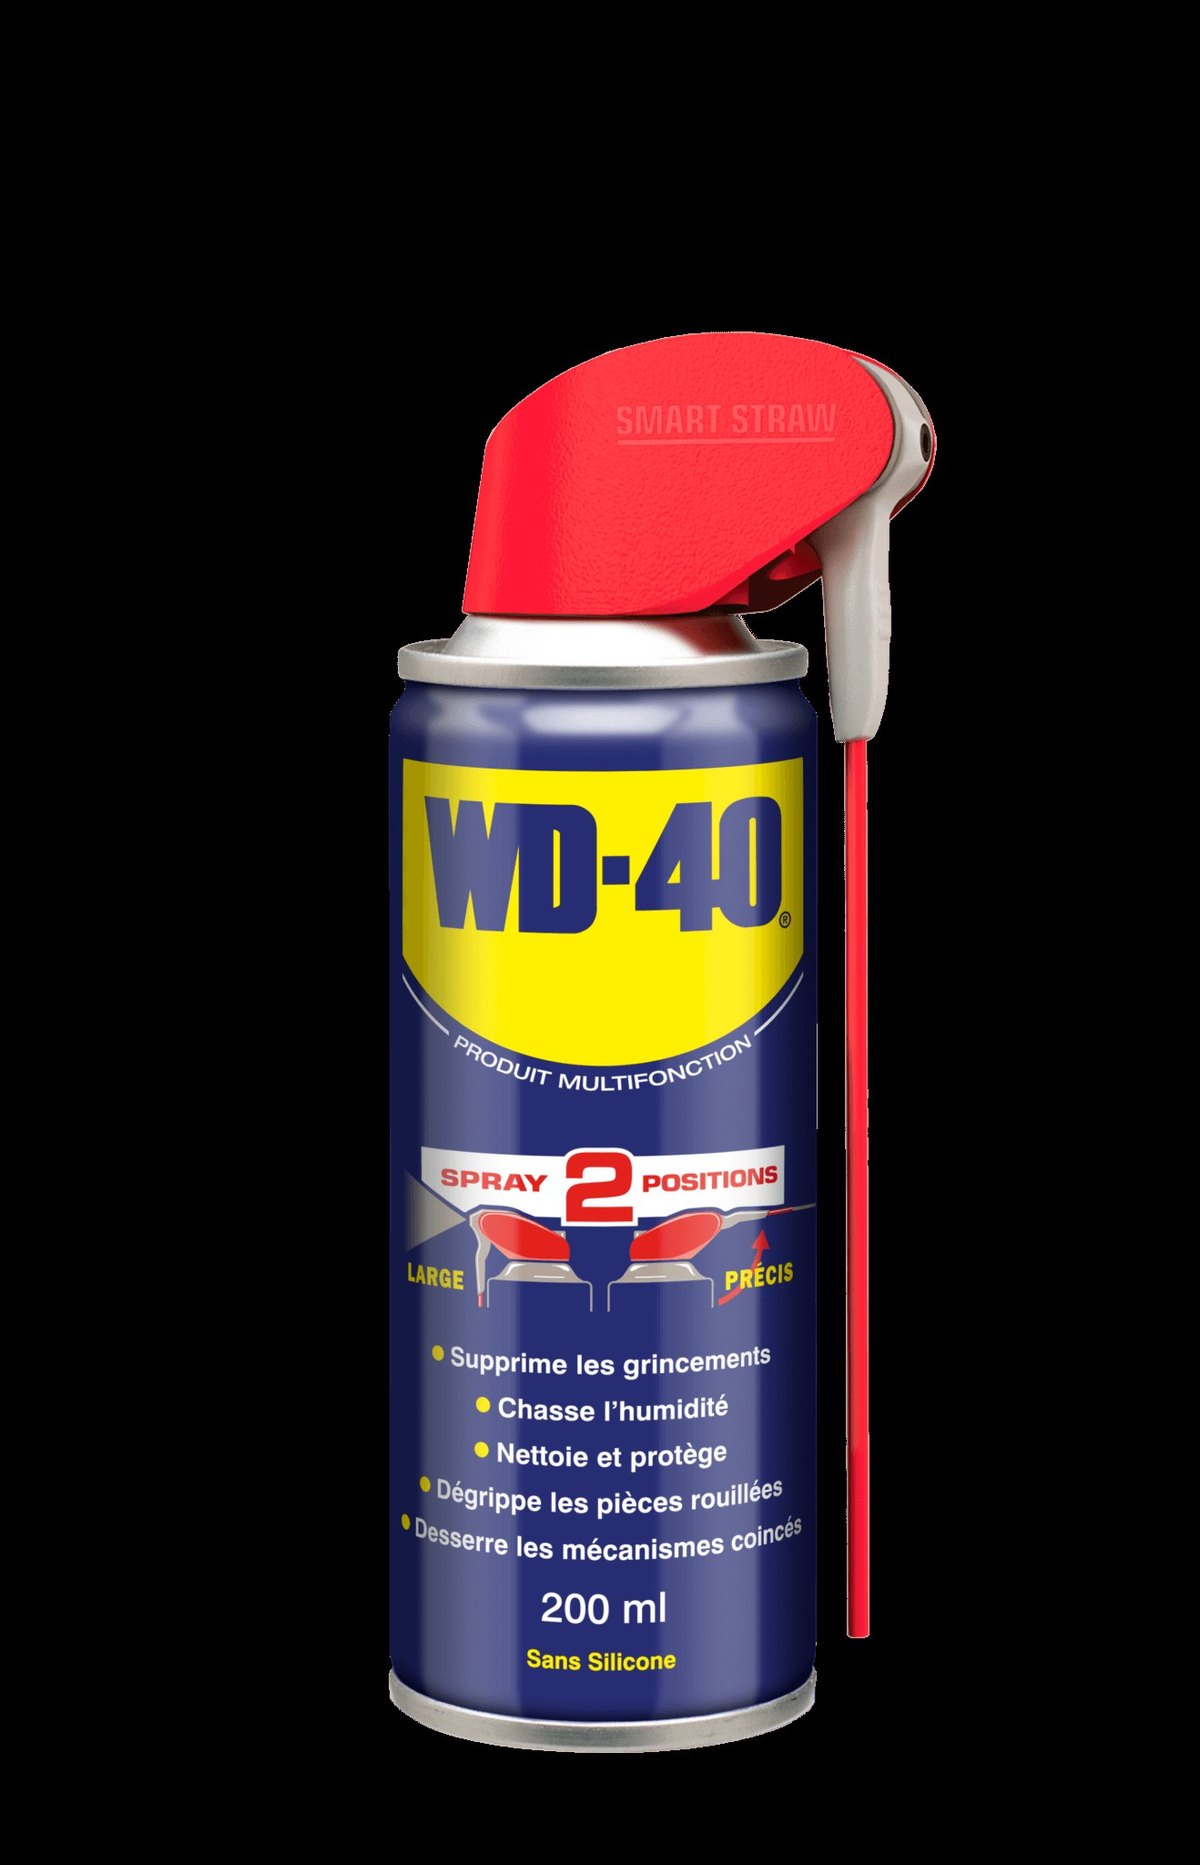
Undo the indicator mounting nut. If it has seized after winter and road salt, apply WD-40 Specialist Penetrant to the thread, wait 10-15 minutes and try again.
Remove the headlight shell to reach the wiring. The indicator is joined by terminals: slide back the insulating sleeve if there is one, separate the terminals and pull the indicator out with its wire.
Step 2
Clean the connectors
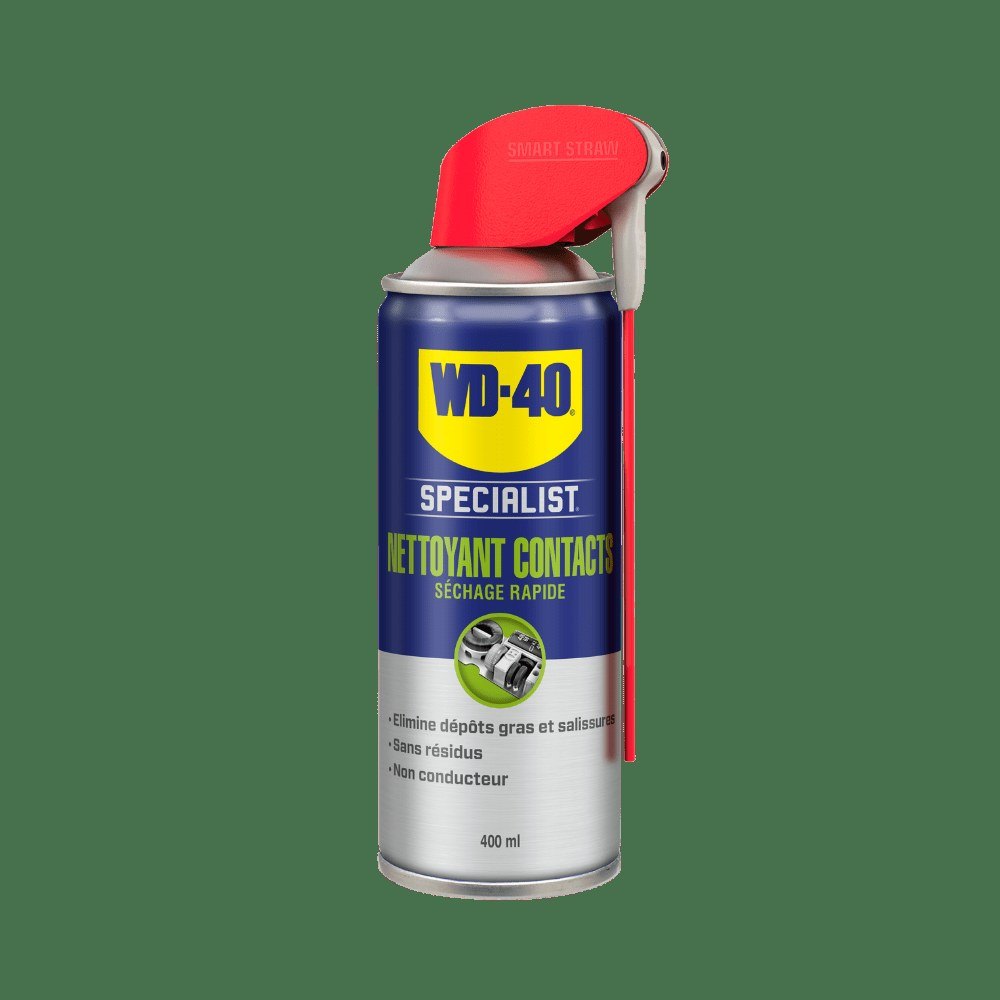
Corroded terminals give a weak or flickering light even with a new bulb. Treat the terminals and connectors with WD-40 Specialist Contact Cleaner: it dissolves oxidation and dirt and evaporates quickly without residue.
Let the contacts dry before connecting.
Step 3
Fit the new indicator
Feed the new indicator's wire through the hole in the headlight shell and start the mounting nut by hand. Connect the indicator to the existing terminals and squeeze them tight with long-nose pliers.
If the terminals are broken or do not match, cut them off, strip the wires, twist the copper strands, fit a new terminal and crimp it. Insulate the joint with heat shrink or tape to keep moisture out. Refit the headlight shell.
Step 4
Replace a rear indicator
A rear indicator is replaced the same way, except that the connectors are usually under the seat. Remove the seat to reach the wiring.
Make sure the wire cannot chafe on the frame or get trapped by the seat.
Step 5
Allow for LED indicators
LED indicators draw much less current than bulbs, so the relay flashes too fast. To prevent this, fit load resistors in parallel with each indicator or a dedicated LED relay.
Resistors get very hot, up to around 100 °C, so mount them in a ventilated spot under the seat, away from plastic, and never wrap them in tape. When fitting an LED relay, observe the polarity strictly.
Step 6
Test and protect
Reconnect the battery and check all indicators and the hazard lights. Tighten the mounting nuts.
Apply a little WD-40 Multi-Use to the mounting threads and nuts: next time they will undo easily and rust will not take hold.
Tip: Before each season go over every lighting connector under the seat and behind the headlight with
WD-40 Specialist Contact Cleaner: these are the ones that corrode most during winter storage in a garage.
What next
Once replaced, check the indicators before every ride. If the bike has stood all winter, service the battery terminals and the connectors of other lights with the same WD-40 Specialist Contact Cleaner.
These uses come from the experience of WD-40 users in many countries. Always follow the instructions and warnings on the product label.
More guides in «How to use».